



Rules Preview, the basics of Trench Crusade
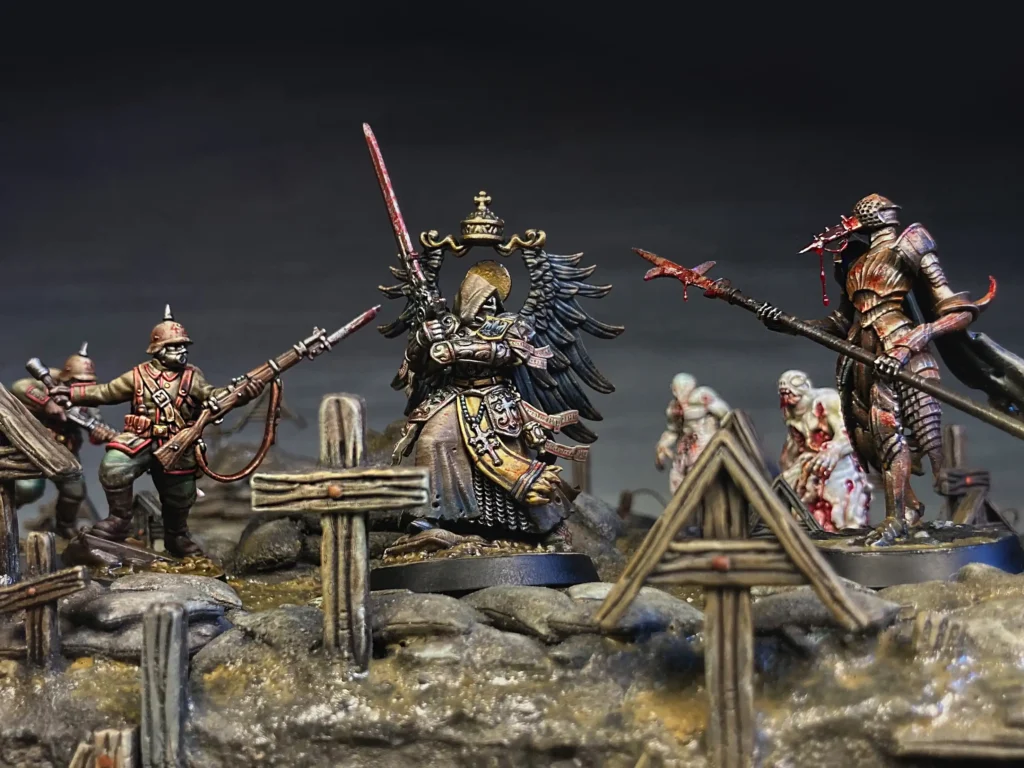
I’m sure you’ve seen them; the pamphlets and posters plastered on shop windows and church bulletin boards, reminding you of the good fight down in New Antioch. You’re eager, I’m sure, to don your uniform, pull back the bolt, and defend God’s country. It’s a noble goal, but you need to know your basics first.
A game of Trench Crusade boils down to three simple systems. First, it is a game of alternating activations, meaning Player A will activate one model, Player B will activate one model, back to Player A, and so on. On each activation, a model can attempt any number of ACTIONS, but can attempt each unique ACTION only once. Second, ACTIONS, such as attacks, dashing, or casting rituals, are typically resolved with a Success Roll. If an attack is a success, you will then make an Injury Roll. Third, an Injury Roll will typically result in a model gaining a Blood Marker (if it isn’t taken Out of Action).
Success Rolls are simple: roll two six-sided dice, add them together, and refer to the Success Table, typically looking for a result of 7 or higher. However, things aren’t always so simple! Most situations will modify your ACTION for better or worse. These modifiers are referred to as +DICE and -DICE, typically shown as “+1 DICE” or “-1 DICE.” +DICE and -DICE always add a die to your Success Roll, but you will always take the highest or lowest two results, respectively. In the event that a Success Roll has +DICE and -DICE, the two will cancel each other out.

For example, if one of your models with a +1 DICE modifier to Ranged attacks attempts to shoot an enemy model, you will add a dice to your Success Roll for a total of three dice. If you rolled a 2, 4, and 5, you would take the highest two, 4 and 5, for a total of 9. Success! If this example instead had a -1 DICE modifier, perhaps from a Cover penalty, you would instead take the lowest two dice, 2 and 4, for a total of 6. Failure.
For the sake of basic training, let’s say your shot hits. You will then make an Injury Roll using the exact same method as a Success Roll, but instead referring to the Injury Table.
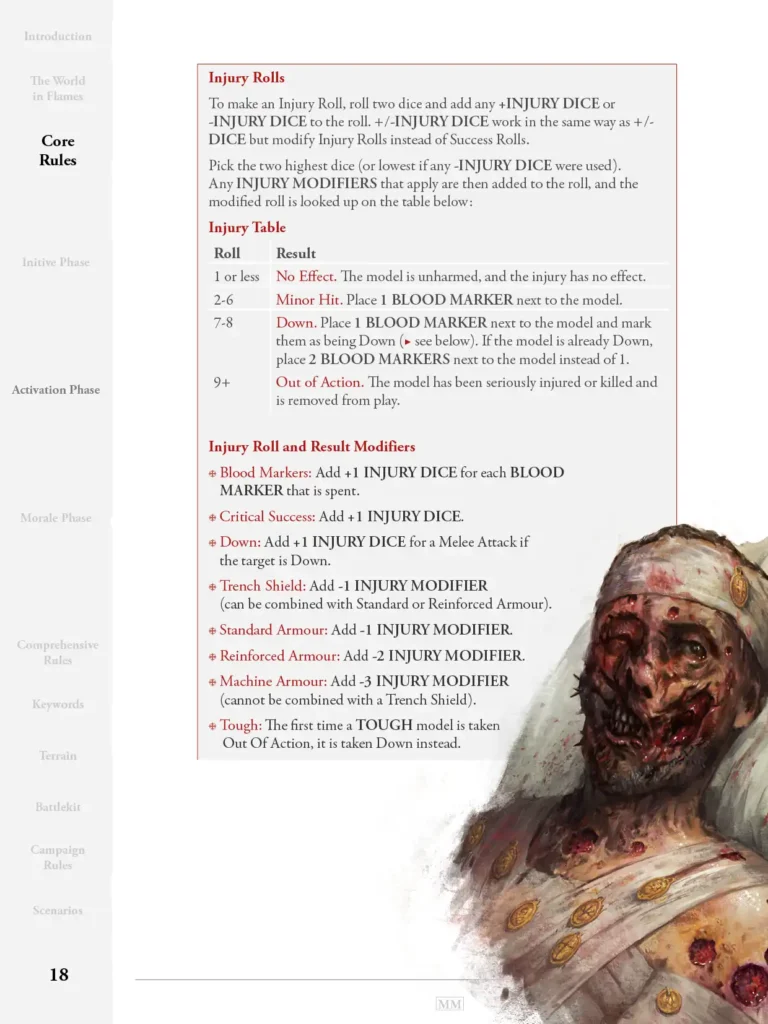
Units in Trench Crusade do not have wounds, hit points, or an equivalent life mechanic. Instead, the game uses Blood Markers to represent the health (or lack thereof) of a model. Blood Markers may be expended in one of two ways: either to add +DICE on an Injury Roll against an enemy, or to force an enemy to add -DICE to their own Success Roll. Most commonly, you’ll use them to boost your odds at taking an enemy model Out of Action, but they can also be used to make it harder for your opponent to succeed on actions such as Dashes or unique abilities. Blood Markers don’t guarantee a kill, but can make it more likely.
And that’s basic training! You’re ready for the field, soldier. Your days will mostly consist of standing in an ankle-deep slurry of what you hope is mud, side by side with your comrades, facing down a horde of beasts resembling bipedal livestock that bellow a voice you swear you’ve heard before. That clock that looms overhead? Don’t worry about it.