



The Army Painter Academy: How to Paint Sniper Priests
by Tyler Mengel
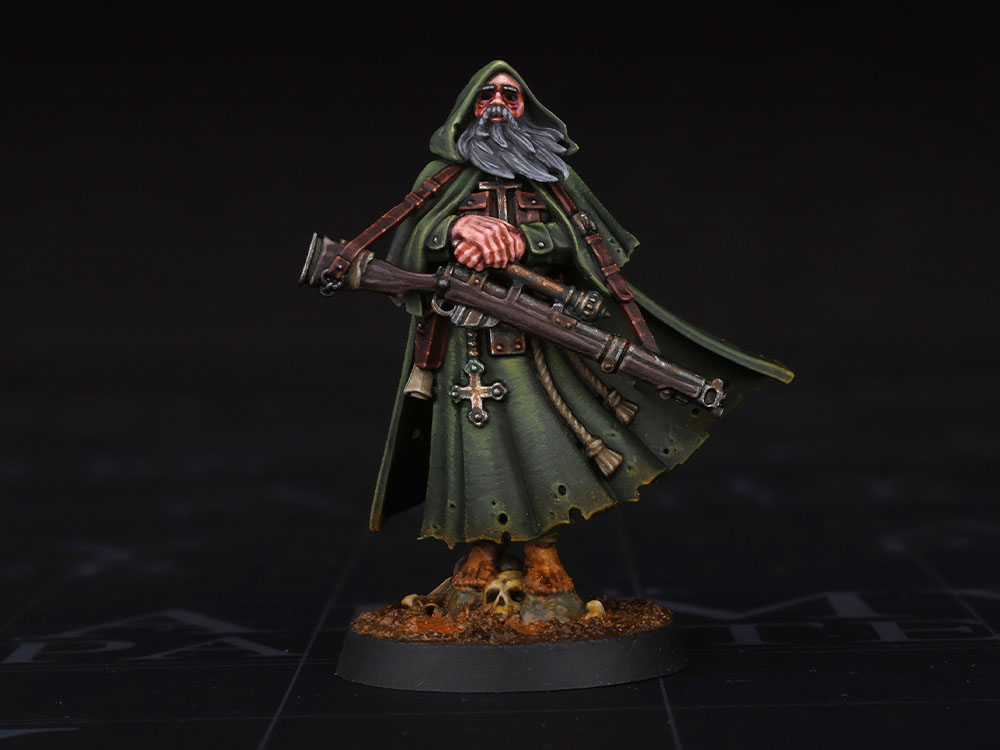
Welcome to the first joint article between The Army Painter and The Trench Wire! We’re launching this exciting new collaboration with an edition of The Army Painter Academy—a series where we break down how we paint a miniature step-by-step, complete with pictures for every bit of paint applied along the way. My name is Tyler Mengel, one of our Studio Painters here at The Army Painter and a self-avowed Trench Head. I’ve been a fan of the game since I discovered it during its record-breaking Kickstarter, and have so far painted up the start of a Prussian warband, and a Heretic Legion collection that’s become so sprawling it’s hard to justify calling it just a warband anymore. I’ll also be diving into the Court of the Seven-Headed Serpent soon for the Arena Challenge (keep an eye out on here for more news on that), and will definitely snatch up those new plastics from the Carcass Front box set as soon as I’m able. Long story short, I enjoy painting Trench Crusade minis, and I’ve painted quite a bit of them.
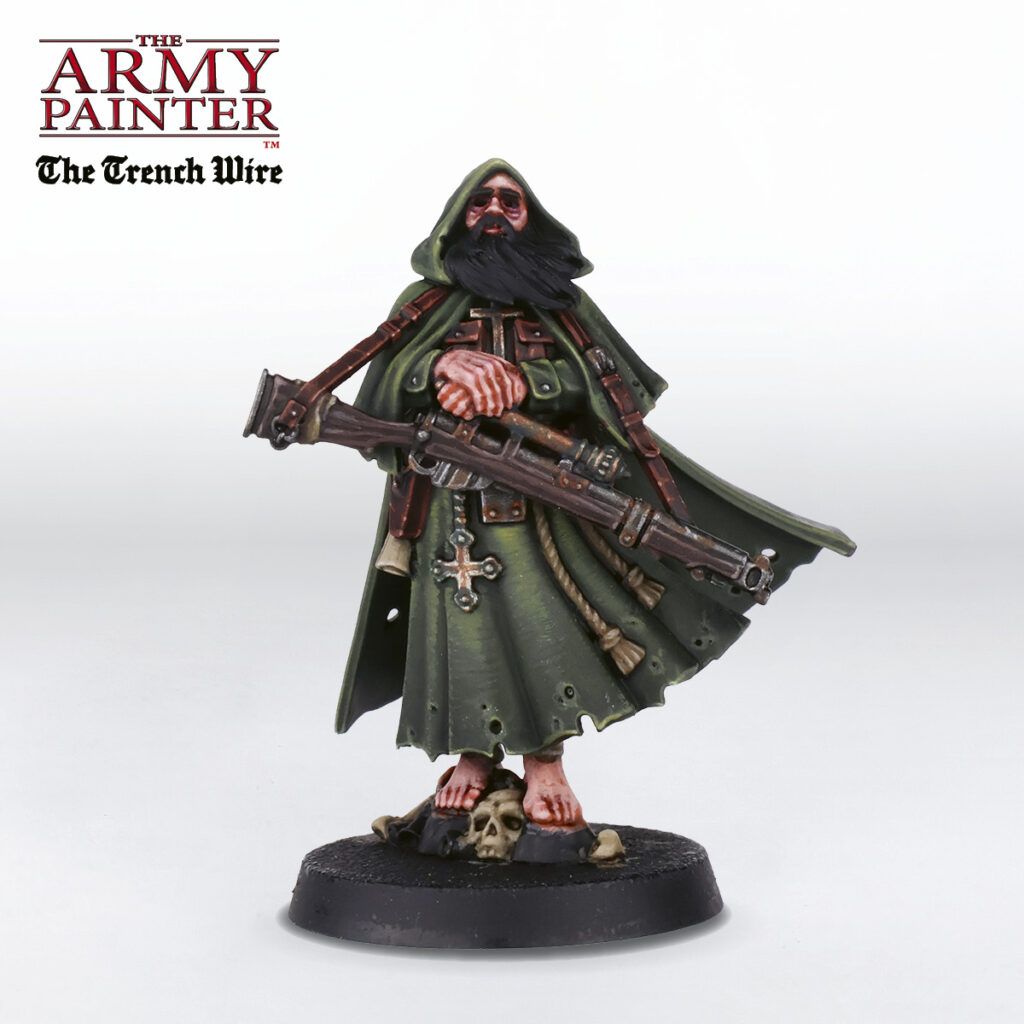
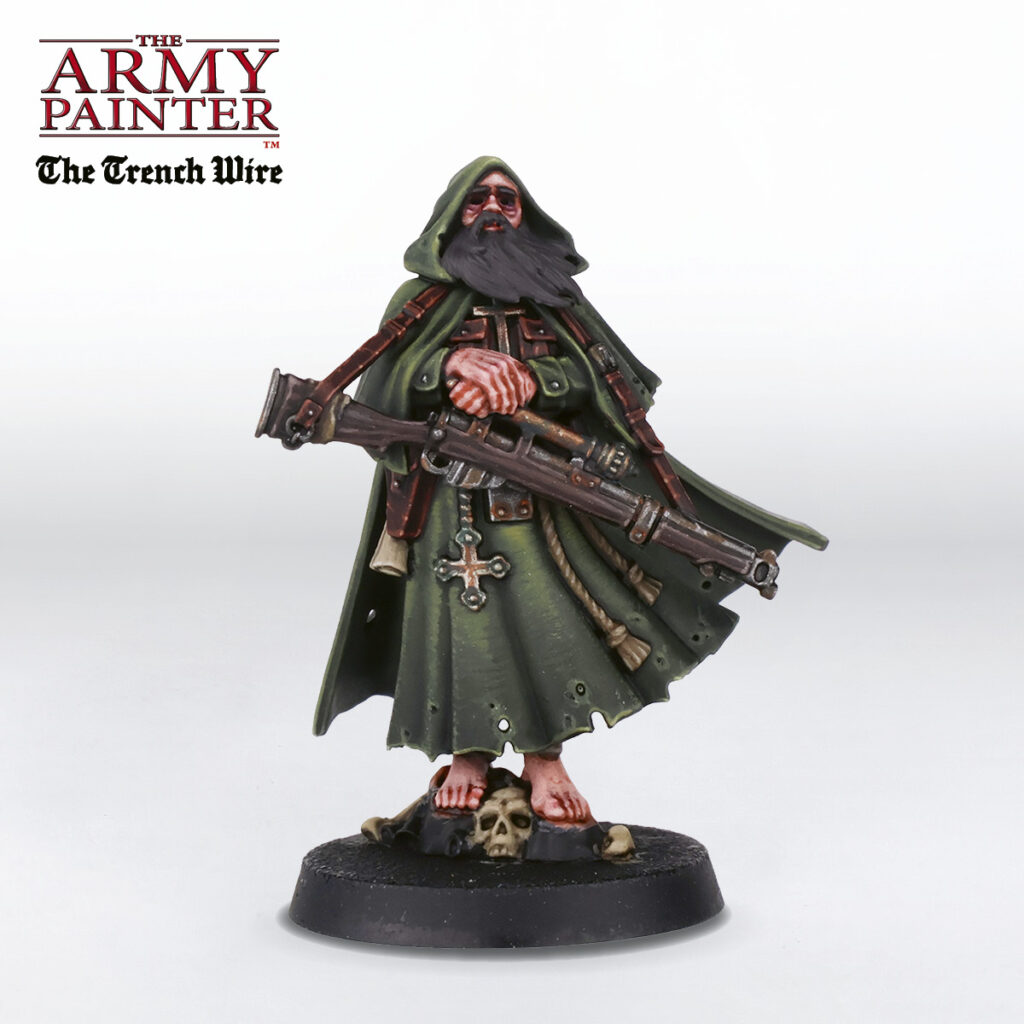
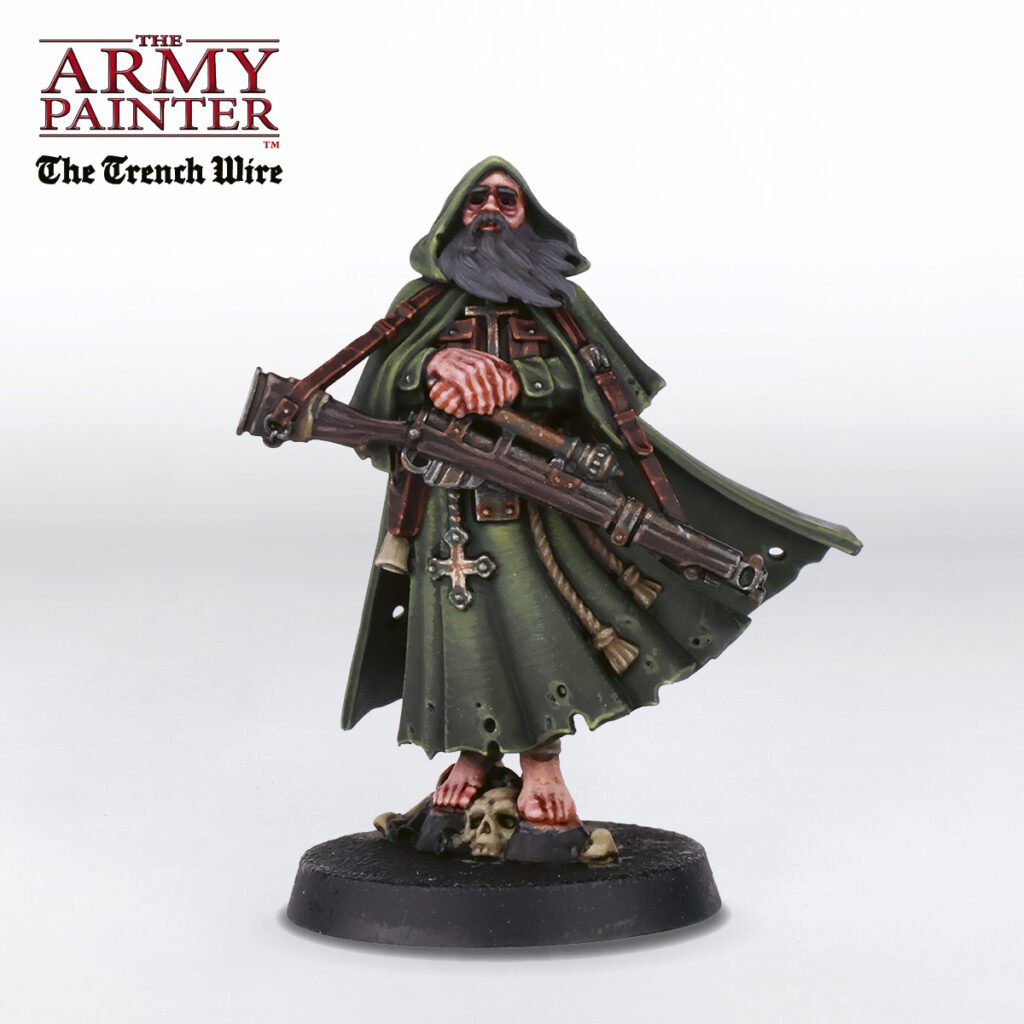
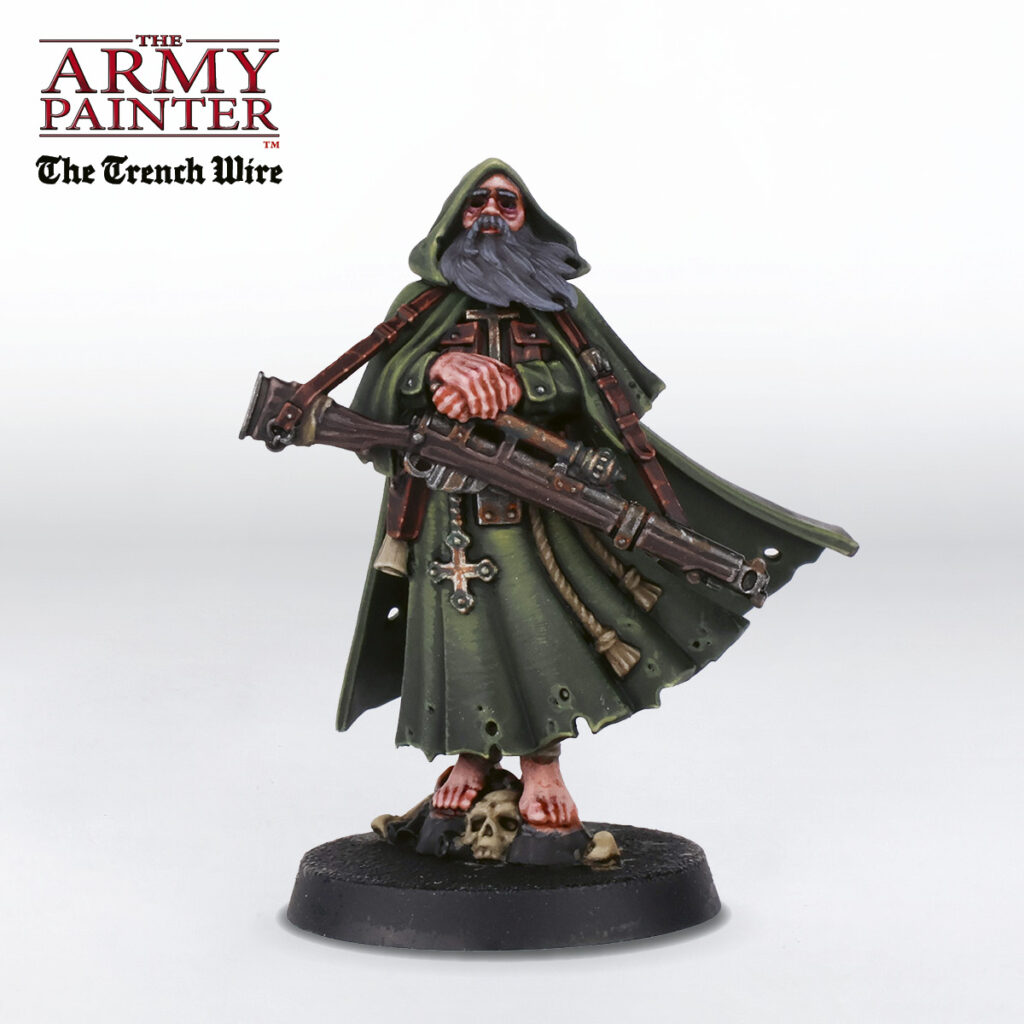
In fact, we’ve already produced a step-by-step guide over on The Army Painter Blog (where you’ll be able to find this tutorial as well) for a Heavy Mechanised Infantry using the John Blanche Masterclass Sets Volume 1 and Volume 2, as well as a video guide on our YouTube channel for the plastic Prussians. When it came to picking a miniature for our first official joint collaboration, I knew it had to be the Sniper Priest. In a game full of iconic minis (looking at you War Wolf and Anchorite Shrine), the Sniper Priest really embodies a lot about the setting. It doesn’t hurt that the new plastic set is stellar as well. When it came time to paint one of these faithful sharpshooters, I decided to pull heavily from the John Blanche Masterclass and Warpaints Historical ranges. Not only are these colours perfectly suited for Trench Crusade, but they will also form the basis of our upcoming Trench Crusade paint sets, which were recently revealed at AdeptiCon. While this colour scheme and tutorial are perfect for your Sniper Priests, it will also work great for any New Antioch forces. I know this is a lot of talking for what’s supposed to be a painting tutorial, so recite your pre-battle prayers, grab your holy rifle, and let’s dive into the trenches! Or in this case, find a lofty perch somewhere out of the way with a good view.
Step 1
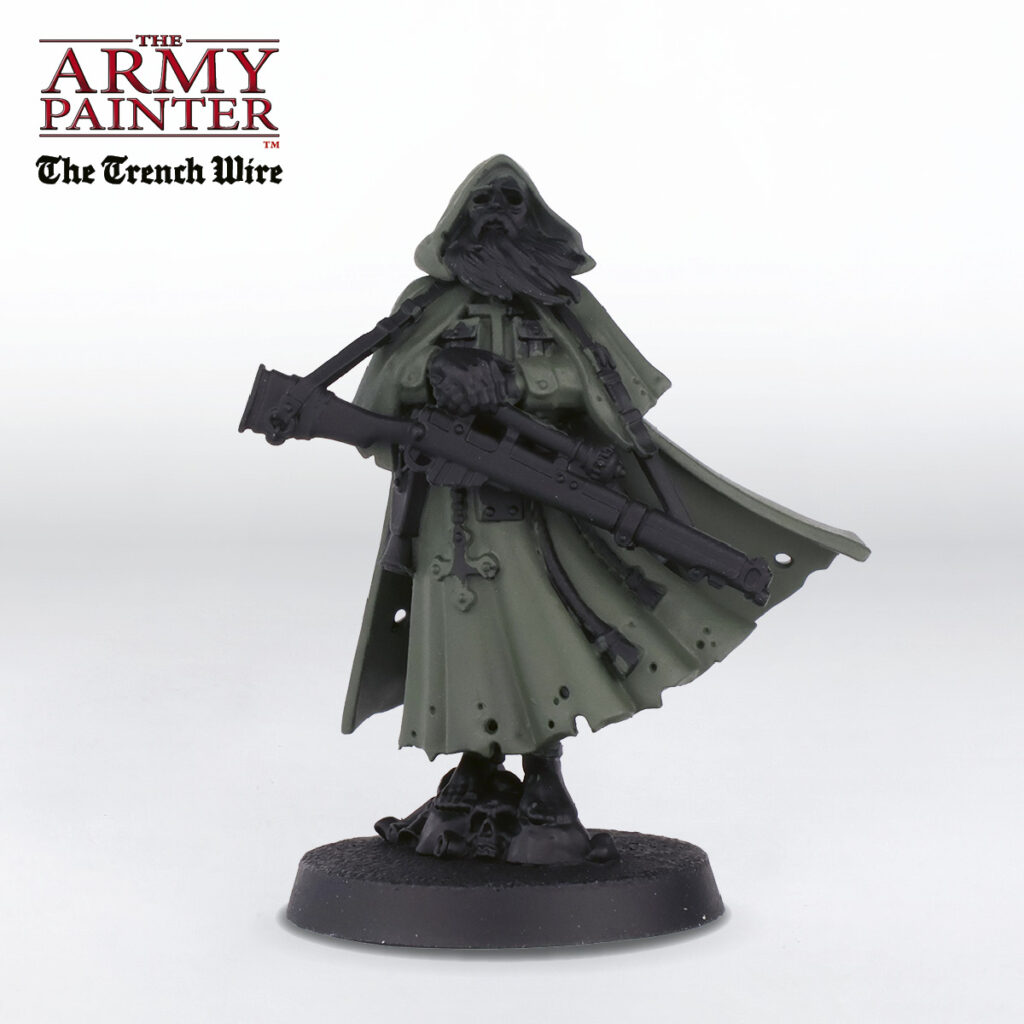
The Robes
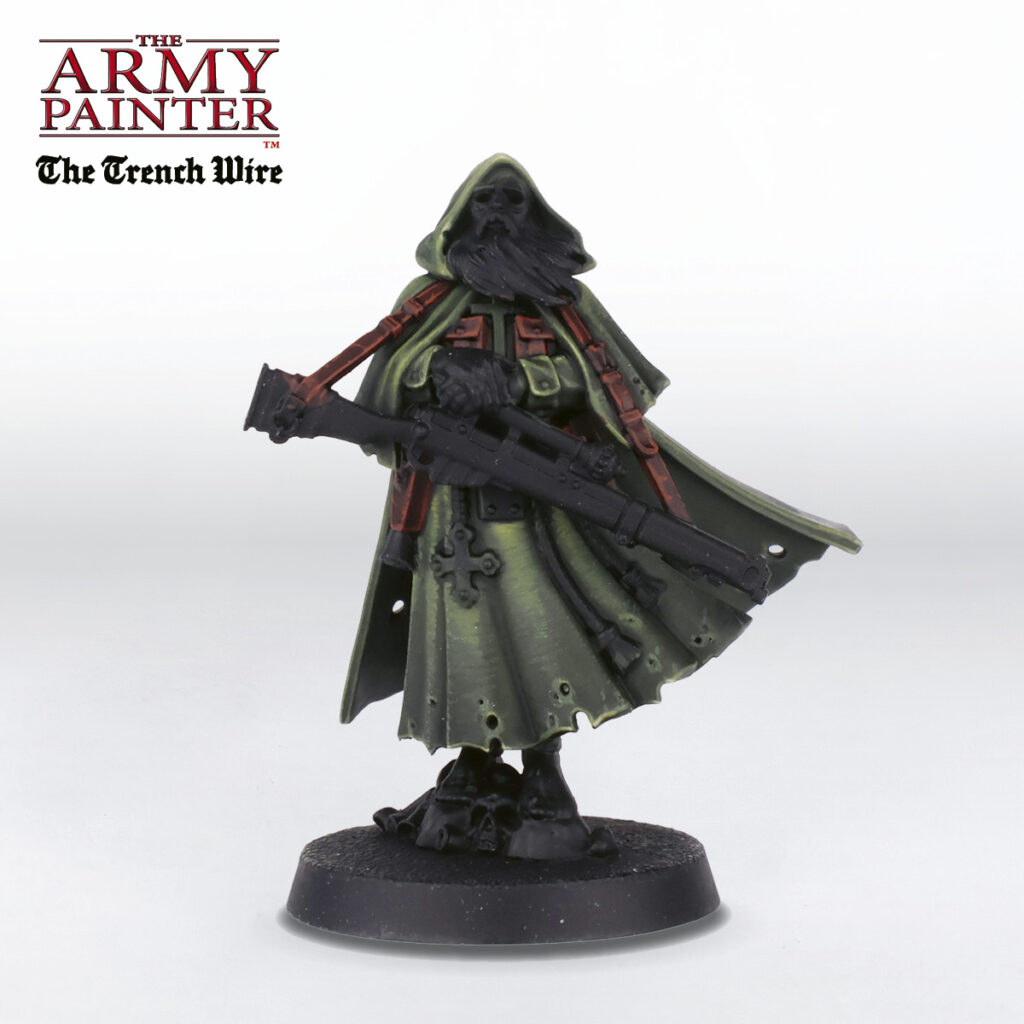
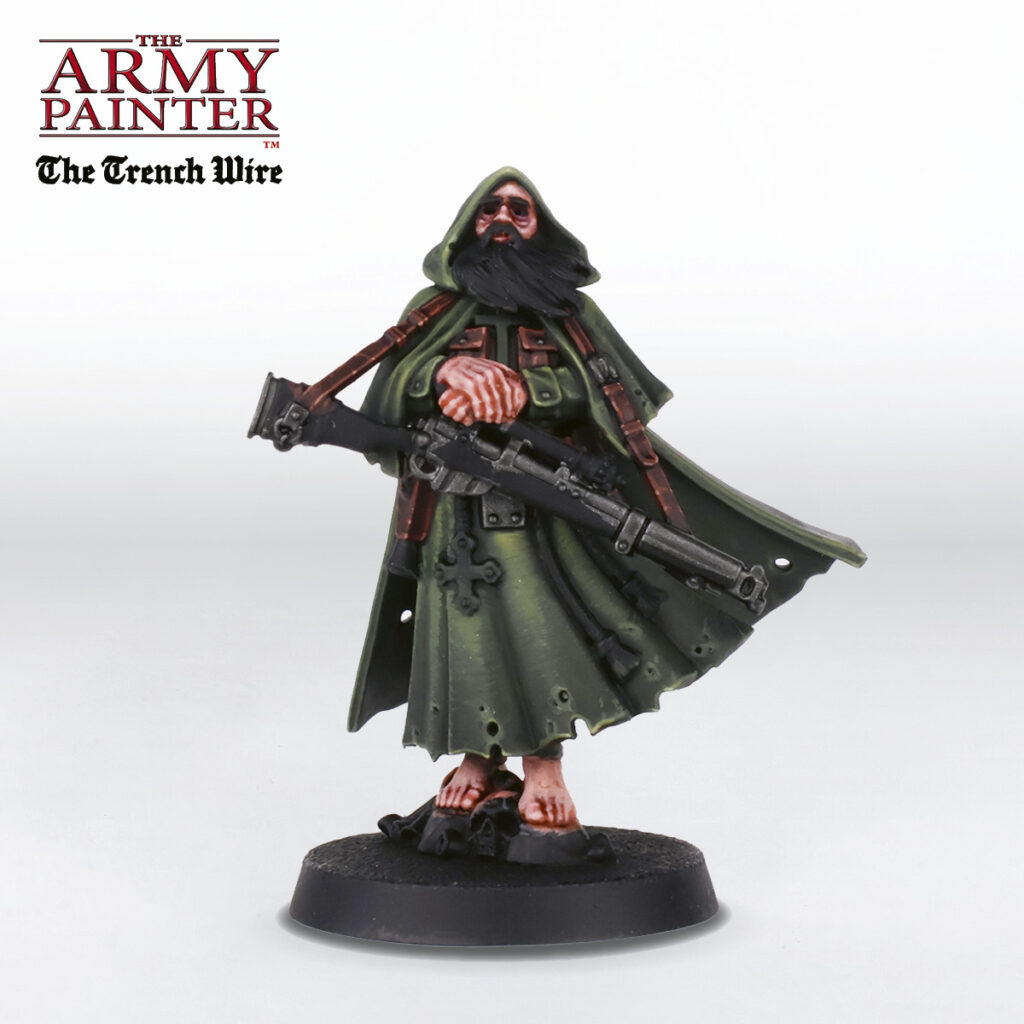
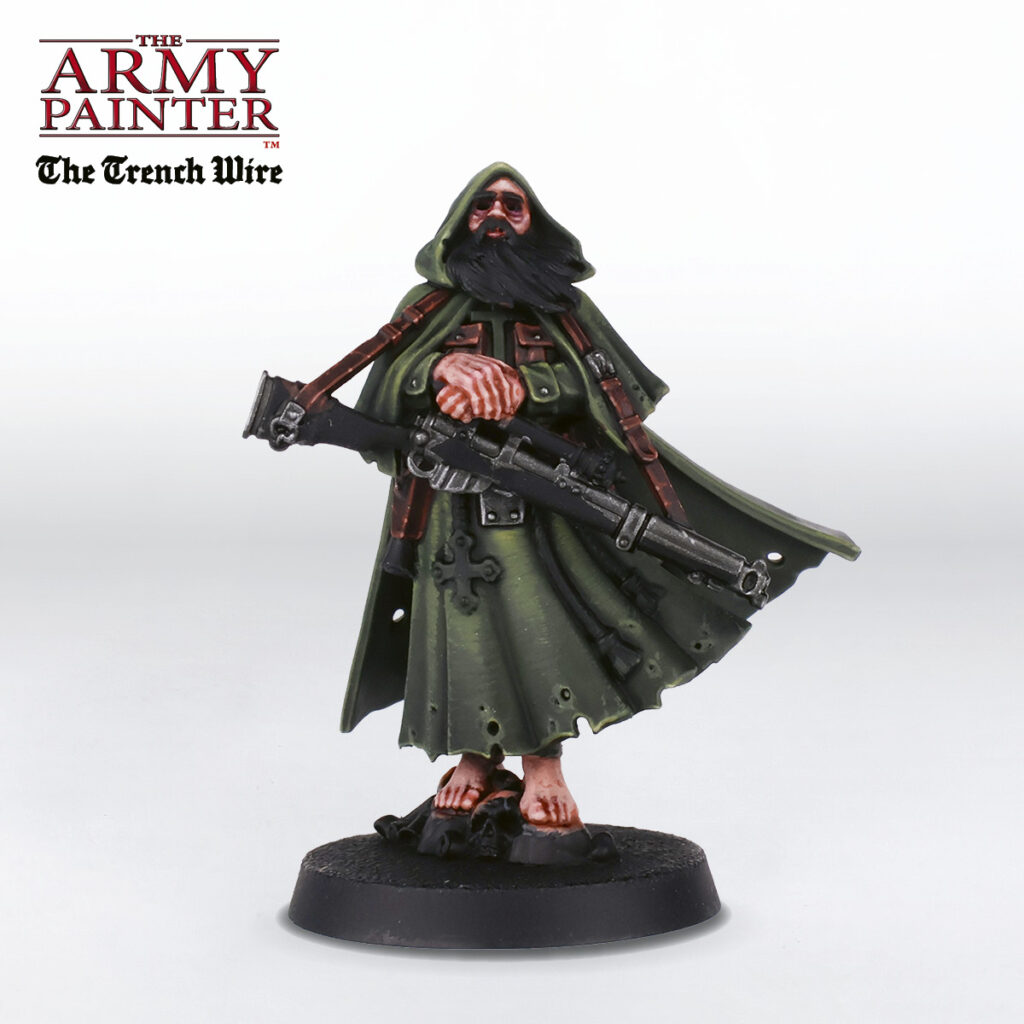
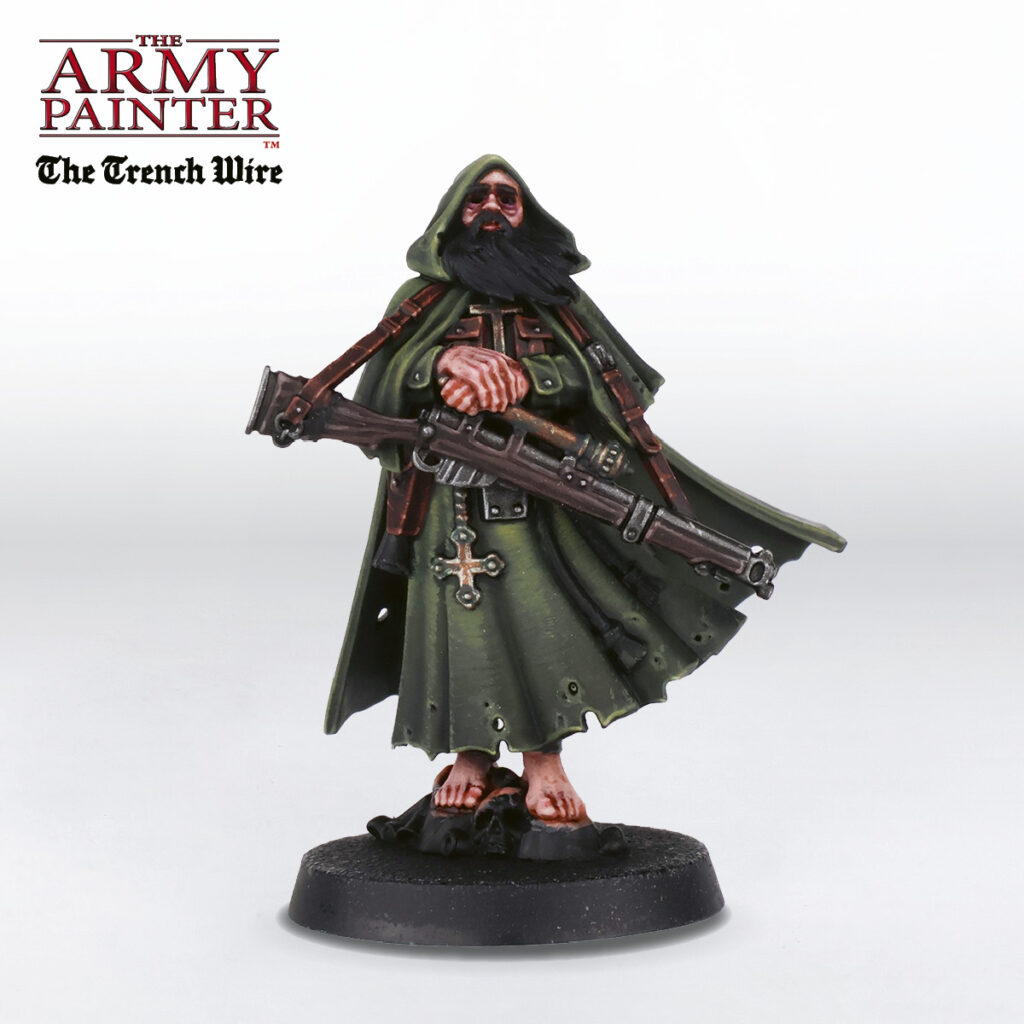
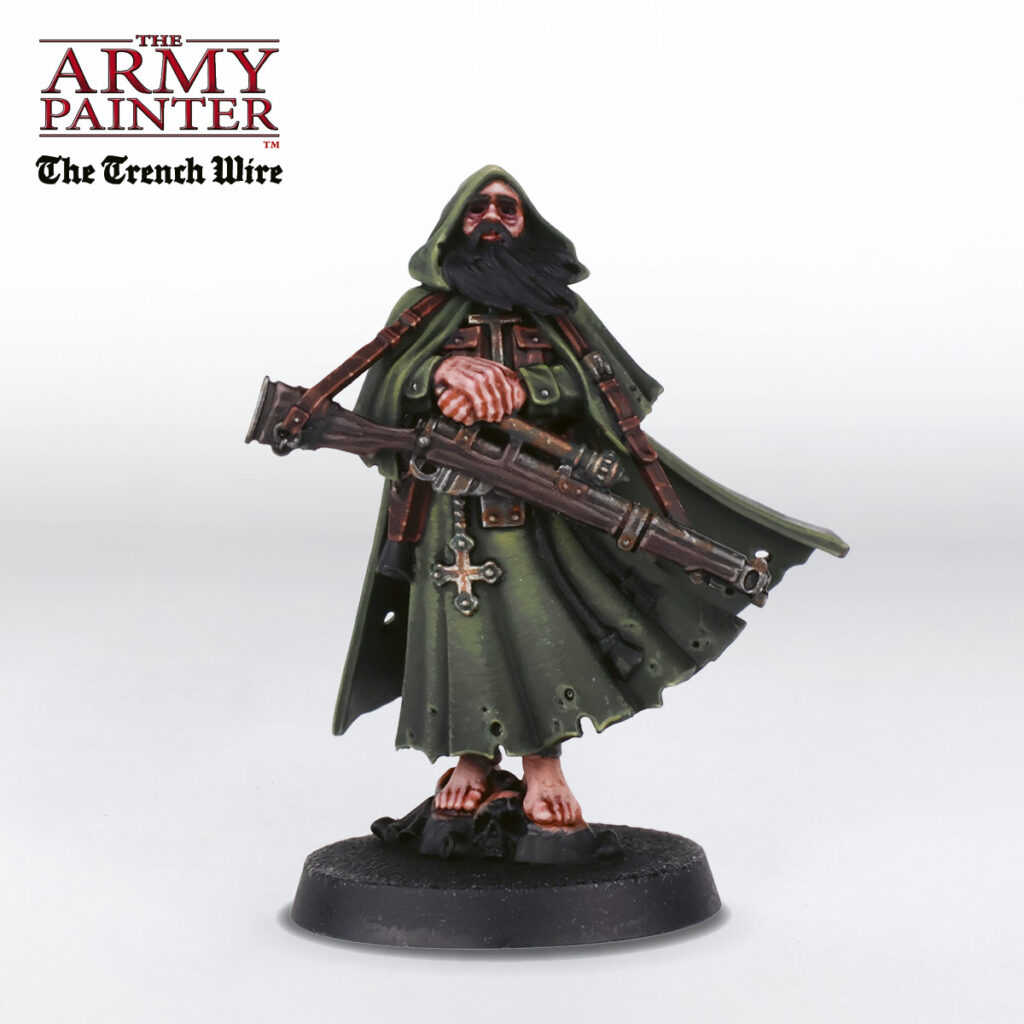
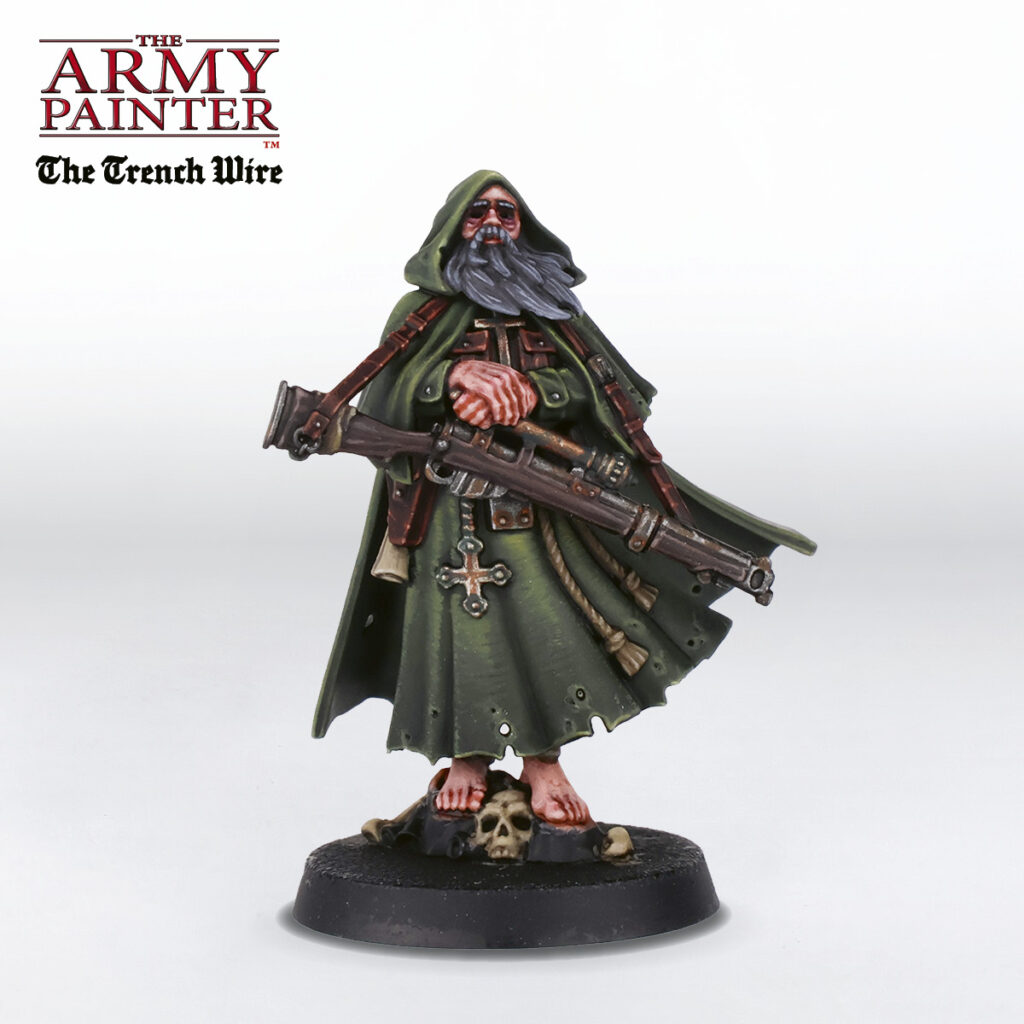
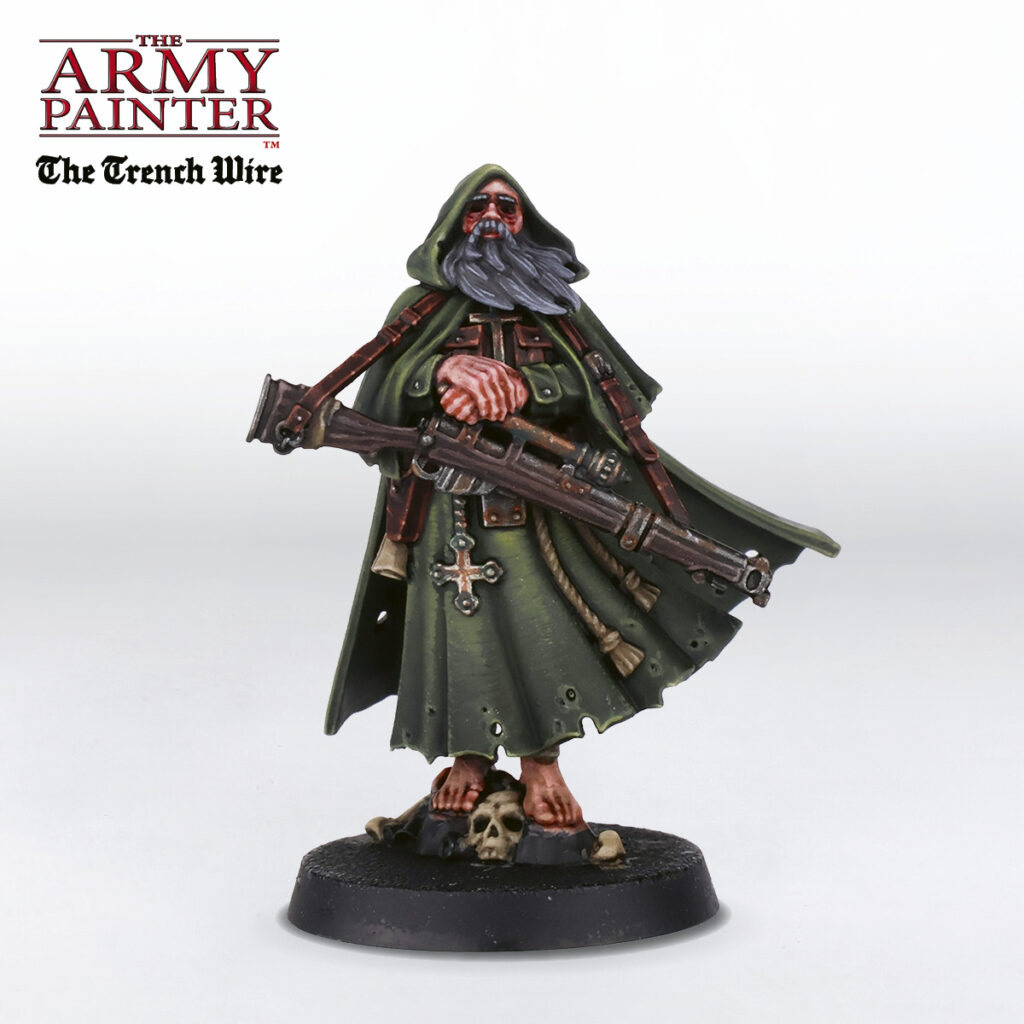
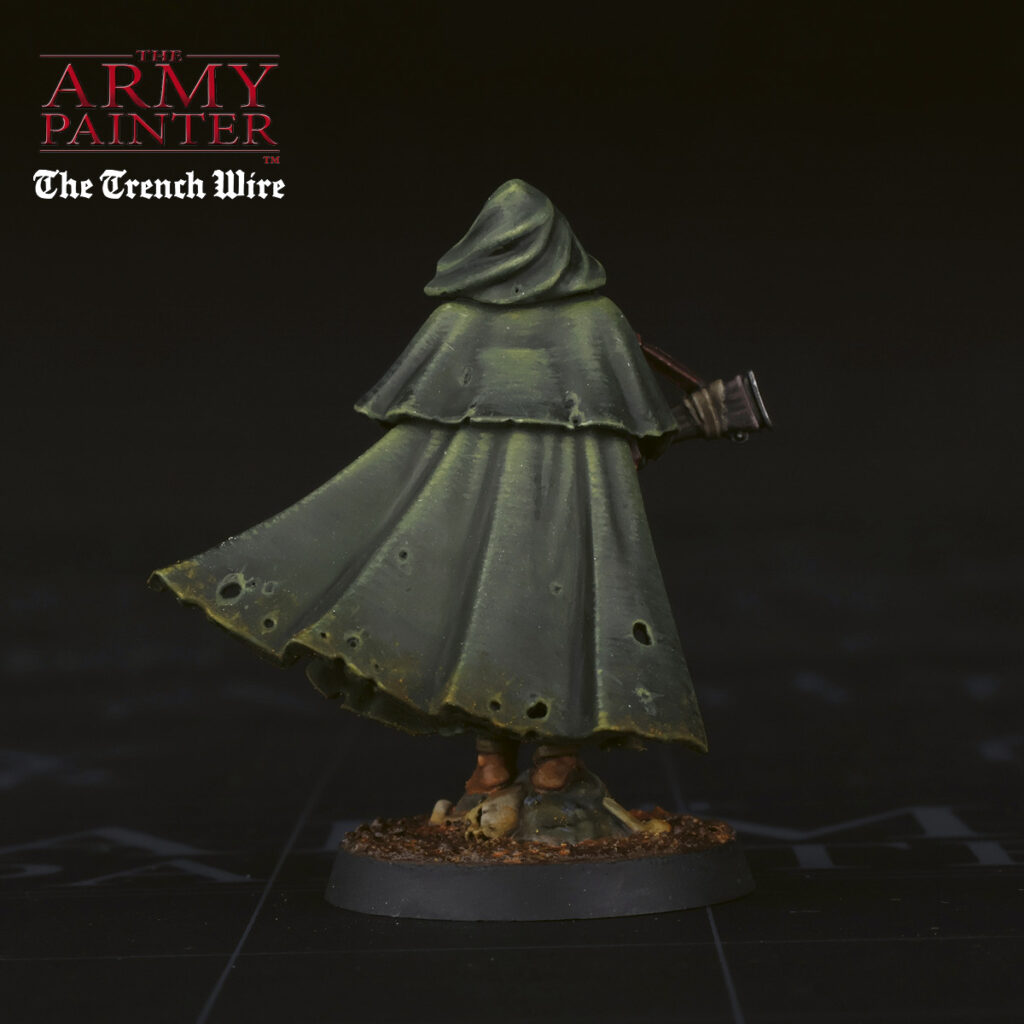
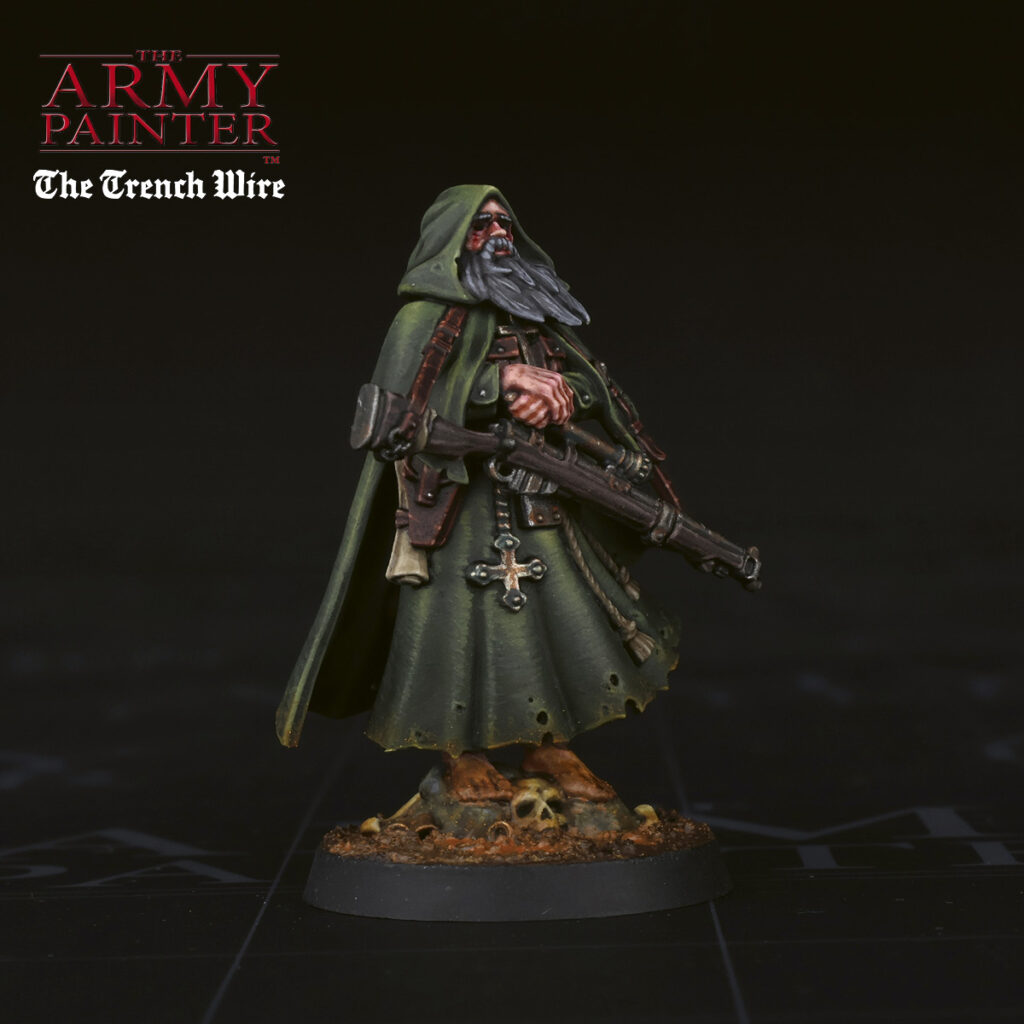
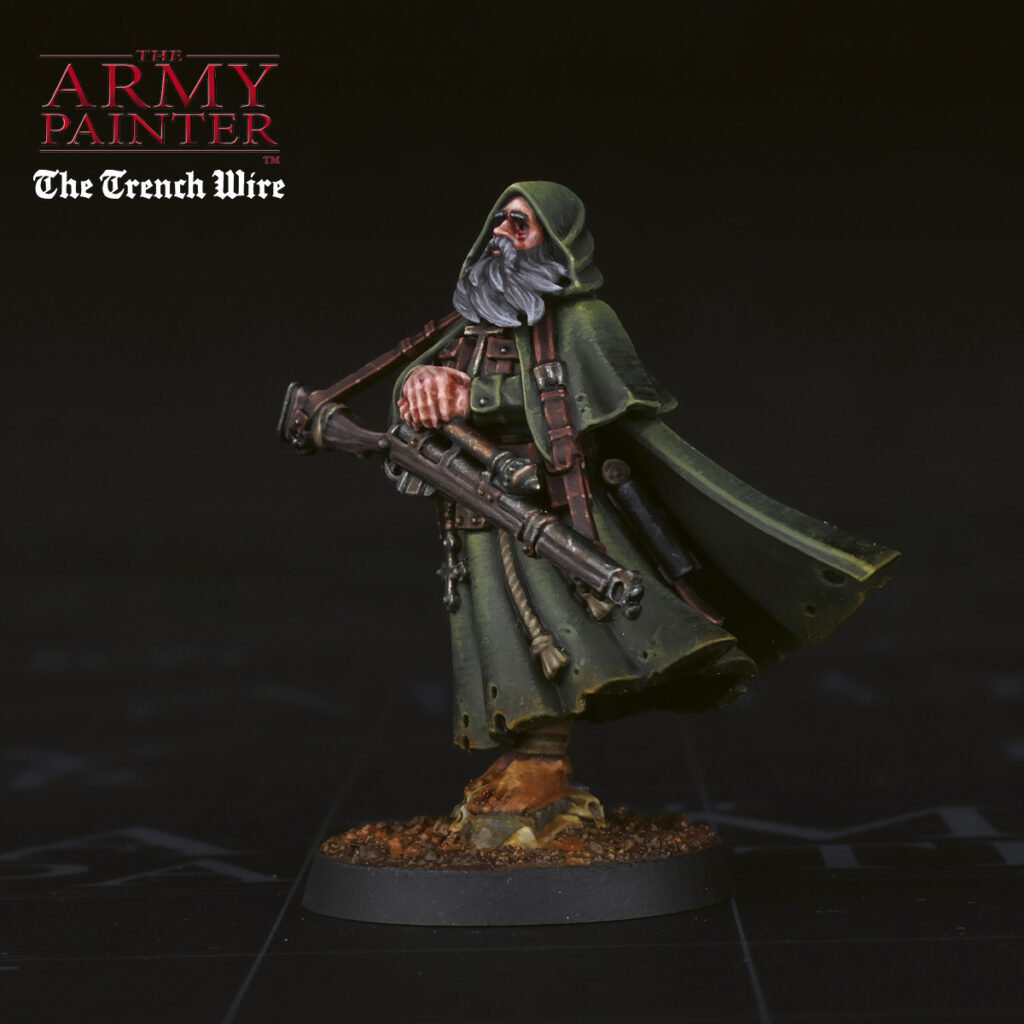
After priming the model with Matt Black Colour Primer, basecoat all the cloth with John Blanche Masterclass Midnight Olive. The Wargamer Layer Brush is an excellent choice for this kind of initial basecoating.
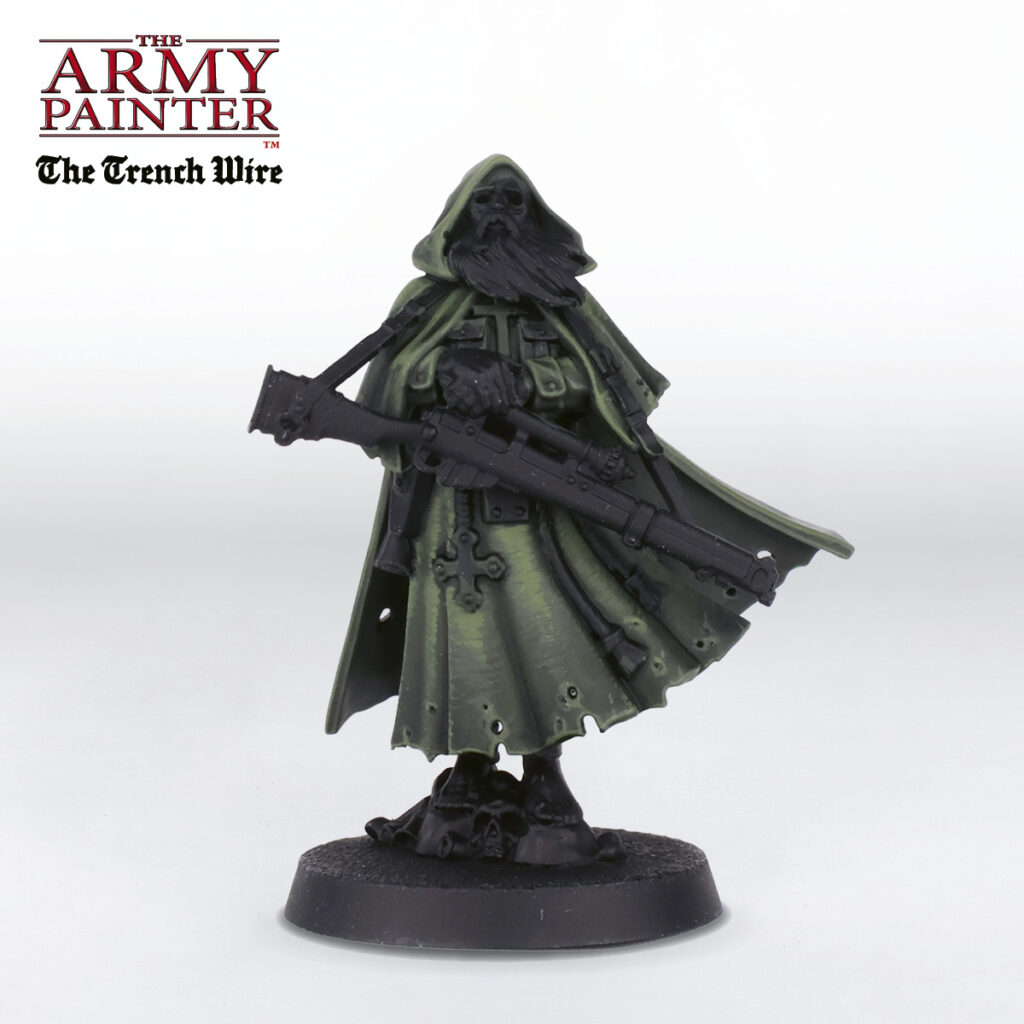

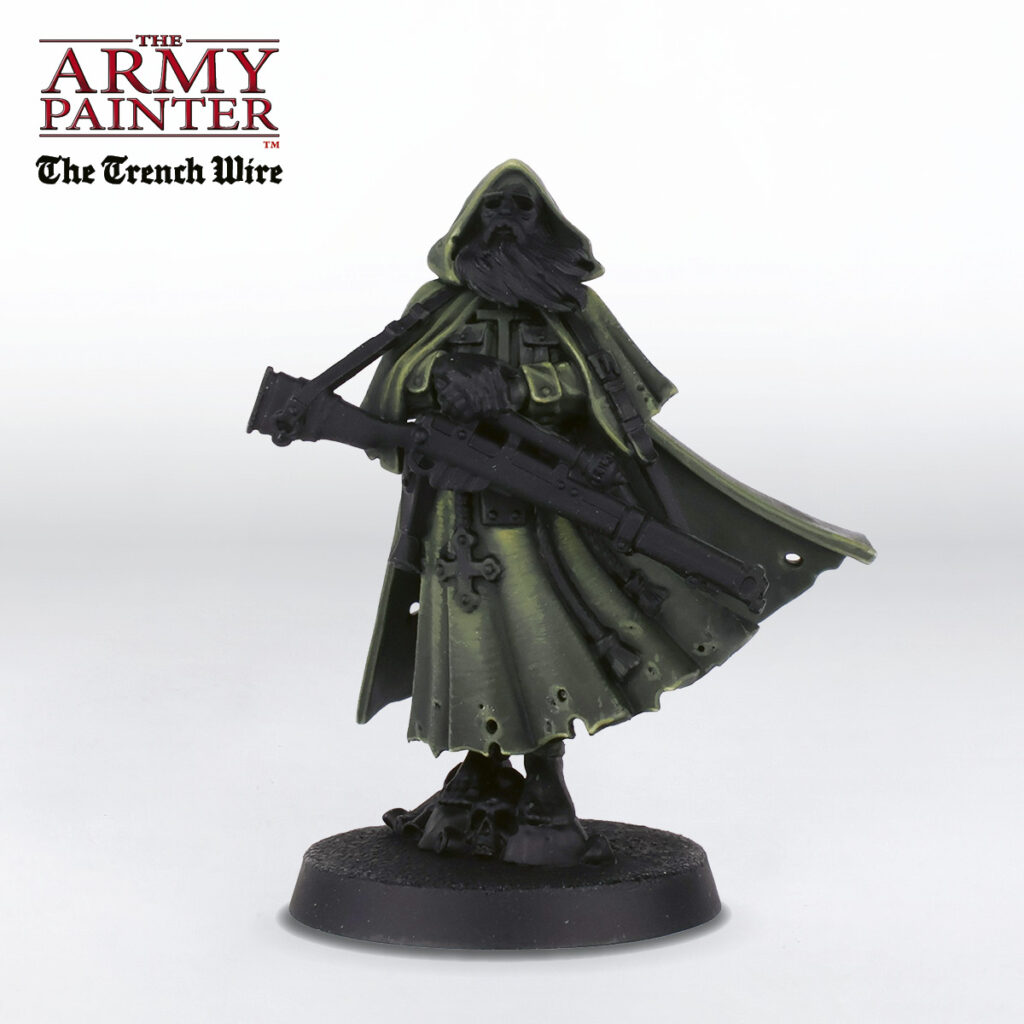
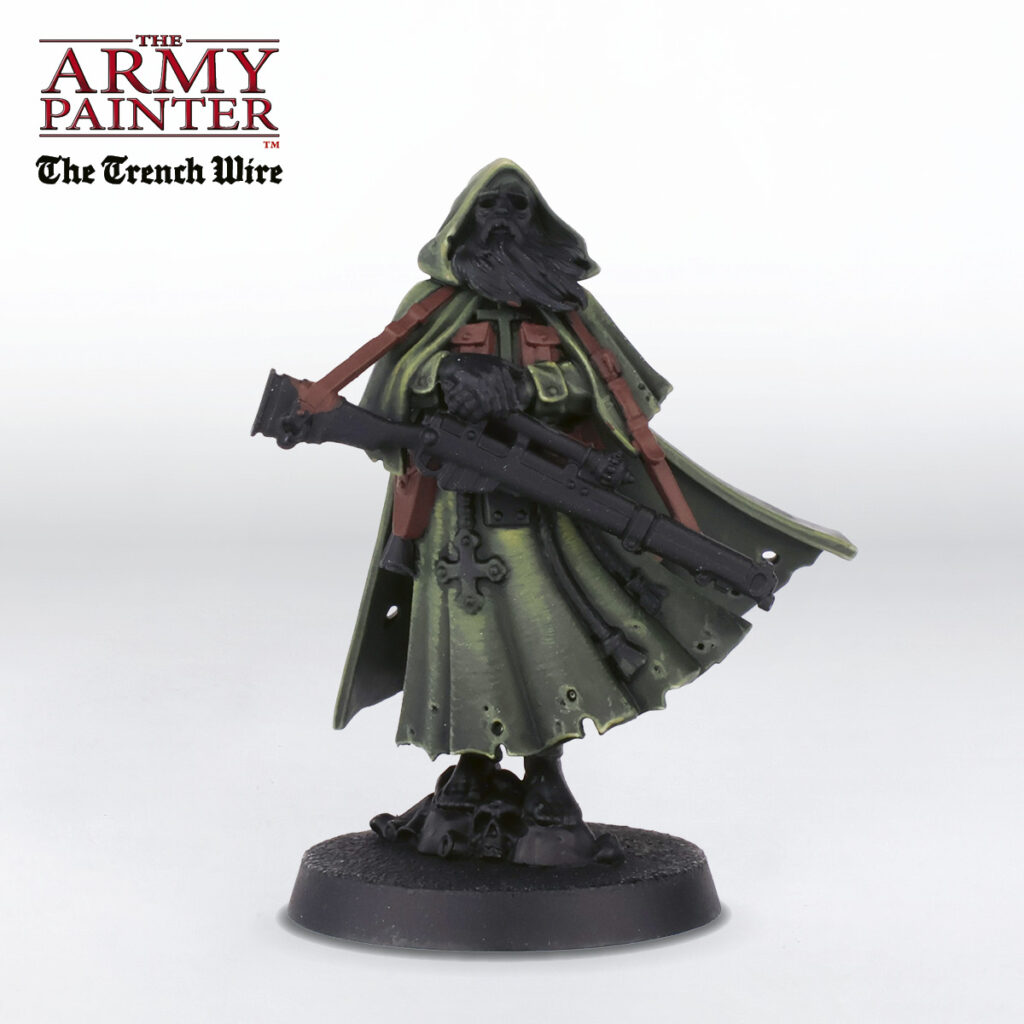
Step 1
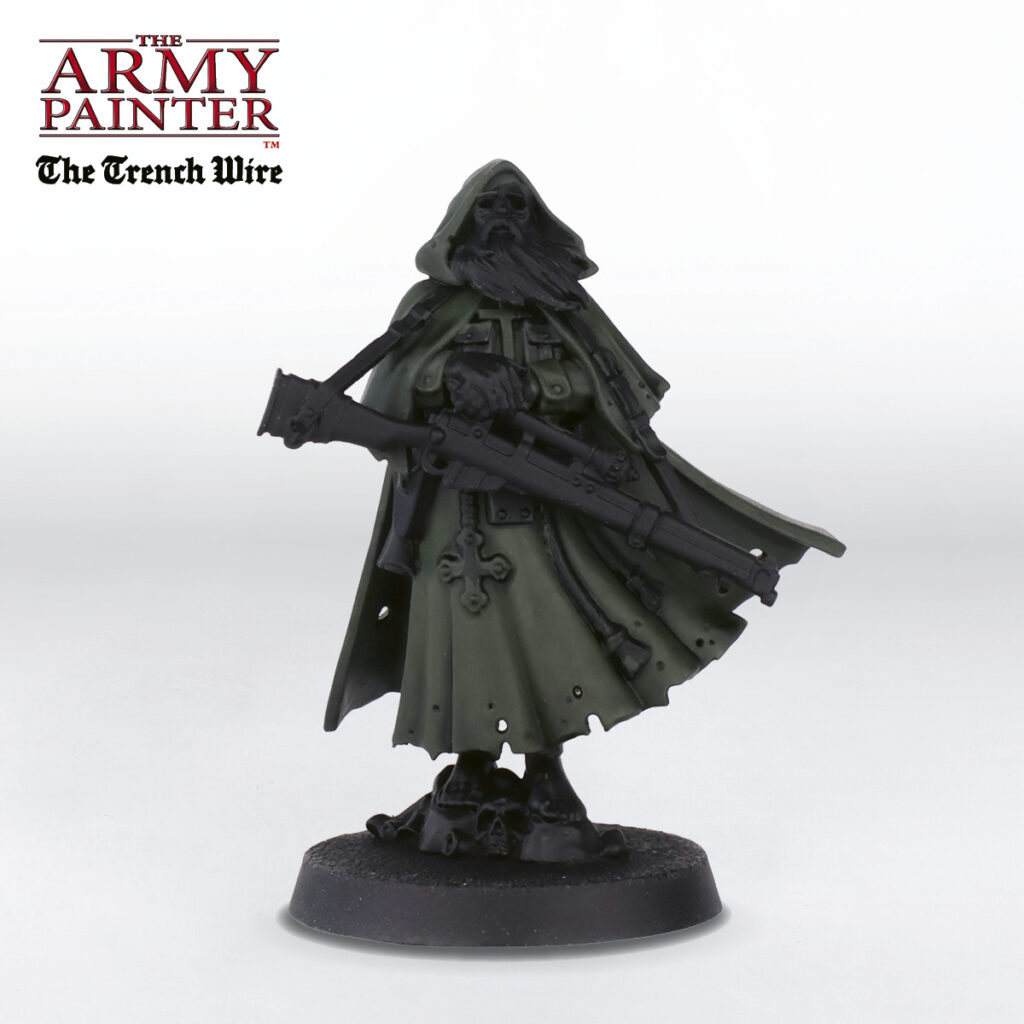
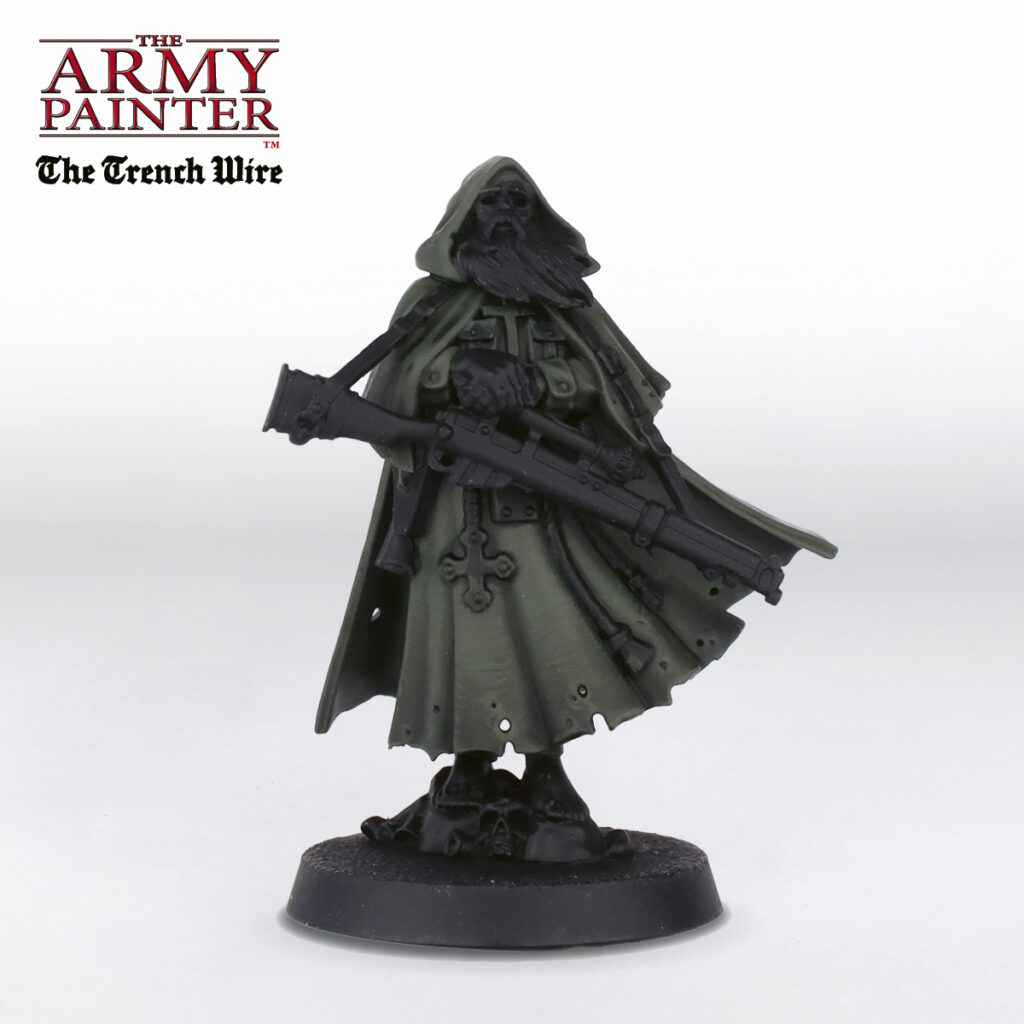
The Leather
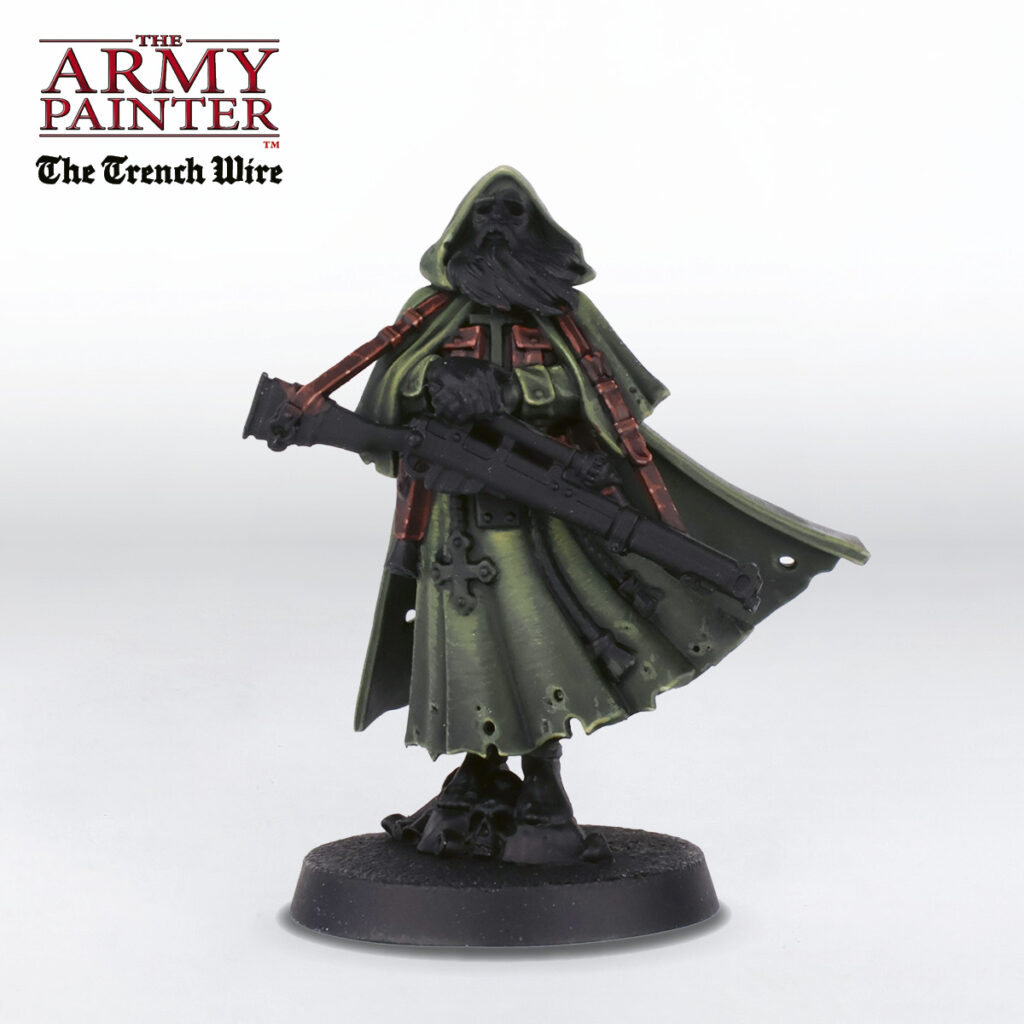
What good is a Sniper Priest without all those pouches to carry the ammo? Basecoat all the leather areas with Warpaints Historical Boot Brown.
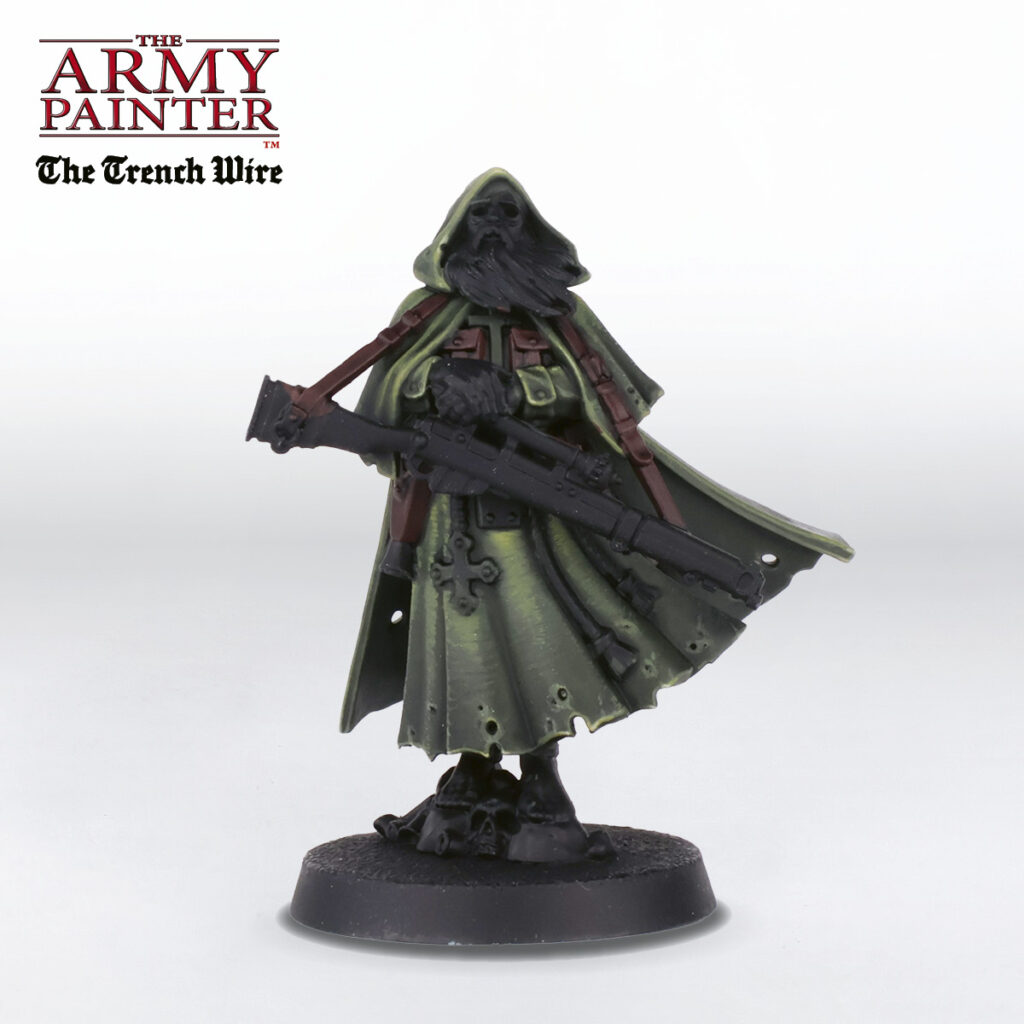
Step 1
The Skin
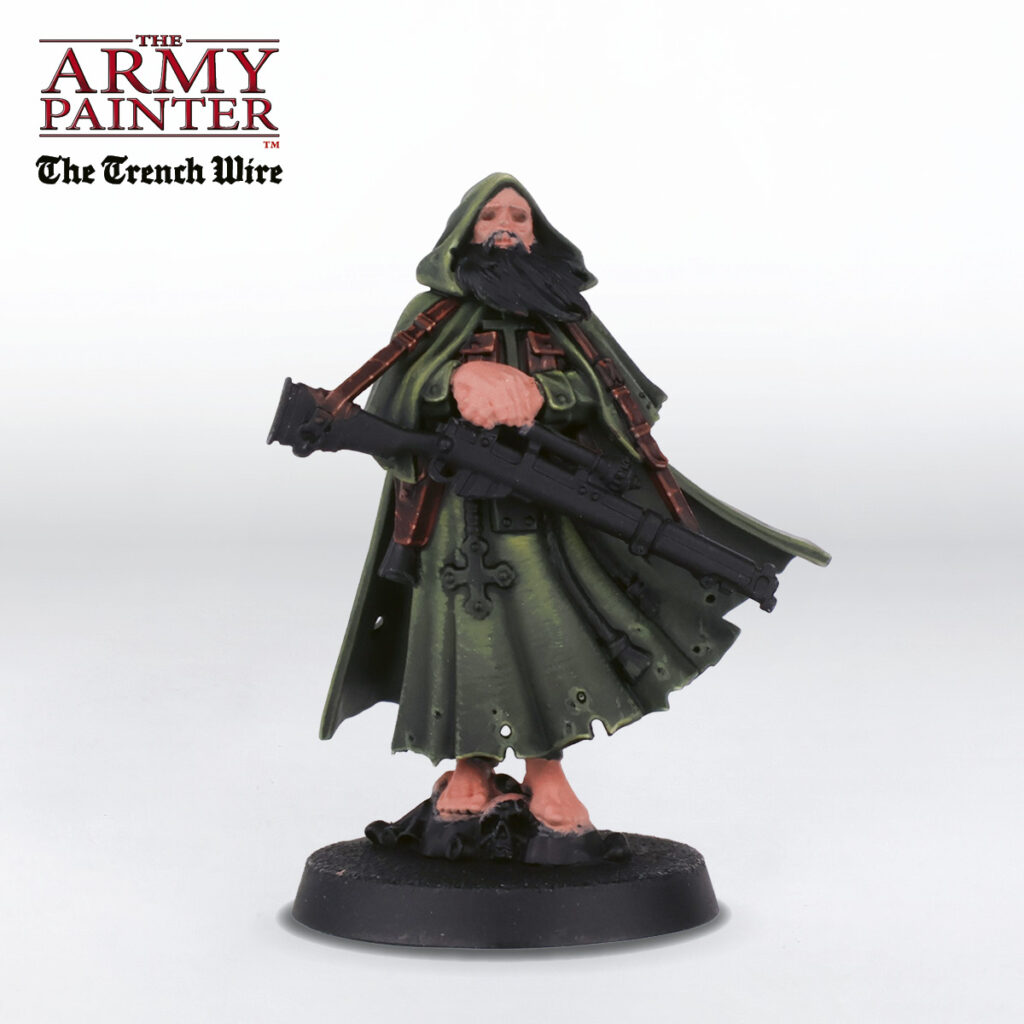
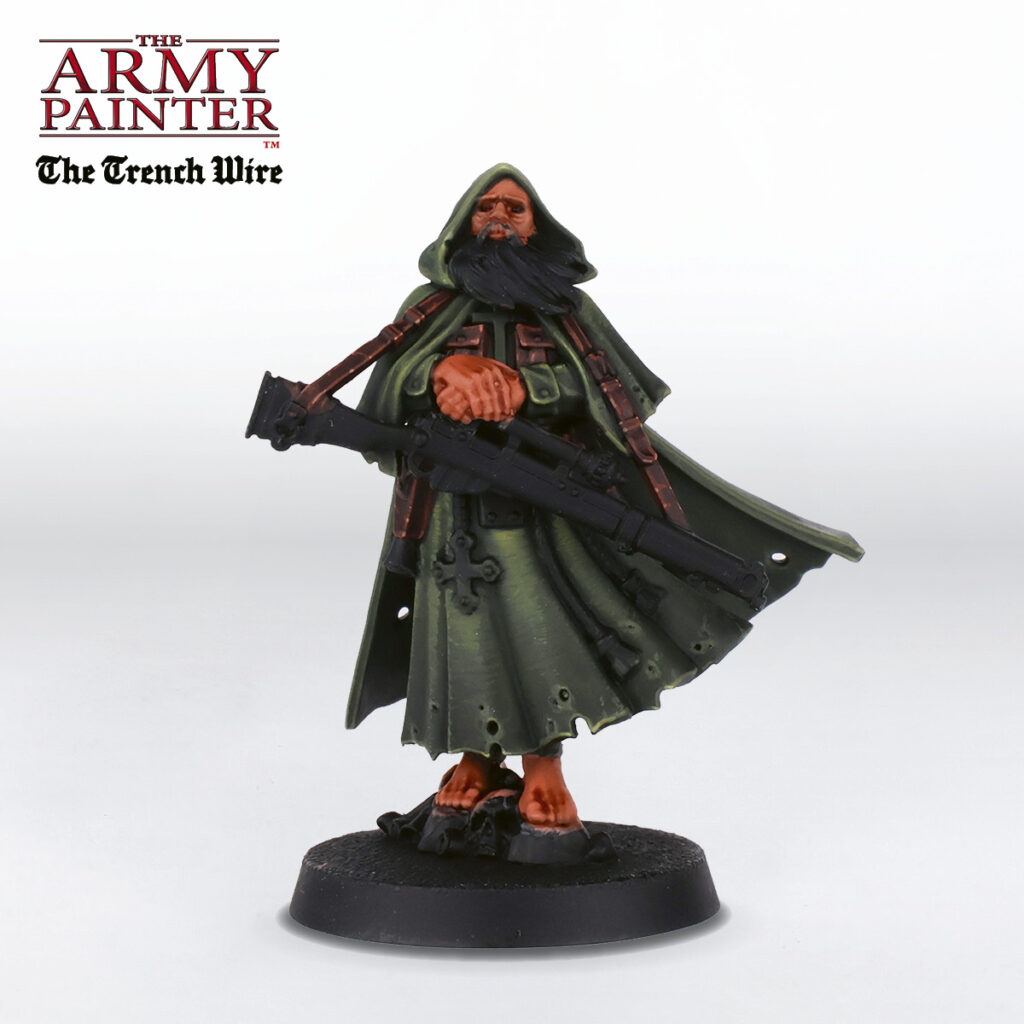
Unlike most Trench Crusade miniatures (at least the human ones!), this fellow has quite a bit of skin showing. Start by applying a basecoat of Warpaints Fanatic Agate Skin to all these areas.
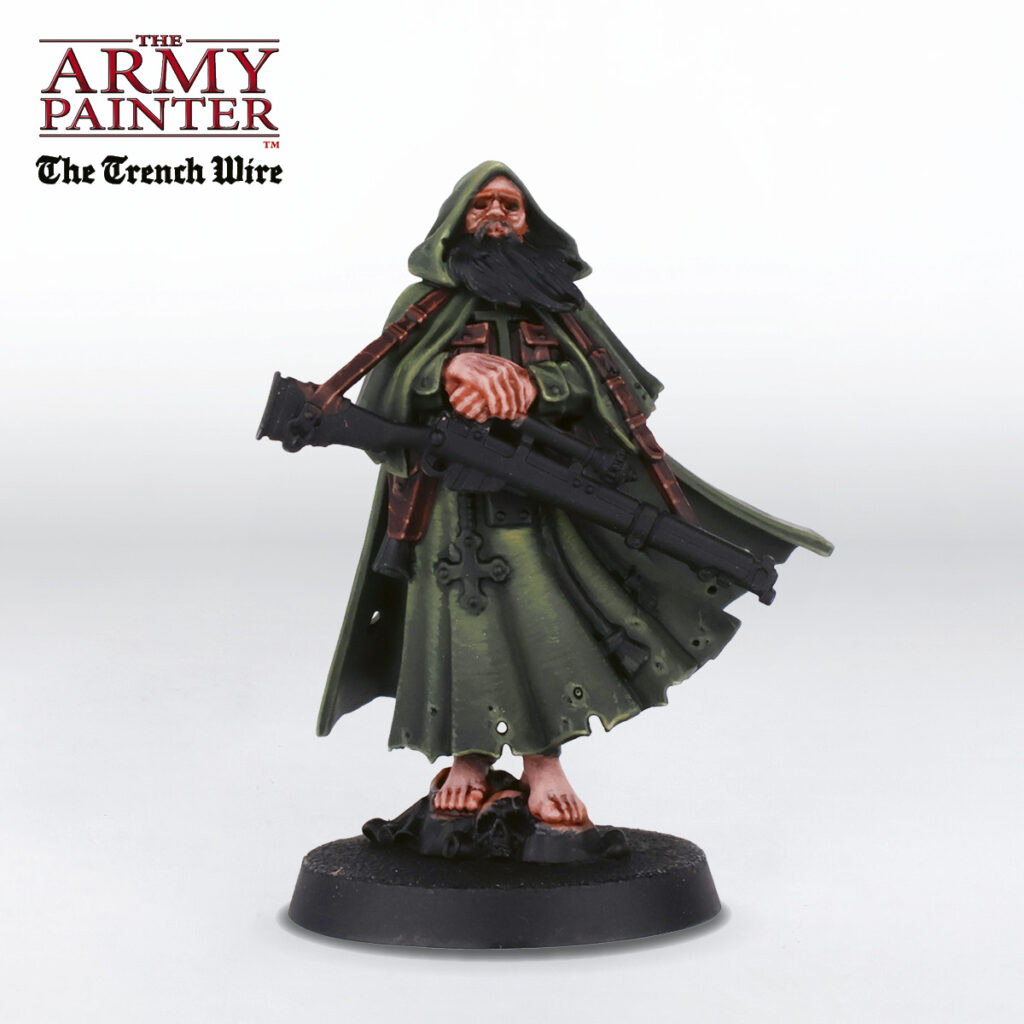
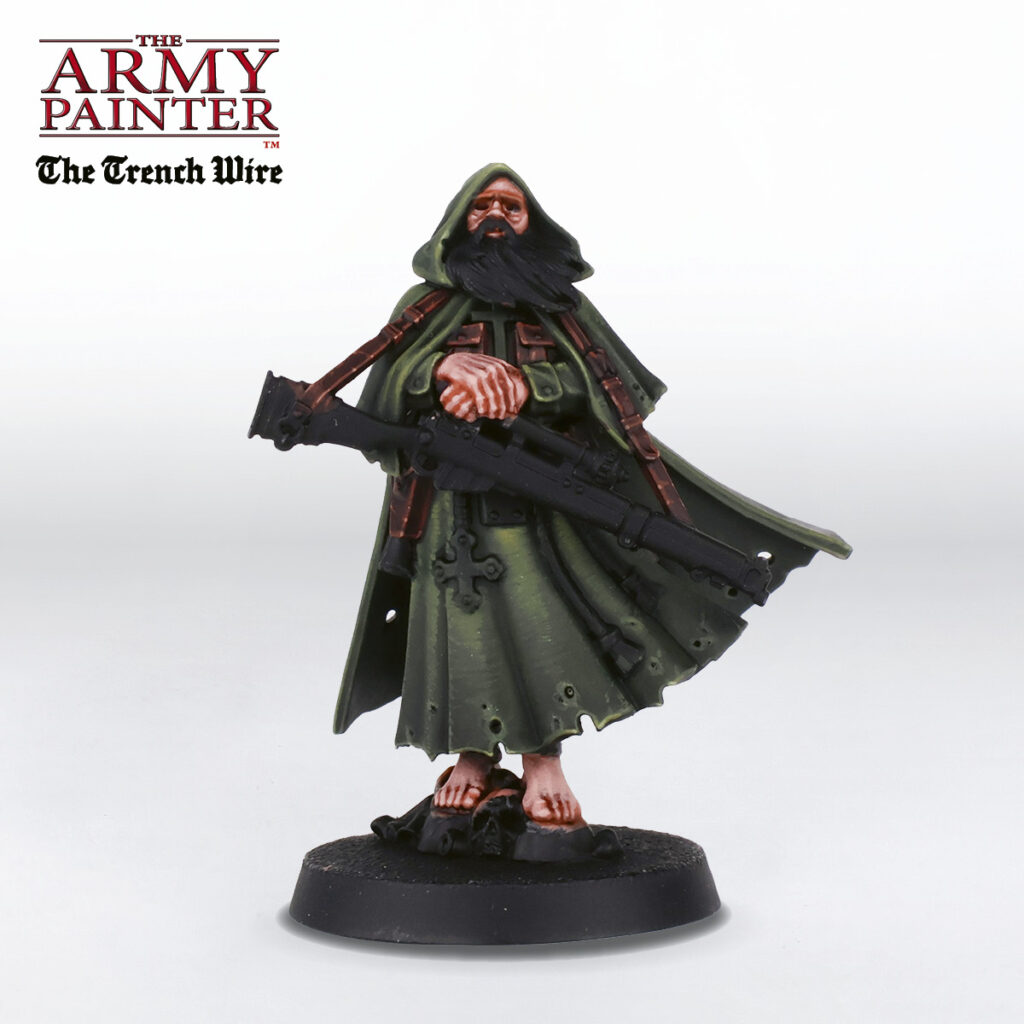
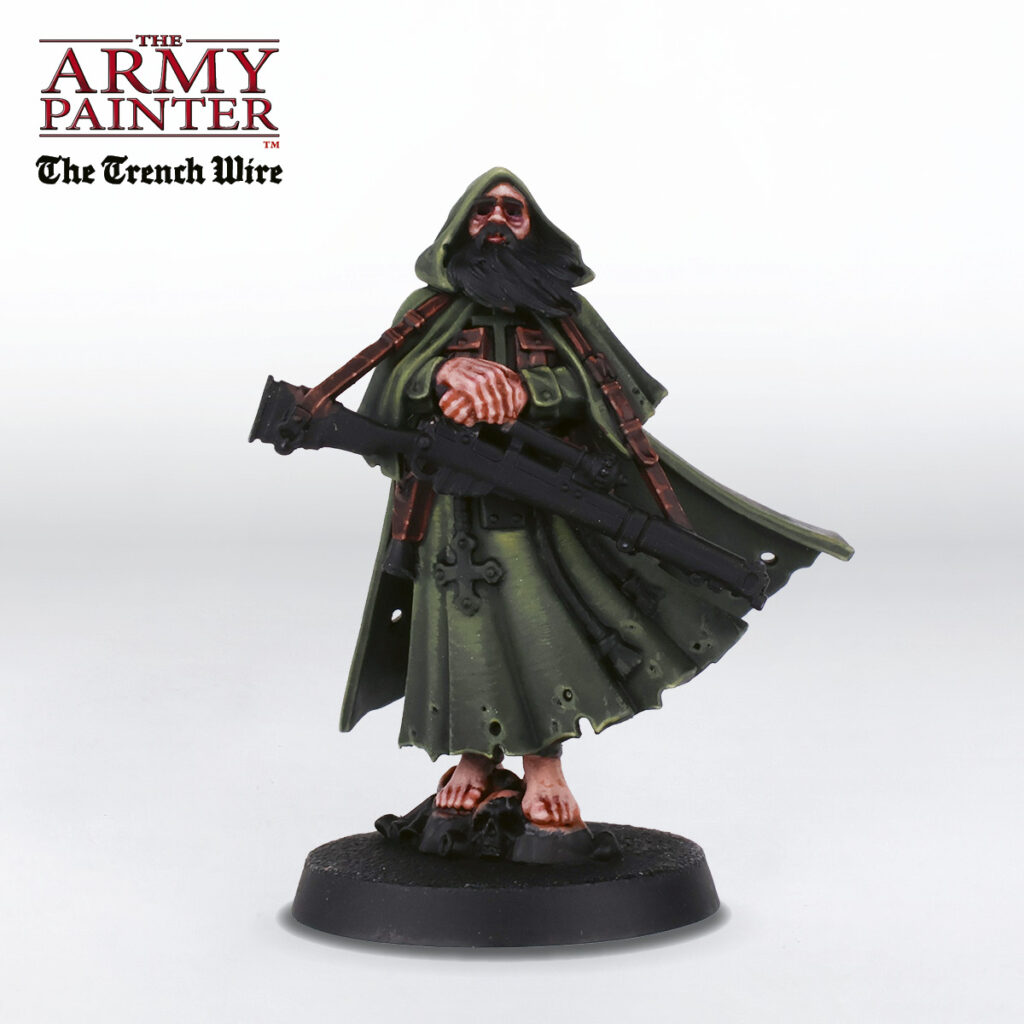
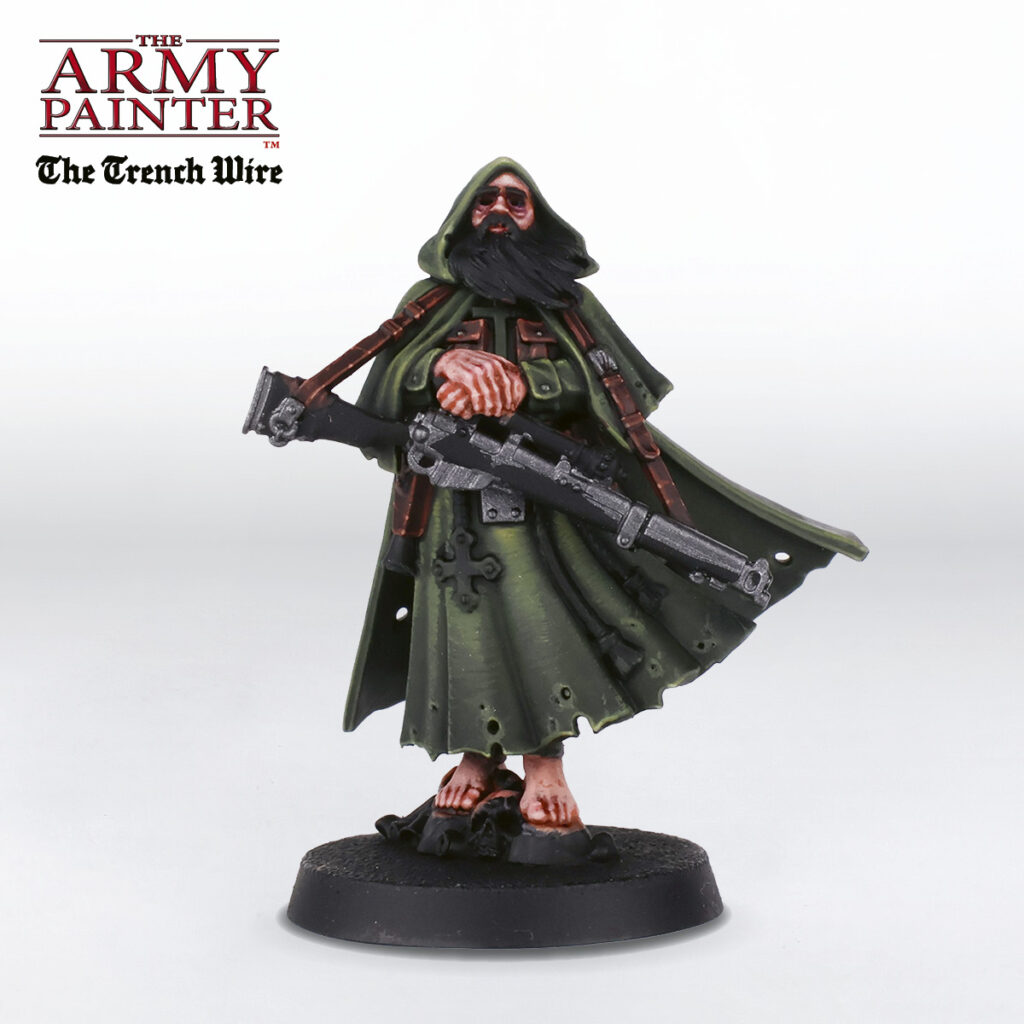
Step 1
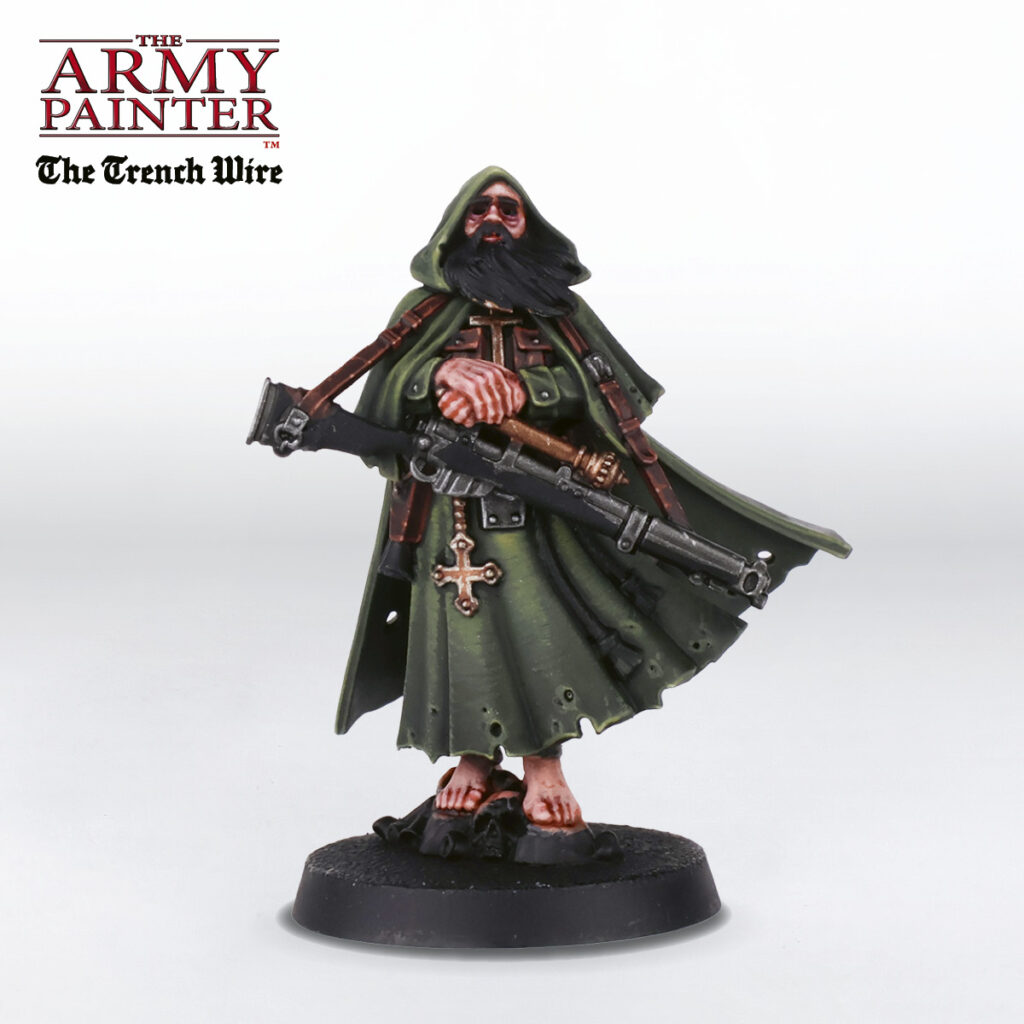
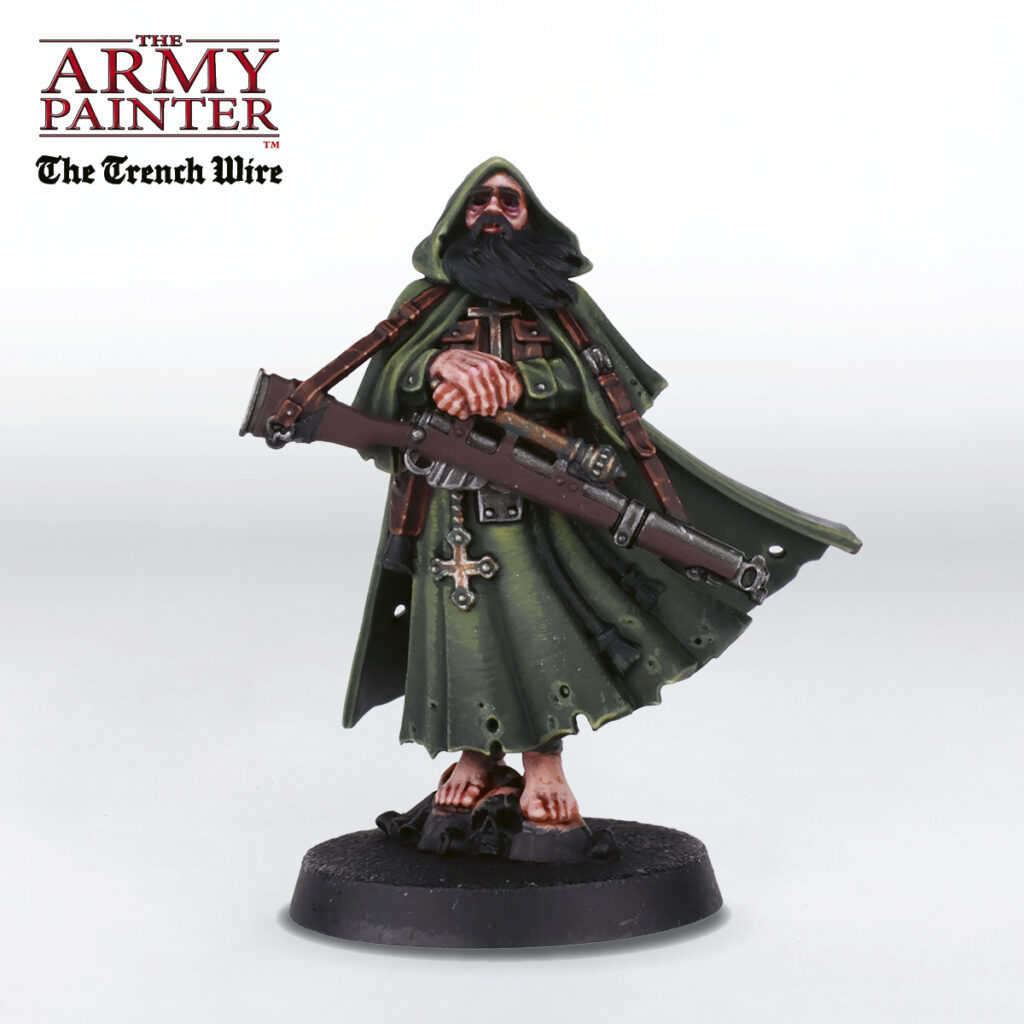
The Metallics
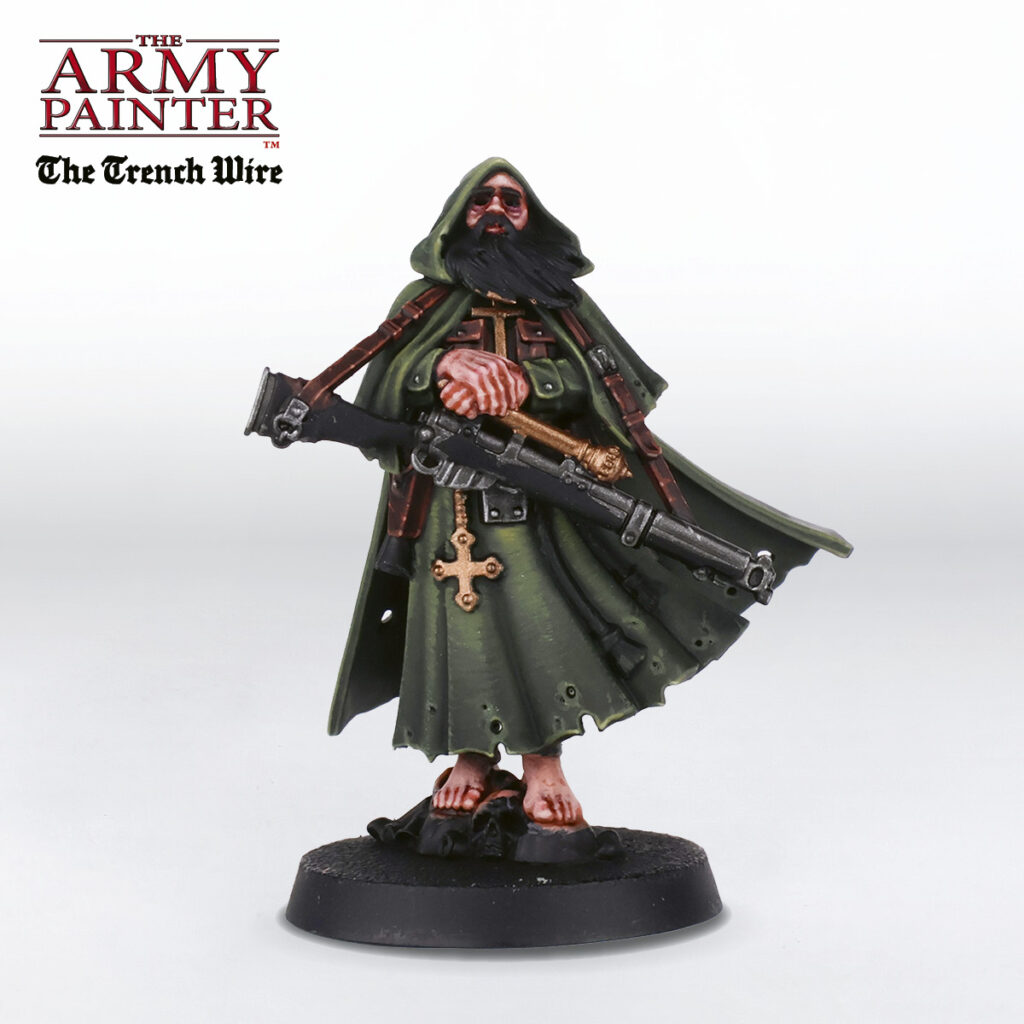
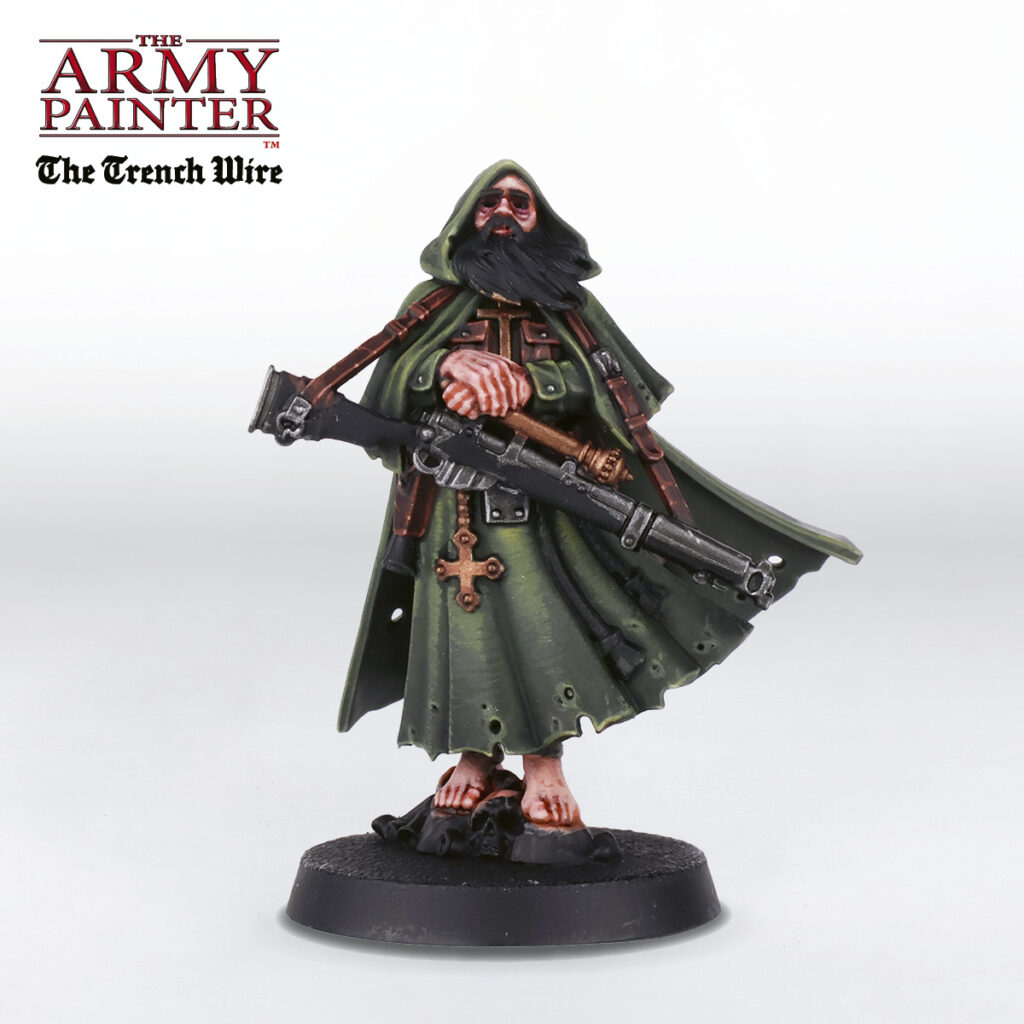
Basecoat all the steel areas with John Blanche Masterclass Heavy Metal.

Step 1
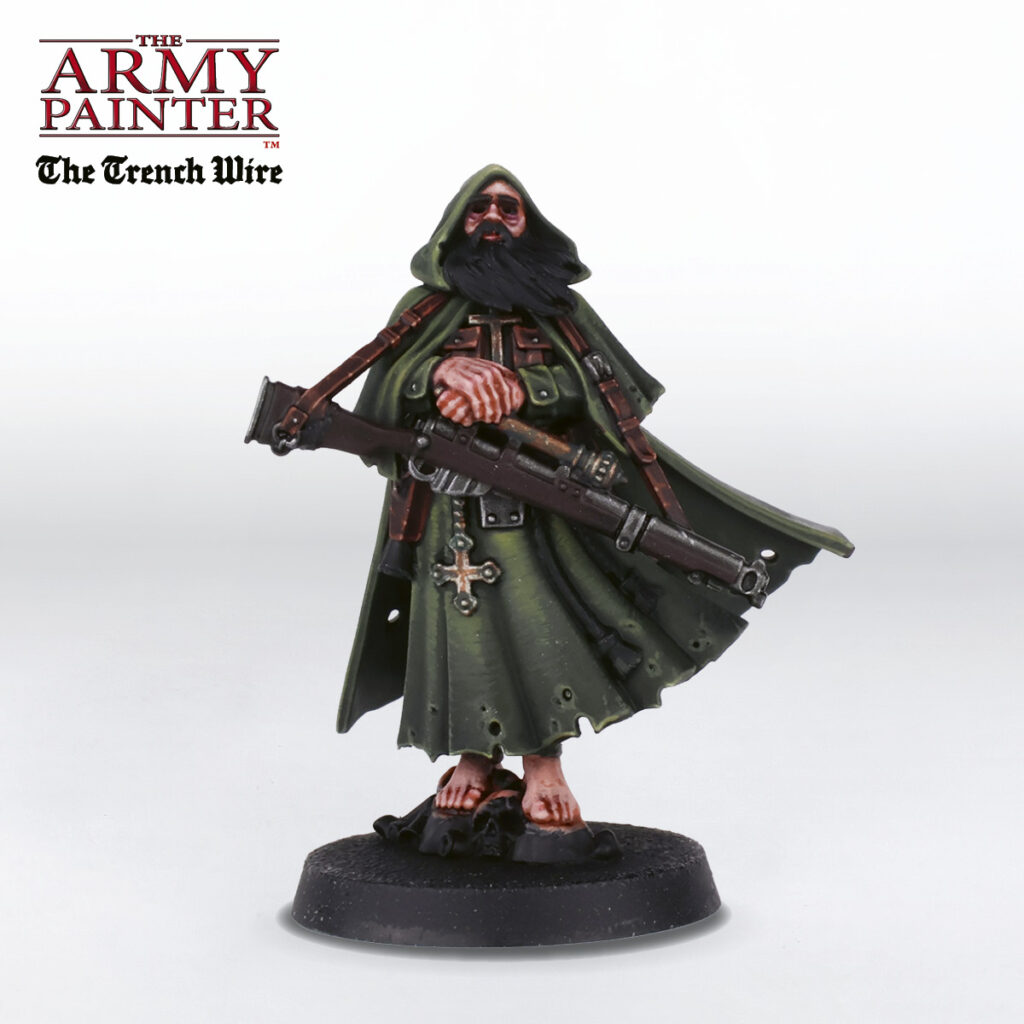
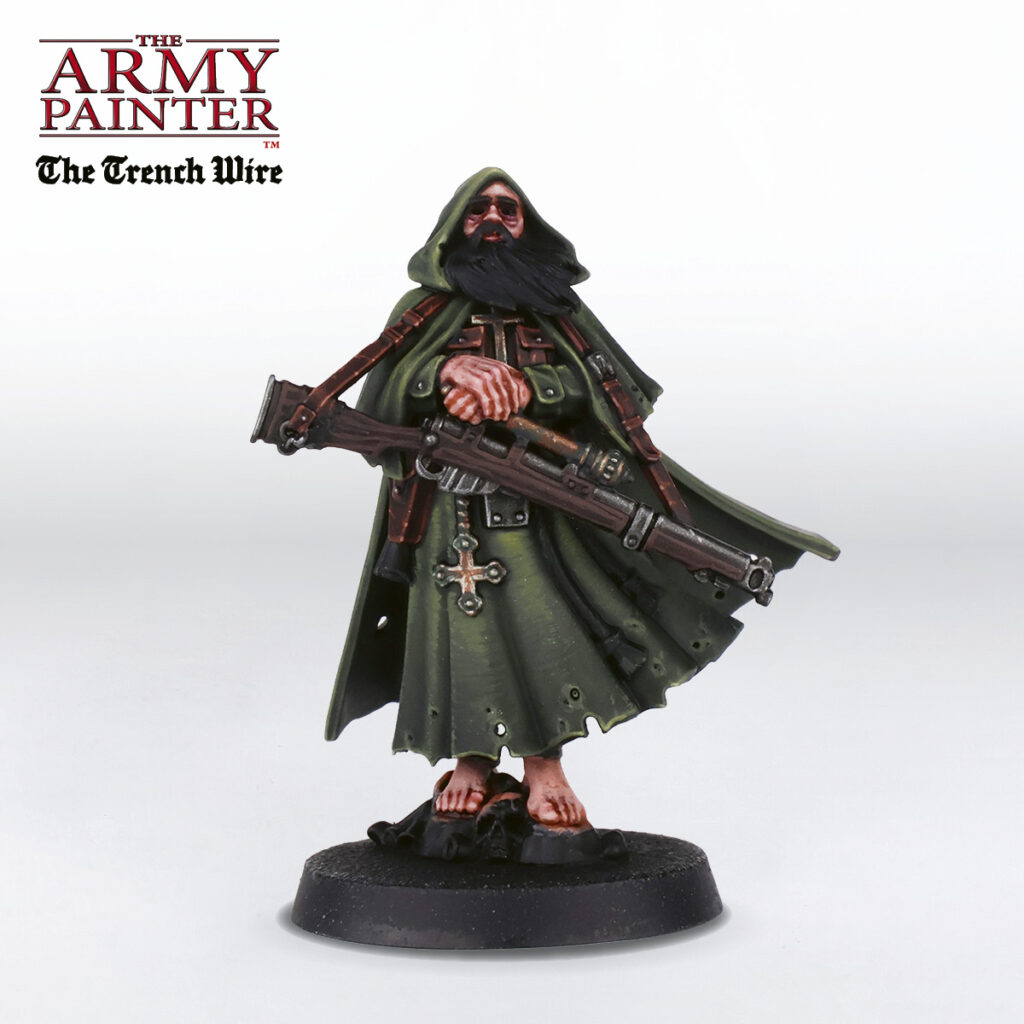
The Wood
Basecoat the wood of the sniper rifle with John Blanche Masterclass Banshee Brown.
Step 1
The Bone and Bandages
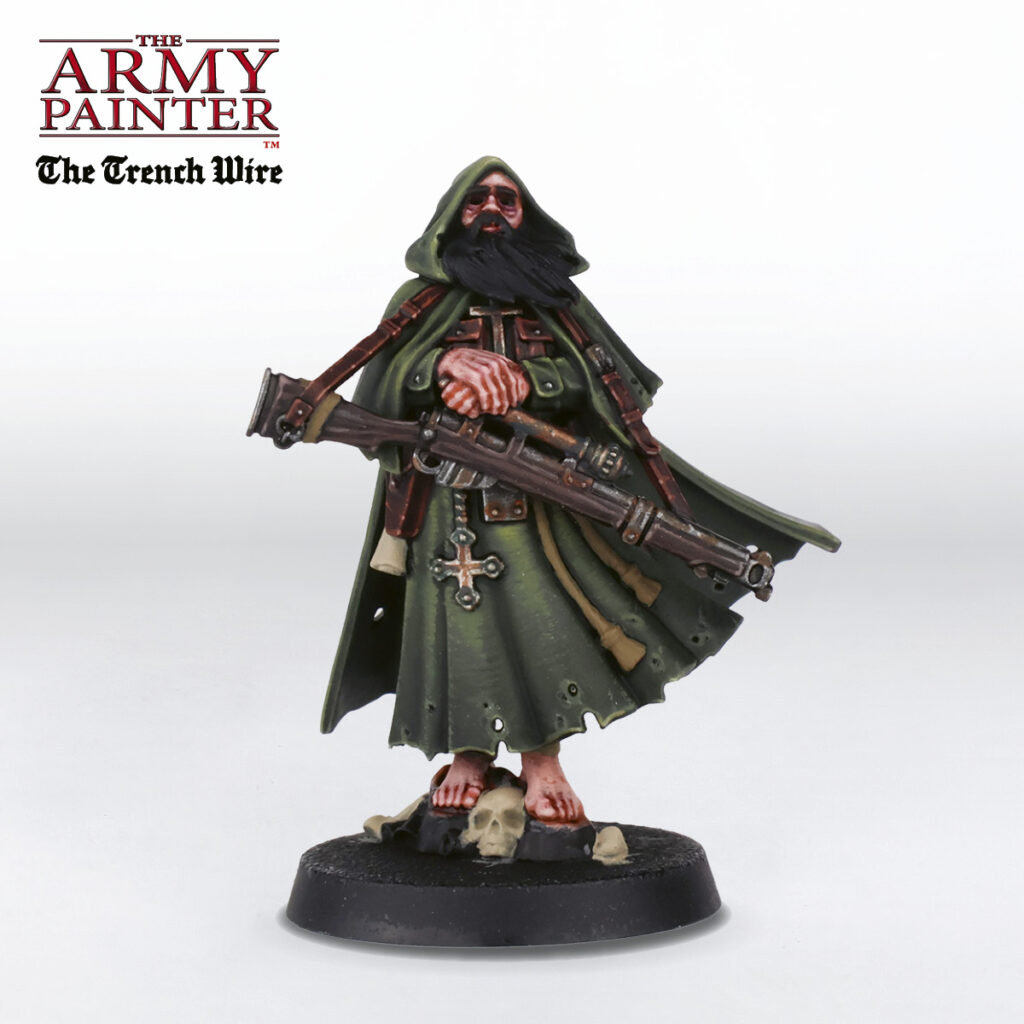
While he may not be wearing boots, this Sniper Priest has at least dutifully wrapped his ankles for a bit of support. Basecoat all the bandages on the model with Warpaints Historical Mid Battle Dress and the skulls on the base with Warpaints Historical Light Battle Dress.
Step 1
The Beard
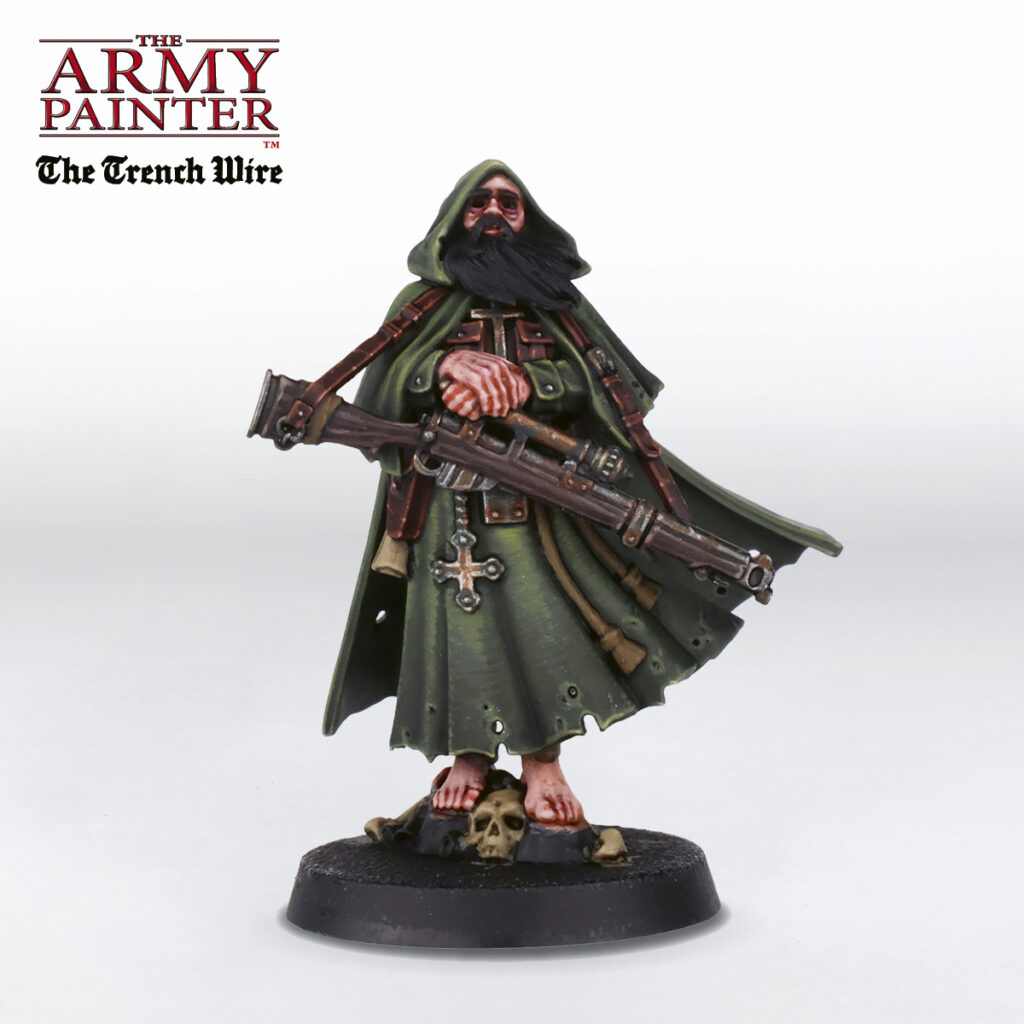
Basecoat the Priest’s voluminous beard with Warpaints Historical Dark Olive. This will give it a slight brown tint in the recesses, adding a bit more colour into it.
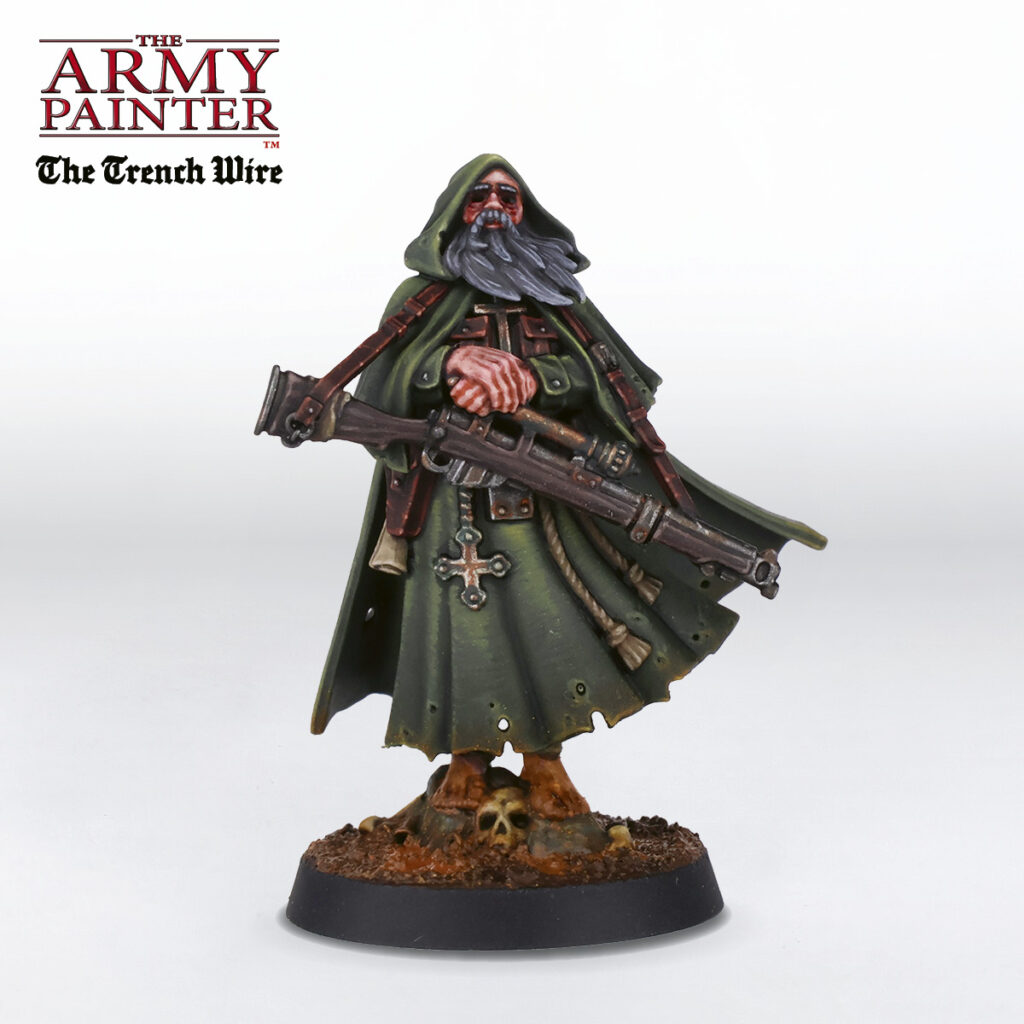
What would a soldier in the Trench Crusade setting be without an appropriately muddy base? Luckily, we’ve already devised an excellent basing scheme as used on our Prussians. You can watch that process here.
Step 1
The Base
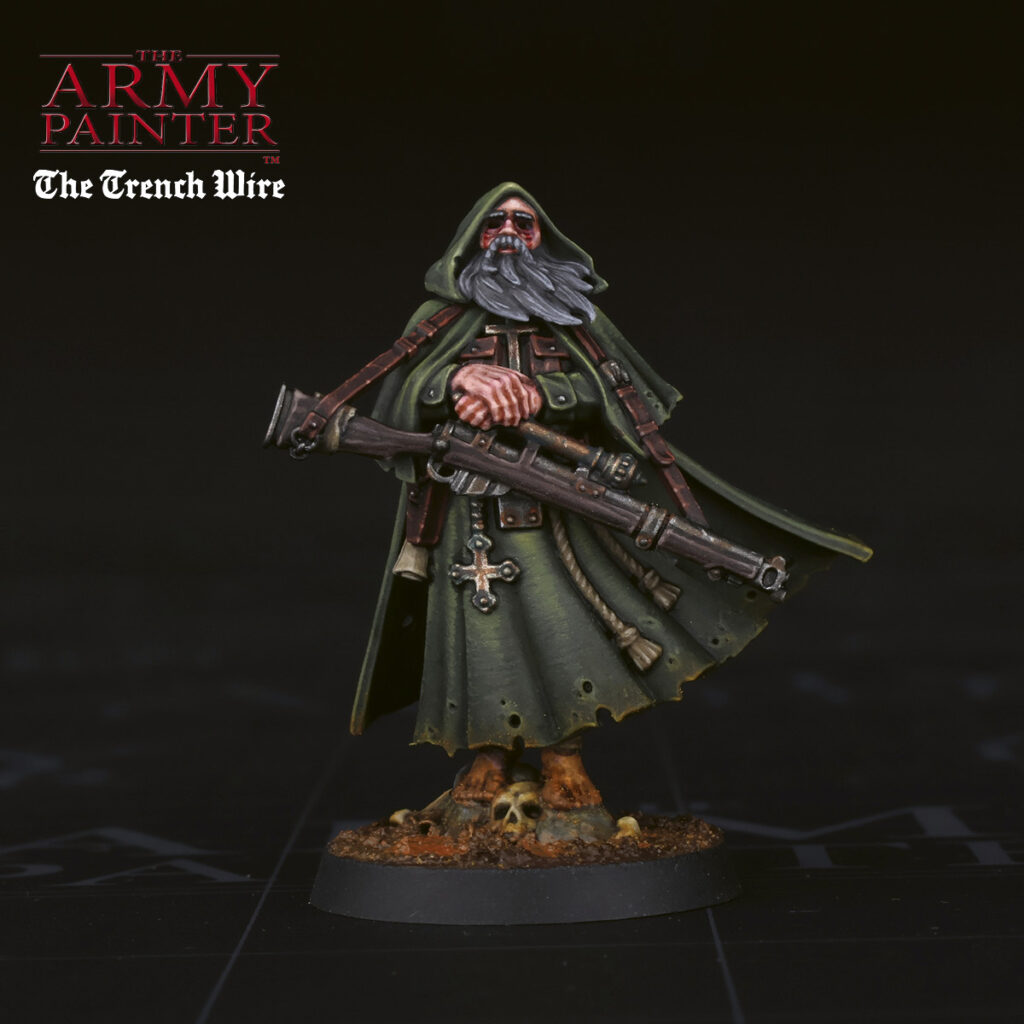
once the basing material is applied, basecoat all the dirt with John Blanche Masterclass Banshee Brown, followed by a wash of very thinned-down John Blanche Masterclass Grim Rust. You can also get this up on his feet and the skulls a bit. It’s a messy business after all. This all gets a coat of Warpaints Air Satin Varnish for a bit of a wet look.
Once dry, add puddles with a mix of John Blanche Masterclass Sunburst Ochre mixed with Gloss Varnish in a random pattern and voilà! A muddy base.
If you enjoyed this, be sure to follow us over at The Army Painter Blog , as well as on our social media channels on Facebook, Instagram, Threads, Bluesky, Youtube, and TikTok for even more great painting guides. We’ll be back here soon with even more great hobby coverage!

Tyler Mengel
Tyler Mengel is a lifelong hobby aficionado, having discovered the joys of painting minis and rolling dice 25+ years ago and never looking back. His claim to fame arose with his own site, Mengel Miniatures, a repository of hobby knowledge from reviews to tutorials and everything in-between. He’s now working for The Army Painter as one of their Studio Painters, creating numerous written and video tutorials, and he’s their one and only Social Media Specialist. You can follow him on Instagram @mengel_miniatures.