



New Antioch Sallet Build Guide
by Jamie McCann

Part 1: Preparing your 3D print
Nothing says Trench Crusade quite like a 15th century helmet being used on the battlefields of 1914! For our first foray into the world of propmaking, we will be taking on the iconic Sallet Helmet, most commonly seen worn by the line infantry of the Principality of New Antioch. This file, along with many other Trench Crusade props and armour pieces, is available from Galactic Armory, the official cosplay partner of Trench Crusade.
First things first, you’re going to need the raw 3D printed helmet. Depending on your settings, a single 1kg roll of filament should be more than enough to get you started on your journey to becoming a trench raider! You should have four parts: the main helmet body, a faceplate, and two pins to attach it all together.

Now, whilst 3D printing has come a long way in the last few years, there will still be some work needed to get it looking like real metal. For this, we are going to primarily use two different materials: body filler and filler primer. Those heretical layer lines won’t know what hit them with this combo! But what are these magical tools? The body filler putty is used on any heavy layer lines, steps, or support material scarring, and it is coated on the surface by hand. Filler primer spray paint is like any other primer, except it coats the surface with a very thick layer, settling into all of those print lines and giving you a nice, relatively even surface.
Once these have been applied, it’s time to get to the hard work: sanding. Sanding is almost entirely unavoidable in propmaking, but with the above tools, it should be a breeze! Start with a sandpaper grit of around 180 for any troublesome areas, and slowly move up the grits, reapplying layers of spot putty and filler primer as needed. Once you get to 400 grit, you’re almost there. Adding a bit of water to the surface with a spray bottle will help polish the helmet and get you one step closer to that realistic metal finish.
Halt! You do not have the NEGATE GAS Keyword!
That means when you use any of these materials, whether applying filler, or sanding the surface, you need to use proper protective equipment. Like in the trenches, a respirator is a must-have to stop any nasty fumes or dust particles, and disposable gloves will keep you safe when applying the filler putty. Your body will thank you later!
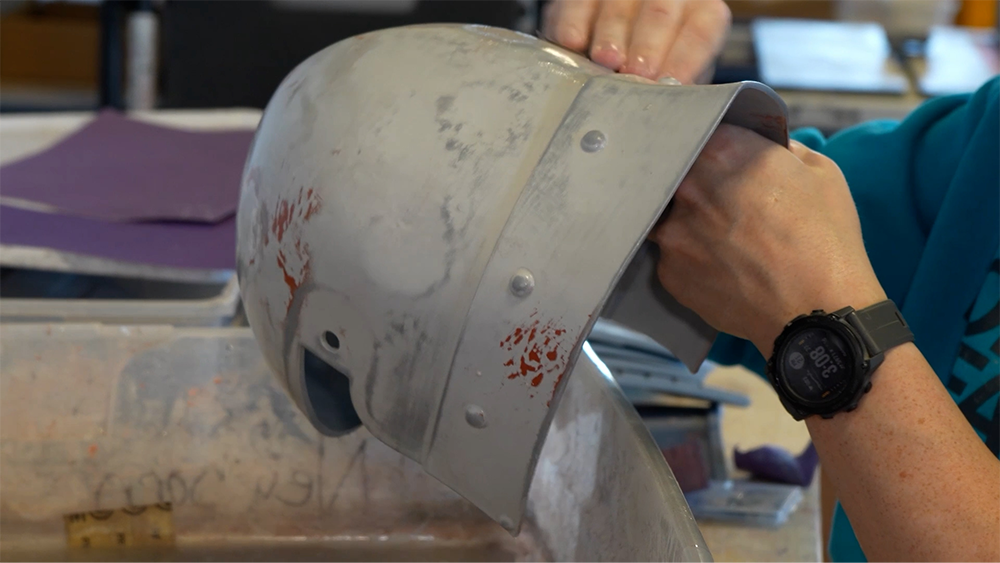
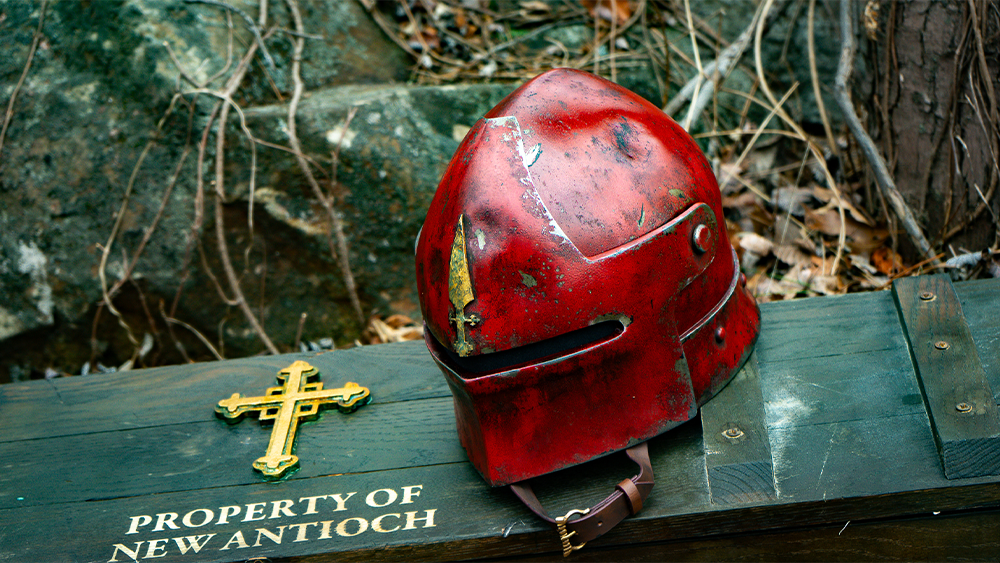
Good job soldier! Now it’s time for your reward: the paint job. In the next article, we’re going to cover some of our favourite ways to paint up sallet helmets, and most importantly, how to make them look like they have just come straight out of the trenches of Verdun!
This post contains affiliate links. If you purchase through them, Galactic Armory may earn a small commission at no extra cost to you.
Jamie McCann
Jamie is the co-host of the Galactic Armory Youtube channel, where he heads up their industrial-scale prop shop. A Northern Irishman stuck in New Jersey, he survives on a healthy diet of plastic dust and energy drinks. As a wargamer for over 25 years, he enjoys taking painting concepts usually reserved for miniatures and upscaling them to life-sized costumes and statues. Jamie takes great joy in grossing out his colleagues with his particularly wretched Black Grail warband.