



New Antioch Sallet Build Guide: Painting and Weathering
by Jamie McCann
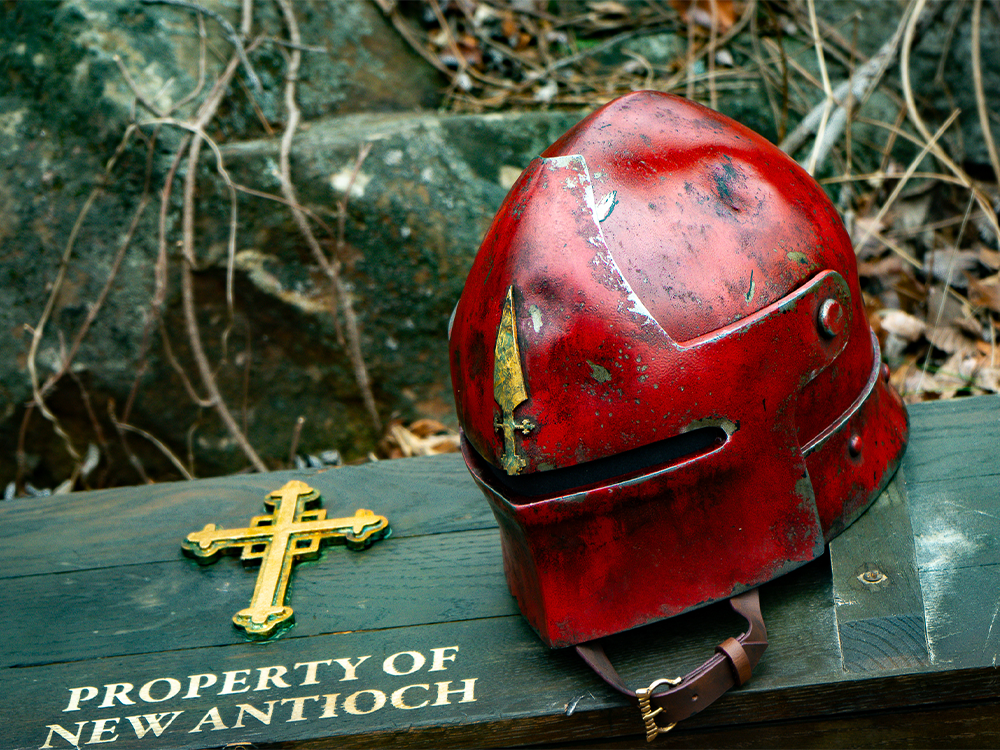
Part 2: Painting and weathering
Let’s be honest with one another; no one really enjoys sanding. But we persevere anyway, knowing that we will be rewarded. And your reward is finally here: the painting and weathering of your fully sanded and smoothed helmet! If you followed our previous guide, you should be ready with a lovely, polished smooth New Antioch sallet, ready to be embellished with holy ointments and unguents (or, you know… paint).
In today’s article, we are going to bring you through three different ways to finish your helmet, from basic, unadorned metal, all the way up to a ranking field officer. Not only that, you’ll learn a few fun methods to turn these newly smithed armour pieces into war-ravaged shields of faith. Don’t forget, you can get these 3D printing files over at Galactic Armory, the official cosplay partner of Trench Crusade!
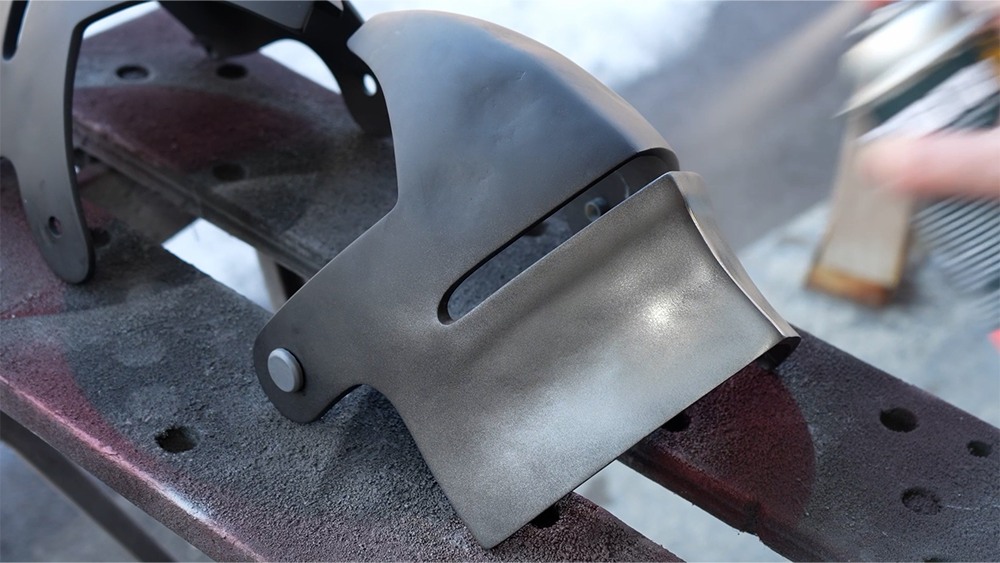
First off, let’s make this helmet look like the real deal. We recommend starting all three of these helmet finishes with a nice, metallic base coat of gunmetal spray paint. This will quickly help to sell that grimdark feel. And this is all you need to do to have a basic, clean sallet, straight from the armourer’s workshop! It’s a simple finish, but don’t worry, keep reading and by the end of this article you will know all the different ways you can make this helmet look like it’s just out of its first tour of duty!
Want to step it up a notch? Let’s add some colour! Nothing says medieval fantasy like bright, heraldic colours! Or, do you want to feel like a one of the grunts, charging across No Man’s Land to raid a nest of heretical foes? Let’s set us up for success early. You may wonder why I recommended spraying the helmet metallic, even though you intend to paint over it all with your choice of colour. Simple! The best way to make a finish more realistic is to add depth: paint chipping, dings, scratches, and general wear and tear. To achieve this, we are going to turn to a propmaker’s best friend: liquid latex. Using a disposable brush or a tooth pick, apply the latex to the edges of the helmet and randomly over the surface in differing shapes and directions. The chaos of war is never uniform, and your weathering shouldn’t be either!
Let the liquid latex dry, and get your choice of paint ready. Head outside and give the helmet a nice, even coat of either army green for a yeoman or bright red for a lieutenant or a member of the infamous Red Brigade, and you’re nearly done. It’s time to get down and dirty!
Weathering is easily the most fun part of propmaking – turning a clean, flat-looking prop into your own personal canvas for story telling. Weathering tells a tale of what the owner has been through up to that moment in time. Did shrapnel ricochet off their faceplate? Did a stray round glance off the surface? Did they take (and maybe not survive) a trench club to the dome? Or maybe it was simply discarded and left in the mud and grime for months, left to the mercy of the elements?* This helmet is your chance to show off your creativity!
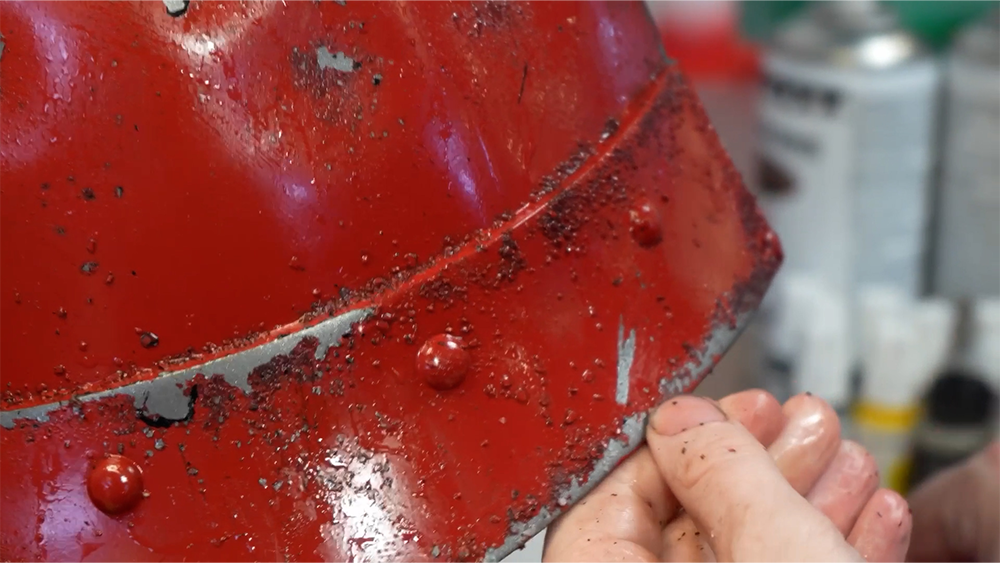
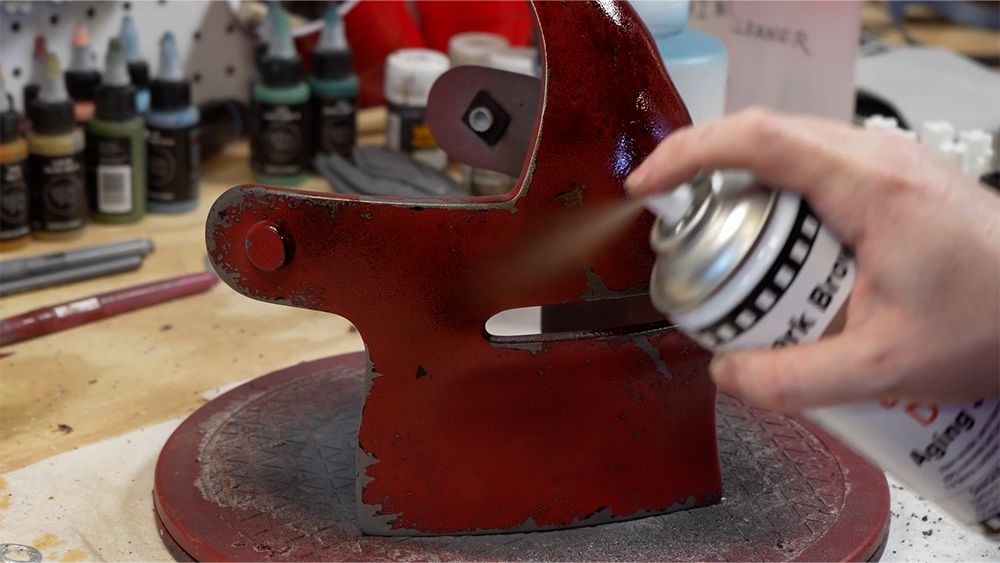
Let’s start by removing all of that liquid latex we applied earlier. Using a toothpick, carefully peel it off, revealing the metallic layer below from earlier in our process. This is a super quick and effective way to achieve awesome paint chipping. But let’s not stop here, trooper! We have one more step to finish this work of art. The trenches are a muddy, grimy place, and the best way to achieve this (ironically) is with a wash. Mix some muddy, brown acrylic paint with some water, and using a sponge brush, coat the entire helmet with your mixture, making sure to wipe away any pooling and drips. As the acrylic dries, it will discolour your helmet, and adding more variations in shades of browns and blacks will just make it look more realistic.**
We’re on the home stretch! Now customise your helmet however you see fit. Want to go all out with a lieutenant? We even have a Spear of New Antioch decoration for you to add to the front of your faceplate. Spray it with a lovely gold finish to show everyone that you’re the boss in this dugout!
And here we have them! Two ‘fresh’ sallets ready for the front lines on the fight against the forces of Hell! Have at ’em, boys!

This helmet truly is a wonderful opportunity for you to flex your creative muscles, with every technique discussed in this article being transferable to any other prop or project you work on. Just check out some of the wonderful, creative and gross ways you can finish this helmet below, taken from the recent painting competition hosted on the Galactic Armory Patreon!
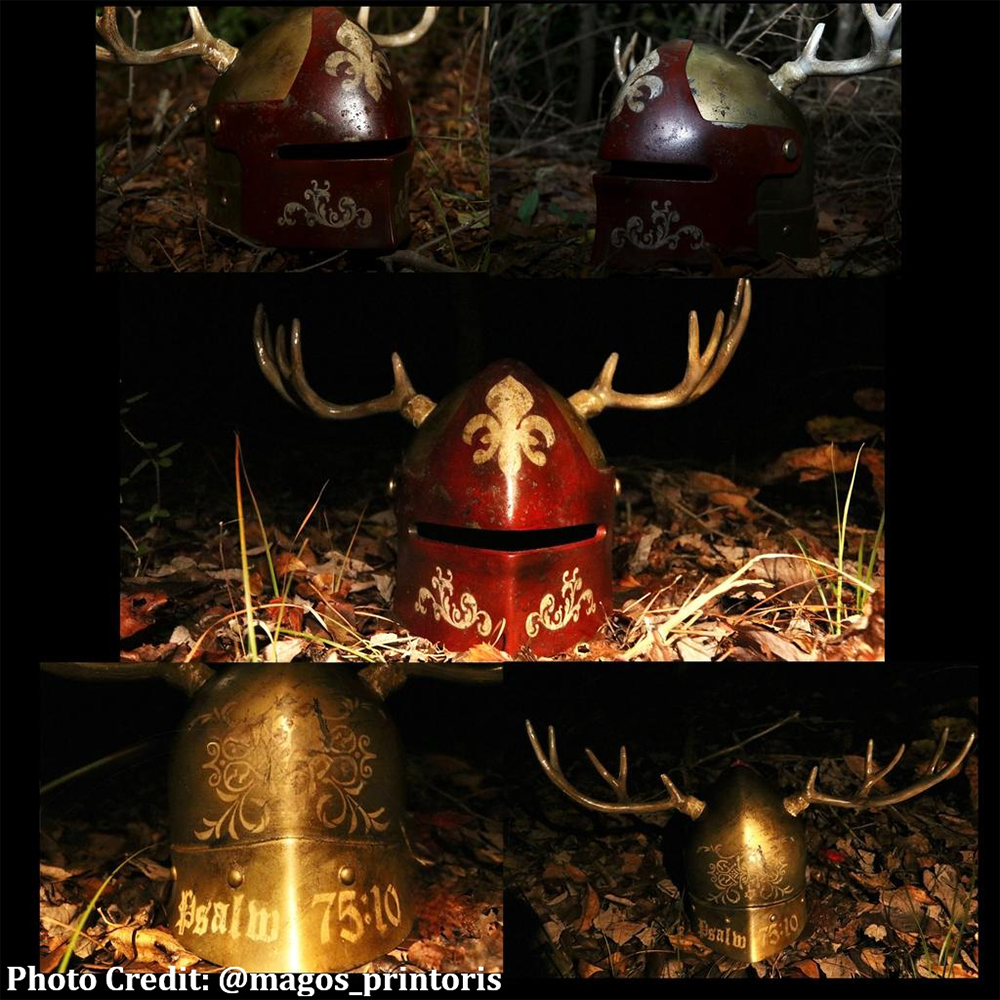
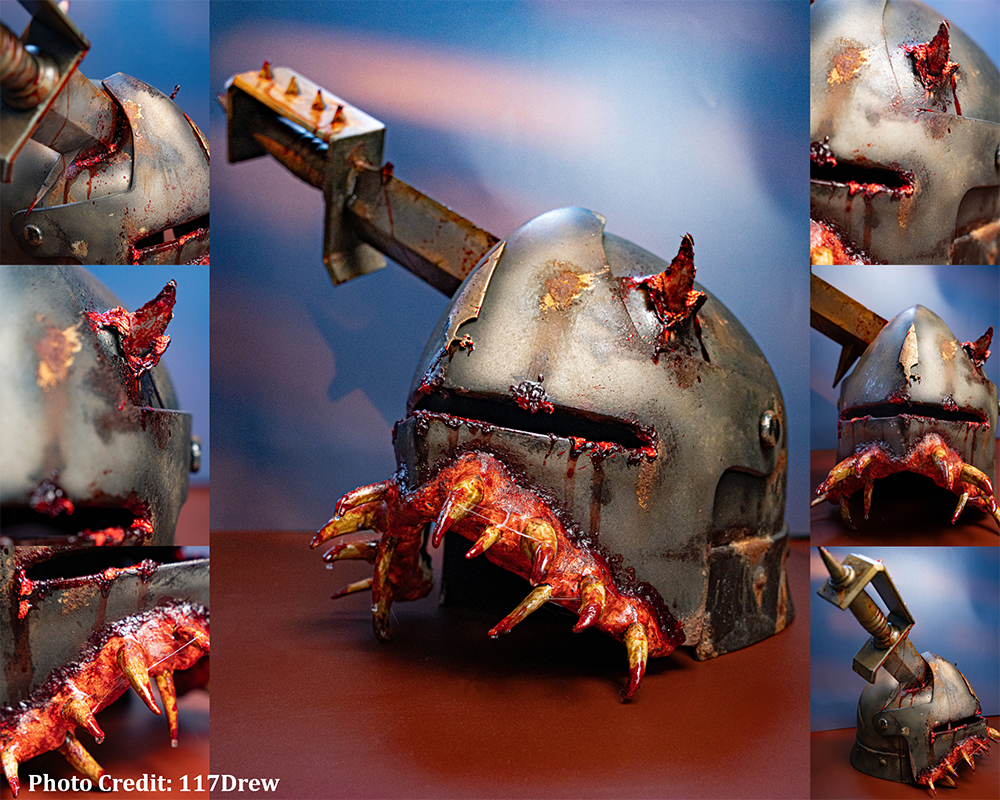

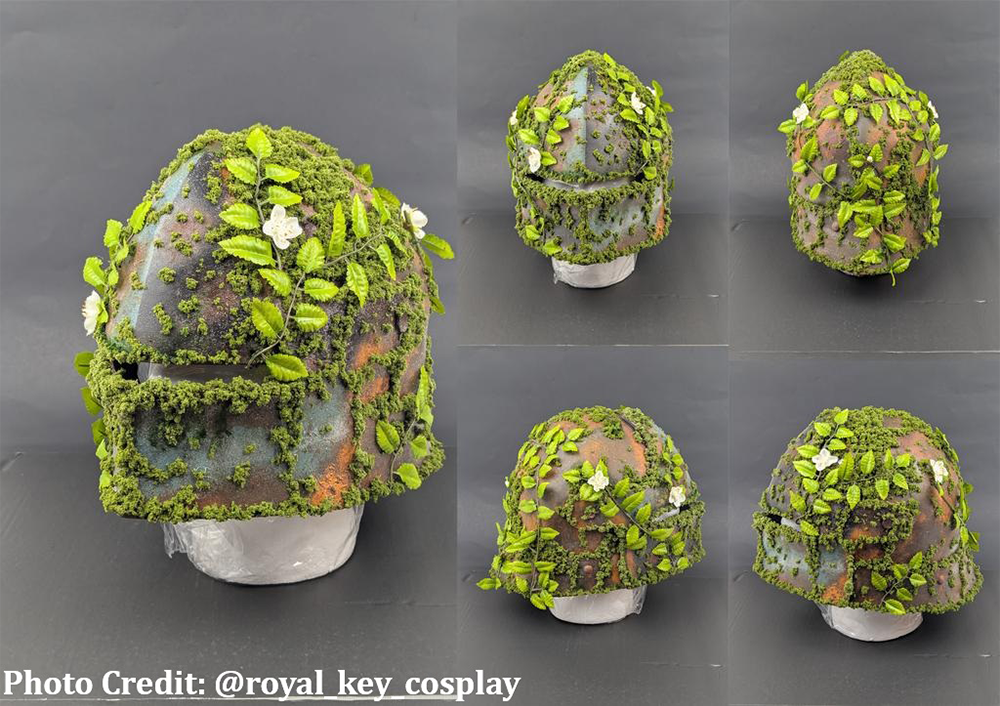
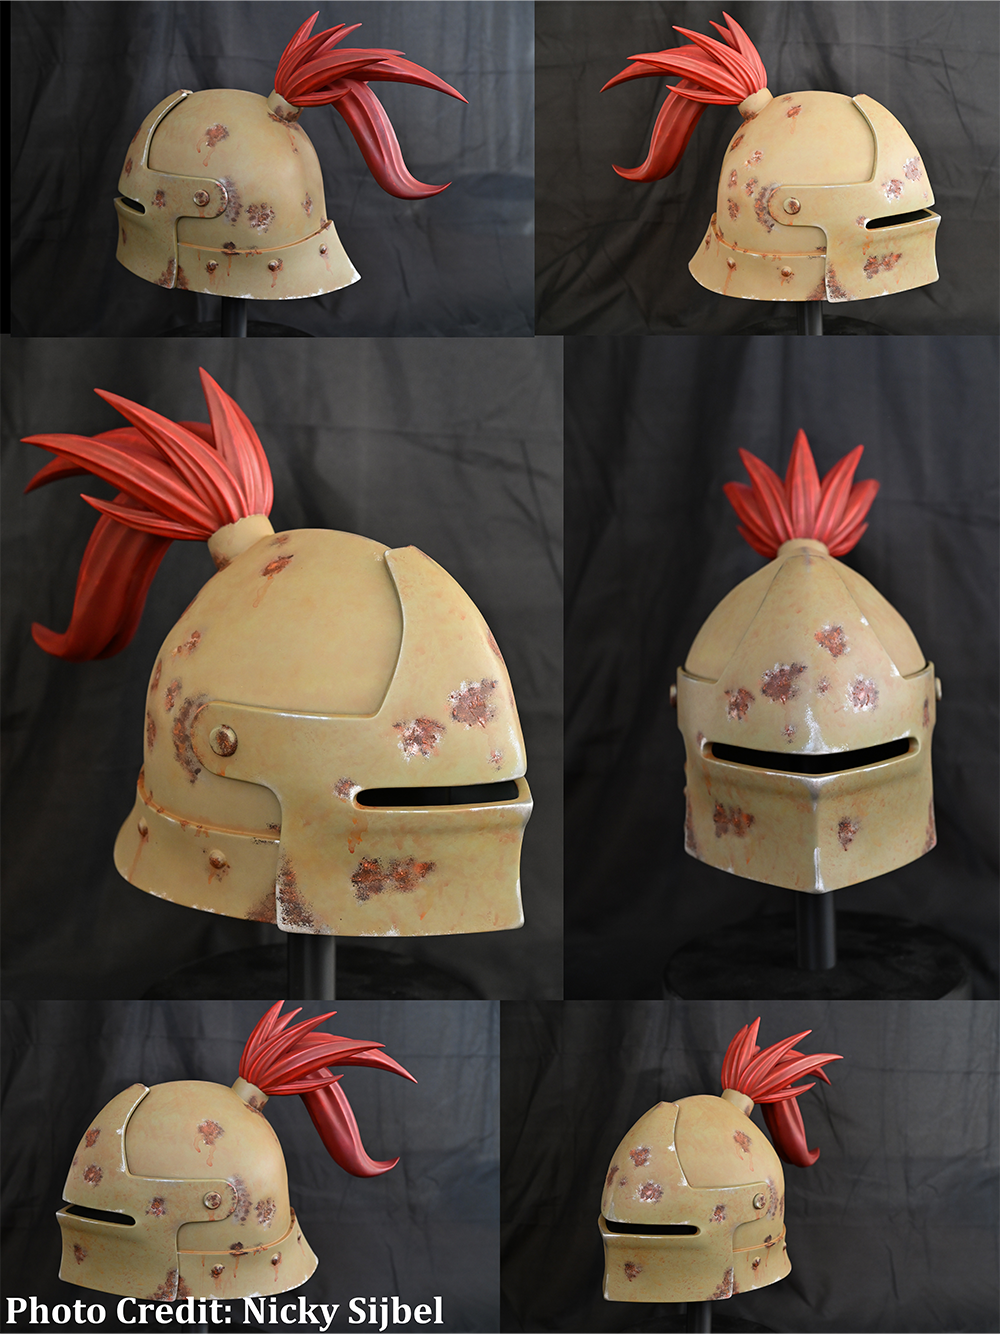

Thank you for following along with this build! I truly hope it has motivated you to up the scale of your artistic pursuits – miniatures are awesome, but why not become that yeoman yourself? Make sure to tag both Galactic Armory and Trench Crusade in your progress, and keep an eye out for future articles giving you the best tips and tricks to make your future cosplay projects more trenchy!
*Keep an eye out for a future article on how to achieve realistic rust!
**Want to cheat? Why not use a product from our friends over at Goblin’s Hut. Their product ‘Dirty Down’ is a wash in a can!
This post contains affiliate links. If you purchase through them, Galactic Armory may earn a small commission at no extra cost to you.
Jamie McCann
Jamie is the co-host of the Galactic Armory Youtube channel, where he heads up their industrial-scale prop shop. A Northern Irishman stuck in New Jersey, he survives on a healthy diet of plastic dust and energy drinks. As a wargamer for over 25 years, he enjoys taking painting concepts usually reserved for miniatures and upscaling them to life-sized costumes and statues. Jamie takes great joy in grossing out his colleagues with his particularly wretched Black Grail warband.