



First Strike: The Principality of New Antioch
by Magnus Laursen
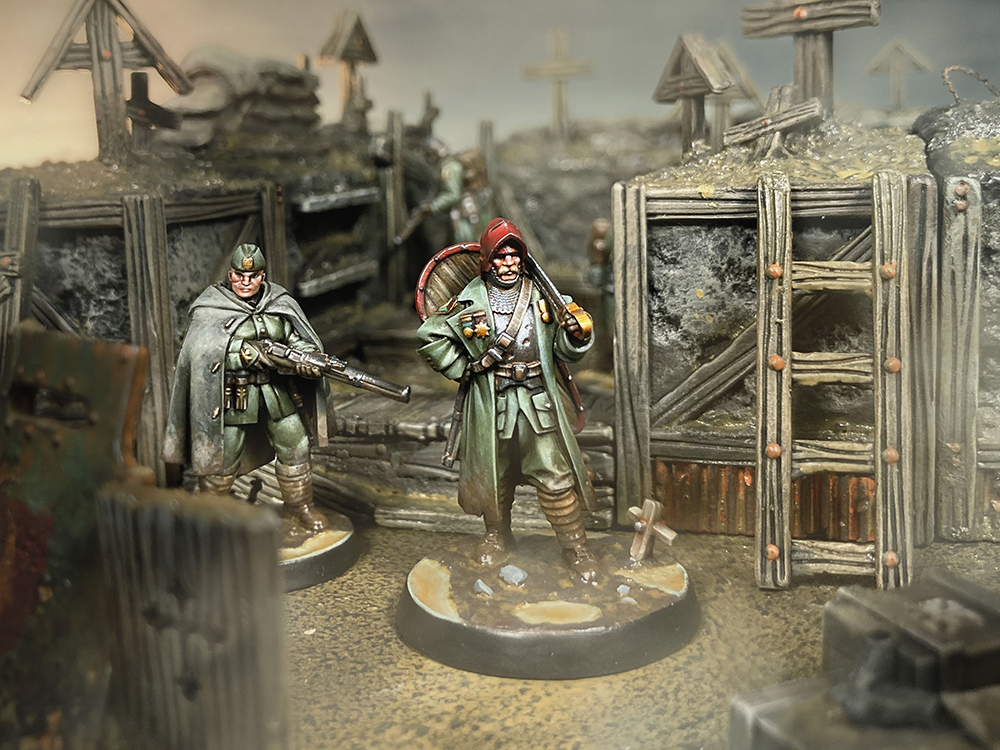
Welcome to First Strike, an article series intended to help new players with building their first Warband. Warband building is one of the most exciting and interesting aspects of Trench Crusade, but starting out, it can seem a little daunting. To make things easier, these articles take their basis in the official Warband boxes, so if you have the box, you’re ready to get started!
While Warbands can be built with a particular theme, strategy, or power level in mind, these lists are designed to get you playing as fast as possible, with an emphasis on showcasing a variety of flavorful rules and mechanics. You may find that your soldiers’ Battlekit – their weapons, armour, and other equipment – differs from what’s shown on the actual model. This is a core element of the game: as your Warband battles through No Man’s Land, your soldiers will grow stronger, receive promotions, and find new gear. The important thing is making it clear to your opponent (and yourself) who’s who in your Warband, and what Battlekit each model is equipped with.
To start us off on this journey, we will first take a look at the Principality of New Antioch, the brave men and women of Christendom who have kept the forces of Hell at bay for more than three hundred years. On the battlefield, these stalwart soldiers employ combined arms and tactical fireteams to take on enemies far greater in size. What they may lack in monstrous creatures or sinister spellcasters, they make up for with formidable suits of mechanized armour and a vast arsenal of ranged weapons.
The List
| Faction: The Principality of New Antioch Rating: 700 Ducats | 0 Glory | Patron: None Elites Lieutenant – 154 Ducats • Battlekit: Submachine Gun, Sword / Axe, Reinforced Armour, Trench Shield Sniper Priest – 93 Ducats • Battlekit: Sniper Rifle, Mountaineer Kit, Shovel Troops Combat Engineer – 110 Ducats • Battlekit: Automatic Shotgun, Shovel, Engineer Body Armour, Satchel Charge Mechanized Heavy Infantry – 160 Ducats • Upgrades & Choices: Machine Armour • Battlekit: Machine Gun, Great Hammer/Maul, Combat Helmet, Machine Armour Yeoman – 52 Ducats • Battlekit: Shotgun, Bayonet, Trench Shield Yeoman – 37 Ducats • Battlekit: Bolt-Action Rifle, Bayonet Yeoman – 56 Ducats • Battlekit: Pistol / Revolver, Medi-Kit, Musical Instrument Yeoman – 38 Ducats • Battlekit: Trench Knife, Frag Grenades |
| Lieutenant – 154 Ducats • Battlekit: Submachine Gun, Sword / Axe, Reinforced Armour, Trench Shield |
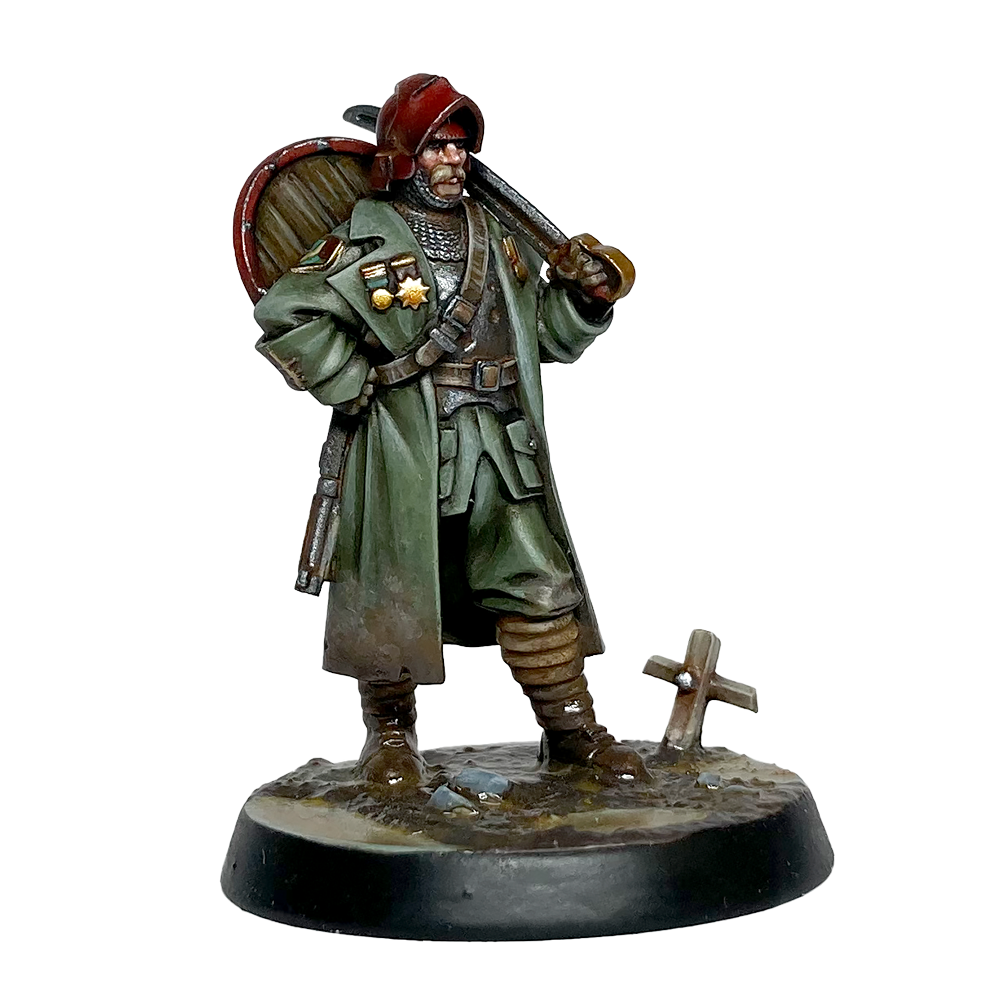
Leading the warband into (hopefully) glorious battle, is the Lieutenant, a flexible and durable commander who can comfortably engage the enemy on all fronts. Wearing both Reinforced Armour and a Trench Shield, the Lieutenant boasts an impressive -3 Armour. Armed with a sword, they can reliably defend themselves in melee, while the Submachine Gun allows them to fire twice – this can even be done at separate points during the Activation, making it a versatile weapon indeed!
What really brings the Lieutenant’s tactical acumen to the fore, however, is their Hold Your Fire! ability. With this Action, you get to decide what model your opponent must Activate next – as long as the Lieutenant can see the target. This is a great way of forcing the opponent’s hand, baiting War Wolves up the board or driving enemy key pieces out into the open.
| Sniper Priest – 93 Ducats • Battlekit: Sniper Rifle, Mountaineer Kit, Shovel |
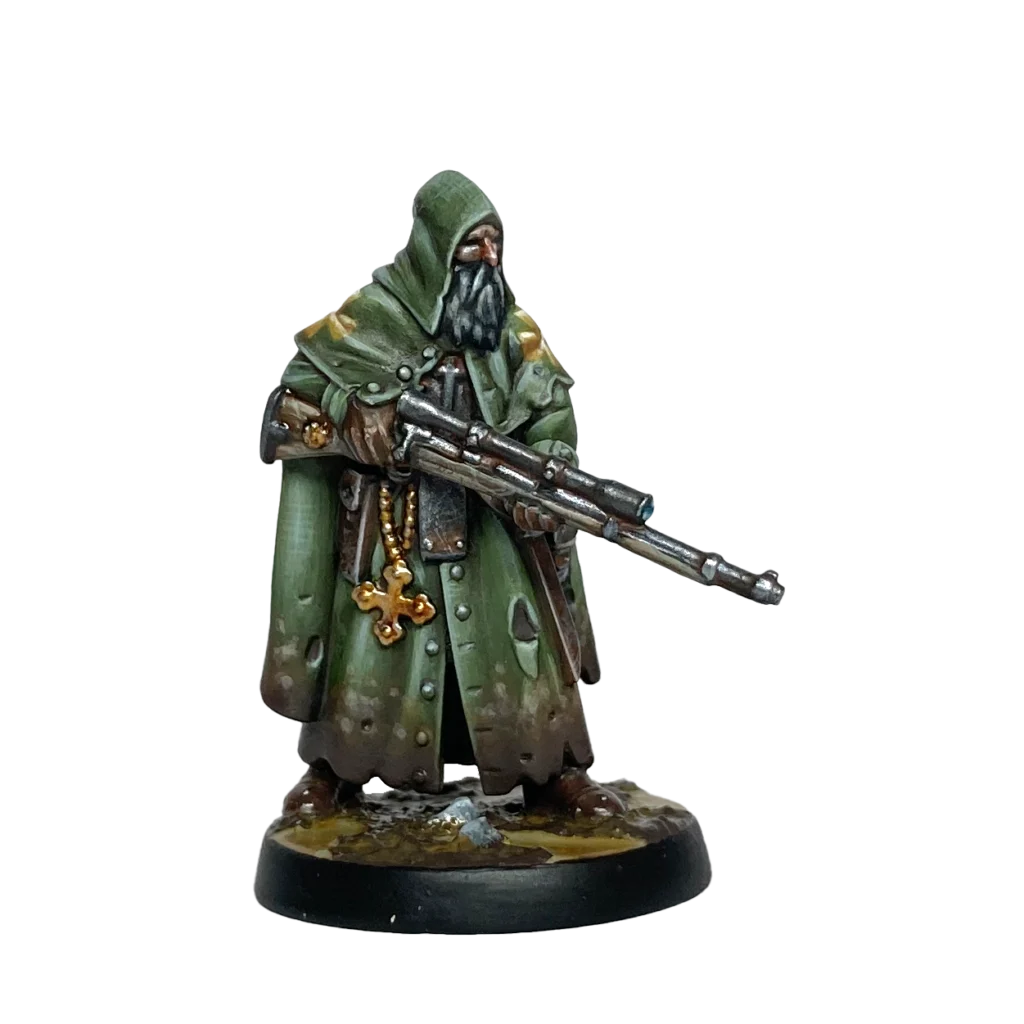
The second Elite of the warband is the Sniper Priest. Where the Lieutenant might want to engage the enemy up close, this venerable sharpshooter is better suited for picking off enemy elites at a safe distance. To that end, we’ve given them a Sniper Rifle. This powerful long-range weapon has a chance to ignore Armour on a Critical Success, a prospect greatly improved by the Priest’s Aim Action. While deadly from afar, the Priest, in turn, is entirely without Armour. With help from the Mountaineer Kit and Shovel, you’ll want to make good use of terrain to keep out of sight and in cover – ideally popping heretic heads from a snug vantage point.
| Combat Engineer – 110 Ducats • Battlekit: Automatic Shotgun, Shovel, Engineer Body Armour, Satchel Charge |

Moving on to the Troops section of the warband, we first have the Combat Engineer. This padded sapper carries a veritable bag of explosive tricks designed around area denial. They can place or defuse mines on terrain pieces, while the Fortify Action helps them move up the battlefield protected by cover. The Combat Engineer is a decent shot with the Automatic Shotgun, but the real piéce de résistance here is the Satchel Charge: this once-per-battle explosive can devastate an entire group of enemies, owing to its BLAST and IGNORE ARMOUR Keywords.
| Mechanized Heavy Infantry – 160 Ducats • Upgrades & Choices: Machine Armour • Battlekit: Machine Gun, Great Hammer/Maul, Combat Helmet, Machine Armour |

Next up is arguably the centerpiece of the warband: the Heavy Mechanized Infantry. This steel-plated hunk has been upgraded to wear Machine Armour, granting them a nearly inviolable -3 Armour in addition to ignoring Down results. Their Machine Gun can fire a mighty three times, but keep in mind that firing a weapon with the RELOAD Keyword ends the Activation. Ponderous and slow, the Heavy Mechanized Infantry is typically ill-suited for close combat, but a Great Hammer makes the most of the STRONG Keyword, while a Combat Helmet minimises the damage done from fragmentation weapons and grenades.
| Yeoman – 52 Ducats • Battlekit: Shotgun, Bayonet, Trench Shield |

Following the trail of destruction left by this mechanical juggernaut comes a quartet of humble Yeomen. The first carries a Trench Shield in tandem with their Shotgun, giving them a nice bit of survivability as they storm across No Man’s Land to shank the enemy with their Bayonet.
| Yeoman – 37 Ducats • Battlekit: Bolt-Action Rifle, Bayonet |

Perhaps an understudy of the Sniper Priest, this Yeoman rocks a staple of the Great War, the Bolt-Action Rifle. Perched with an advantageous view of the battlefield, this unassuming trooper might land a few hits on the enemy while pursuing mission objectives in the backfield.
| Yeoman – 56 Ducats • Battlekit: Pistol / Revolver, Medi-Kit, Musical Instrument |
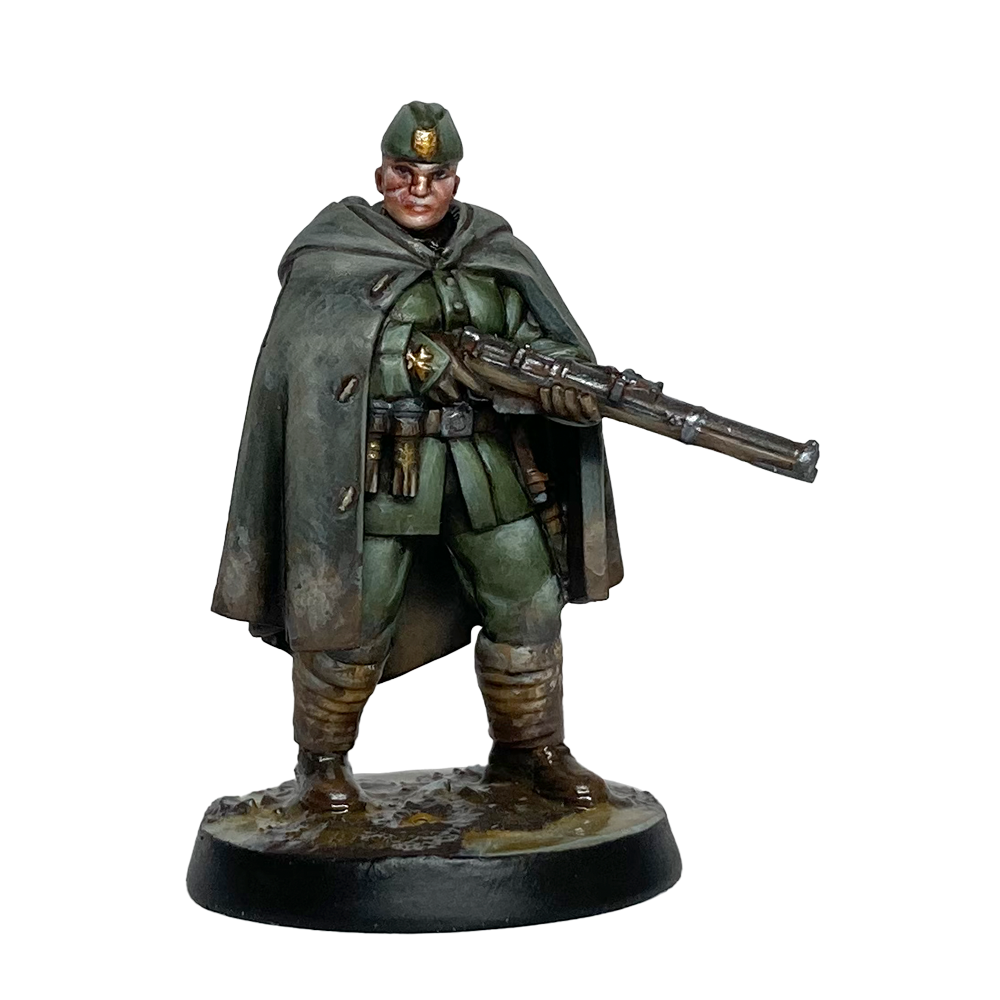
Next comes a critical support piece: the medic-musician. Learning to position this Good Samaritan might take a bit of practice. They will want to stay close to the action – but not so close as to be immediately blasted off the battlefield! A Medi-Kit allows the Yeoman to take a Treat Action which can remove BLOOD MARKERS and help downed comrades back on their feet.
Likewise, the Musical Instrument helps nearby allies, the Yeoman included, with their Dash Actions. The importance of this can hardly be overstated: Whether it lets the Lieutenant draw a bead on the enemy or helps the Sniper Priest slip back into cover, being able to reliably Dash is extremely valuable! Since the Musical Instrument must be held in one hand at all times, the medic-musician makes do with a pistol, which fortunately doubles as both ranged and melee weapon.
| Yeoman – 38 Ducats • Battlekit: Trench Knife, Frag Grenades |
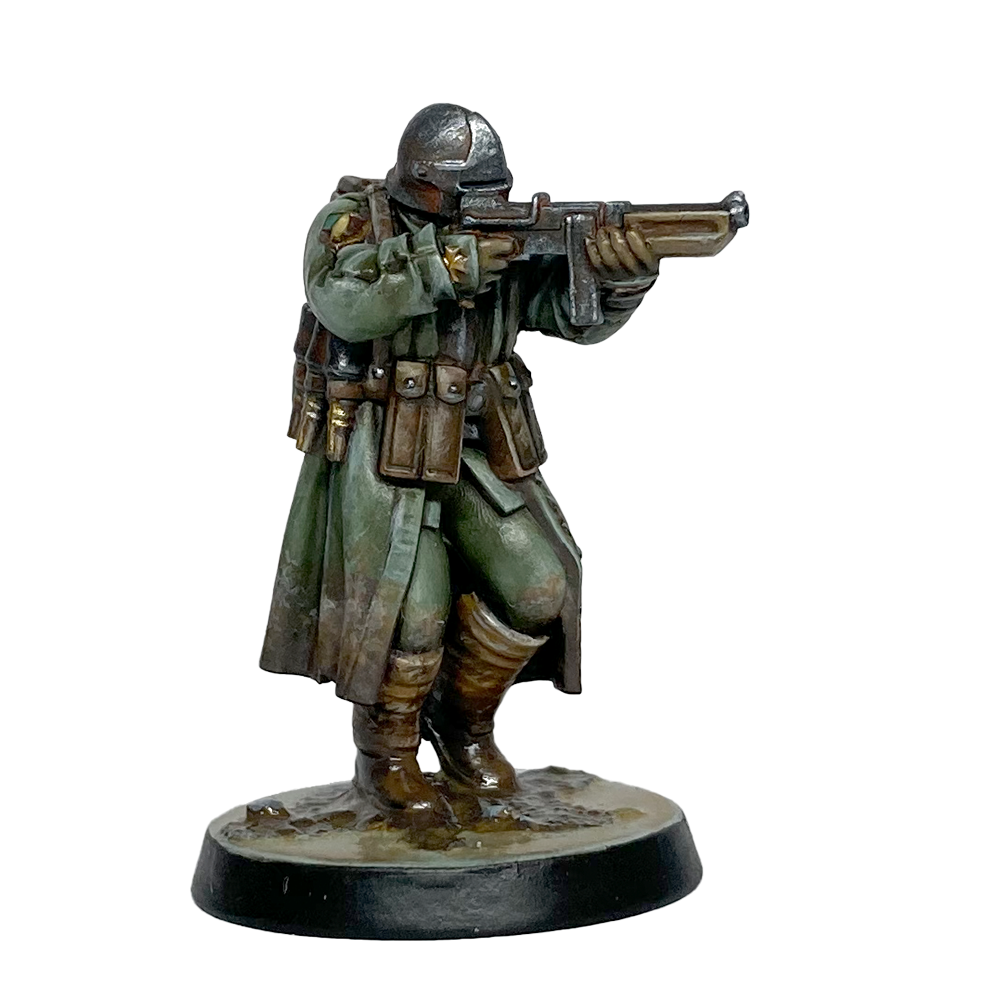
Last but not least is the wildcard of the group, a lone grenadier. Frag Grenades in Trench Crusade are powerful tools for damaging multiple enemies with a single blast, often dealing extra damage due to the SHRAPNEL Keyword. However, at just 8” their range is rather limited, so getting close enough to the enemy calls for careful positioning and some Dash-assisted movement!
Faction Focus: Concentrated Attack
The soldiers of New Antioch’s fondness of combined arms and surgical strikes is reflected in the game by their ability to form Fireteams. Fireteams are pairs of fighters that Activate simultaneously, meaning you can move one model, fire with the other, attack with the first, and so on – in whatever order you choose!
This potential for powerful one-two punches is further enhanced by Concentrated Attack, a special rule unique to New Antioch Fireteams:
Concentrated Attack: If a model from a Fireteam hits a target that had been hit by an attack made by the other member of their Fireteam earlier in the same joint Activation, then you can spend 3 BLOOD MARKERS to convert the Injury Roll for the second attack to a Bloodbath Roll, even if the target is not Down.
A Bloodbath roll is one of the best, most reliable ways of taking down large or heavily armoured enemies, so being able to trigger one with just three BLOOD MARKERS is a powerful ability indeed!
For the purposes of this list, we have grouped the Lieutenant with the Combat Engineer in Fireteam 1 and the Sniper Priest with the Heavy Mechanized Infantry in Fireteam 2. These can be freely changed between battles, however, so don’t be afraid to experiment – you may find that some combinations work better for you than others!
Whether you change the Fireteams or leave them as is, remember that if the Activation of one Fireteam member ends during a simultaneous Activation, it ends for the other as well, so be mindful of rules that end Activations like failing a Dash, firing the Machine Gun, or using the Hold Your Fire! Action.
Next Steps
Building your Warband is an important step in getting started with Trench Crusade – but it is also just the first! As you set out to explore No Man’s Land (or any other nightmarish theatre of war) in a campaign, your Warband is bound to grow bigger, stronger, and richer. If you’re unsure how to spend your hard-earned ducats, here are a few suggestions.
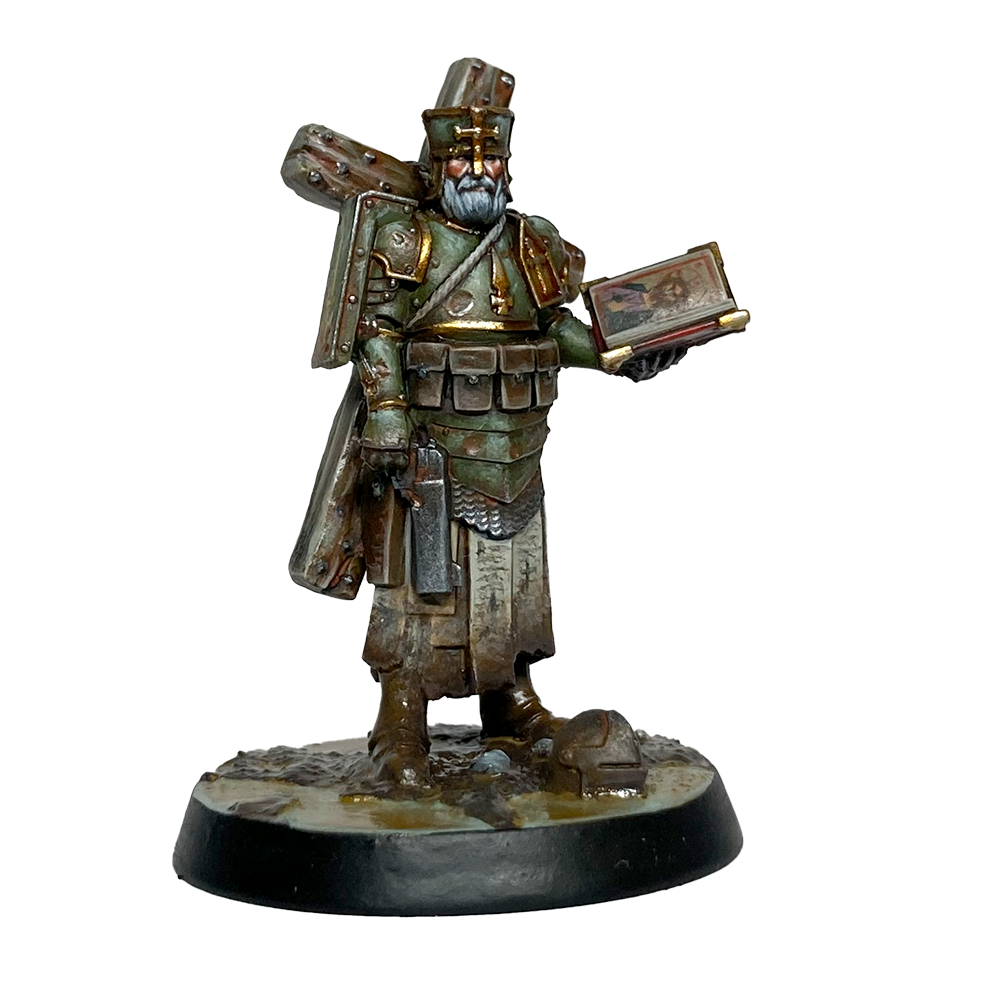
A Trench Cleric is a dynamic character capable of supporting your God-fearing troops in a variety of ways. They’re not a bad shot, and no slouch in melee either, but the real utility comes from their ability to bestow BLESSING MARKERS and make nearby soldiers immune to Fear. As an Elite choice, they gain XP with every battle, making them a good early pick.
Whereas most New Antioch units typically engage the enemy from a distance, Shocktroopers like to get up close and personal. Dashing forward with great weapons and grenades, they make for a powerful tactical piece and an interesting contrast to the rest of the Warband.

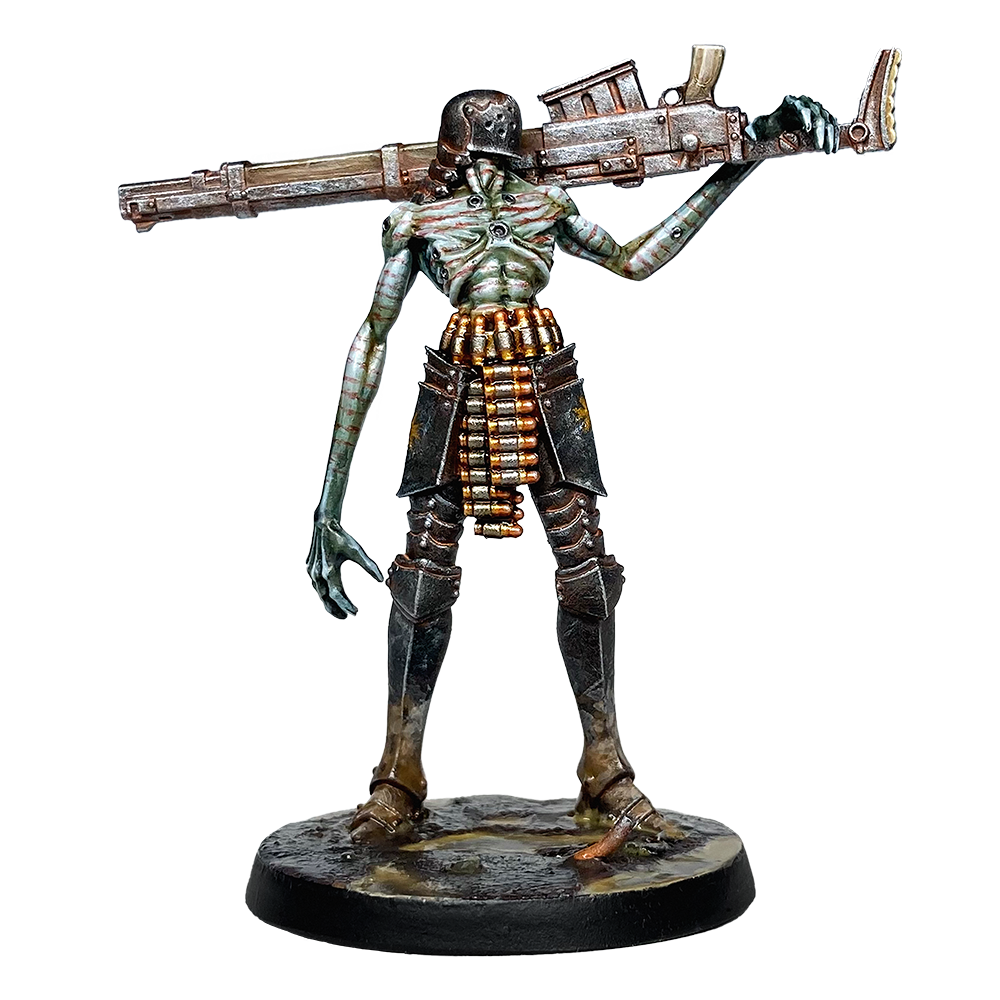
Once your Warband has managed to achieve a handful of Glorious Deeds on the battlefield, you may consider recruiting a Mercenary. Unnaturally strong, the Communicant Anti-Tank Hunter carries the dread Anti-Materiel Rifle into battle, a terrifying weapon capable of blasting apart armoured foes from far away.
Conclusion
Of course, recruiting more soldiers is just one way of improving your Warband. Just as importantly, ducats can be spent purchasing new and better gear for your seasoned troops. Your Sniper Priest, amongst others, will certainly appreciate a bit of armour, while weapons like Automatic Rifles and Flamethrowers are deadly in the right hands. Meanwhile, Medi-Kits, Combat Helmets, and Frag Grenades are great ways to improve the utility, survivability, and offensive capabilities of even the lowliest of Yeomen.
That’s all for this inaugural instalment of First Strike! We hope you enjoyed reading this guide, and that it helps you get started playing New Antioch in Trench Crusade. Check back later when we give you a similar rundown on getting started with the devil-worshippers par excellence – the Heretic Legions!

Magnus Laursen
Too slothful to get a paper route as a teen, Magnus Laursen began reviewing games instead. After more than a decade of writing about them, he finally took the plunge and started writing for them. Credits include Dark Heresy, Flesh and Blood, and Void Crew, but these days he’s hellbent on making Trench Crusade the best it can be. The wargaming community just keeps pulling him back in – or maybe it’s that sweet scent of plastic glue?