



Strategic Overview
by Jon Wimpeney
One of my favorite things to do when coming to grips with a new game is to push some of the mechanics to the limit, and understand where the “sweet spots” exist. Many people love to do the same sort of thing, building plans for their heroes and troopers that can be executed to maximum efficiency during their games. These gamers know when to rush forward and when to hang back, when to expend Blood Markers and when to not, and it’s these people who will have figured many of the following suggestions themselves.
Some people, however, like to play their games in the moment, learn over time from their “mistakes” and perhaps slowly come to these conclusions. If you are one of these gamers reading this article, let’s help you into the fast lane to revelation!
The 2d6 +/- Xd system
Unlike many other tabletop games where you are rolling a single dice to determine an outcome, you roll 2d6 in Trench Crusade, and attempt to get 7 or more. This can further be modified by +D or -D being applied to a roll. For example, if I’m rolling a -1D Success Roll, I will roll 3 dice, pick the lowest 2, to see if I still get 7 or more.
Likelihood of rolling a 7+
| -3D | -2D | -1D | 2D6 | +1D | +2D | +3D |
| 9% | 17% | 32% | 58% | 81% | 91% | 96% |
This is quite a nifty piece of design with a much larger curve to it than simply rolling 3+ on a handful dice, but there are some important differences to consider if you’re used to measuring the results of single dice.
The power of +1D and -1D
The most obvious difference is that the more + or – the roll becomes, the less the change from the previous likelihood is, but what is often skipped over is that the difference in success chances between a -1D, unmodified and +1D roll is EXTREMELY significant.
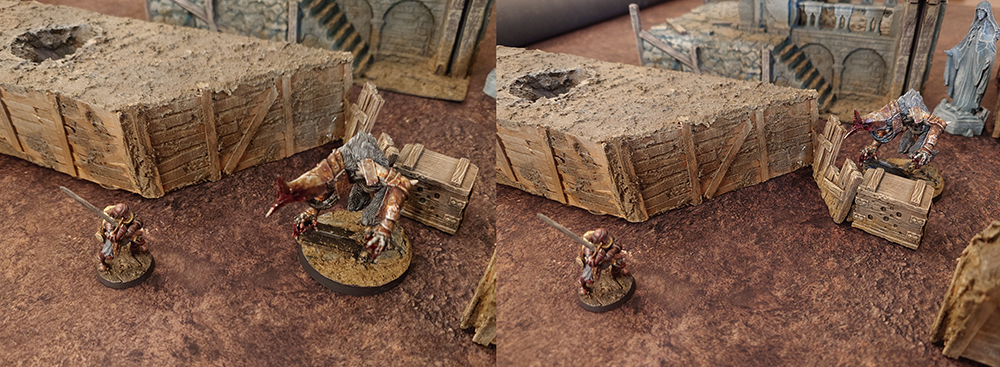
Let’s imagine that your opponent’s Shocktrooper (with a +1D to Melee) charges your War Wolf. The Shocktrooper is used to hitting roughly 4/5 times with his weapon, but the -1D to hit from the FEAR keyword on the War Wolf has already slashed this down to a little under 3/5 chance to hit! If you were smart enough to keep your War Wolf behind cover, then the Defended Obstacle rule confers another -1D penalty and that Shocktrooper, used to hitting most of his attacks, now can only hit this War Wolf 1/3 of the time! Understanding that ahead of your activation can help with your decision making.
When (and when not) to spend Blood Markers
Of course, one of the most common ways a roll may be modified is by spending a Blood Marker attached to a model to reduce the chance of success of roll the model is about to make. BUT Blood Markers are also useful for killing the very model you’re about to remove the marker from! So, when is it a good idea to spend Blood, and when is it a good idea save it to make sure you can kill the model later?
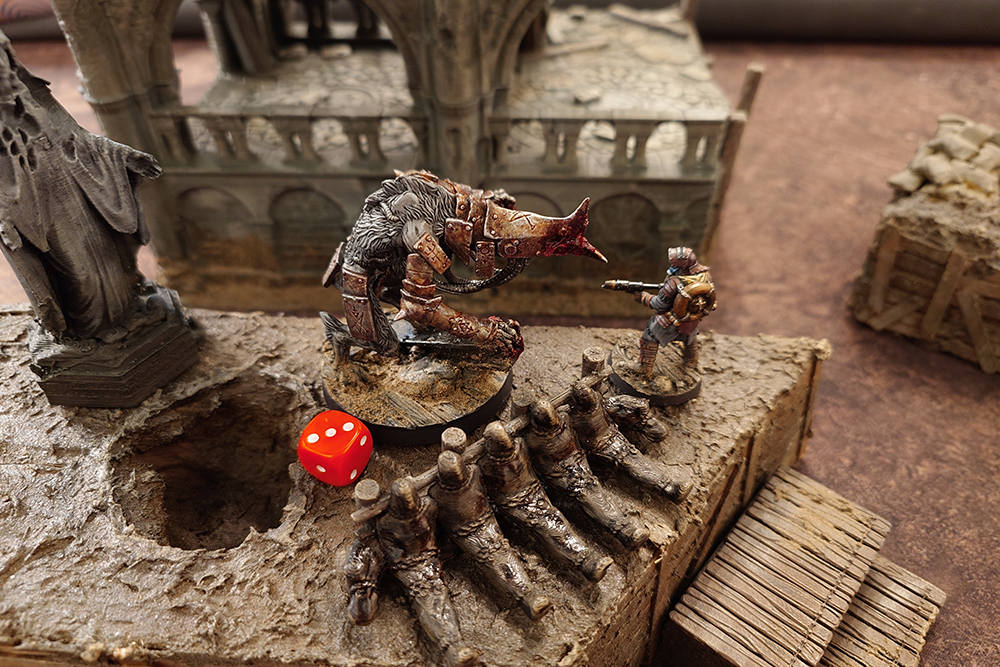
In this example, your opponent is sending a War Wolf to fight your poor Yeoman, with a mighty +3D to his Melee. All is not lost, however, you’ve managed to stack three Blood Markers onto the War Wolf before he charged you. Are they worth spending?
Looking at the chart above, we can see that spending a single, or even two blood hardly impacts the War Wolf’s chance of hitting your Yeoman. If your Yeoman is guarding an absolutely critical objective and you NEED him to survive no matter what, then PERHAPS you could spend all three blood, then cross your fingers that the Wolf fails a 3/5 chance to hit you, but more than likely that three Blood Markers would be much more valuable being spent on an Injury Roll later, or perhaps even making him fail a Dash to get onto that objective your Yeoman is protecting. Speaking of which…
Blood Markers and Dashing
Dashes are an incredibly vital part of Trench Crusade, being RISKY rolls (meaning you end that model’s activation if you fail the roll) that are very rarely being made at any more than +1D if you happen to be near a model holding a Musical Instrument.
This means sticking a few Blood onto a model you know really needs to make a Dash next turn, perhaps because they have an objective to get to, or because they want to jump round a corner to then make a charge. If they don’t have any way to increase their Dash roll, then a single Blood spent not only halves their chances of making that dash down to 1/3, but they’ll have to end that Model’s activation if they do fail that roll!
Model Activation Order
Like many other skirmish games, Trench Crusade has players activating their models one-by-one, as opposed to every model going at once, with players typically alternating activations. There are a few general rules of thumb it can be useful to follow.
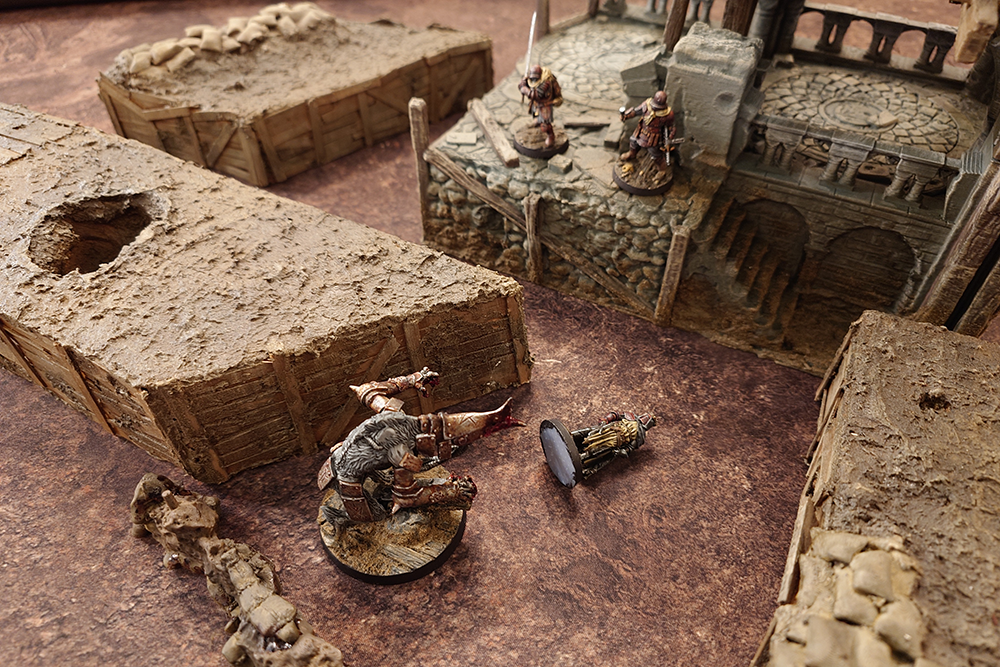
If an important model is in grave danger, activate it as soon as possible:
In this example, your New Antioch Lieutenant has been downed, and is locked in melee with a War Wolf and a new turn has just started, with nothing having activated yet. There are three reasons you want to activate your Lieutenant before the War Wolf activates:
- If the War Wolf is activated before your Lieutenant, your Lieutenant won’t be able to stand up out of the Downed state until you activate him, meaning he is even easier for the Wolf to kill.
- If the Lieutenant activates first, even if he doesn’t kill the Wolf, he can put some Blood Markers onto it to make it less likely to hit him when it eventually activates.
- If the Lieutenant goes first, he can use his Hold your Fire! Ability, forcing another enemy Model elsewhere on the battlefield to be the next one to activate. This gives you another activation to send your troops in to support the Lieutenant in melee against the War Wolf before it activates!
Delay activating your important models for as long as possible (if they’re not in danger):
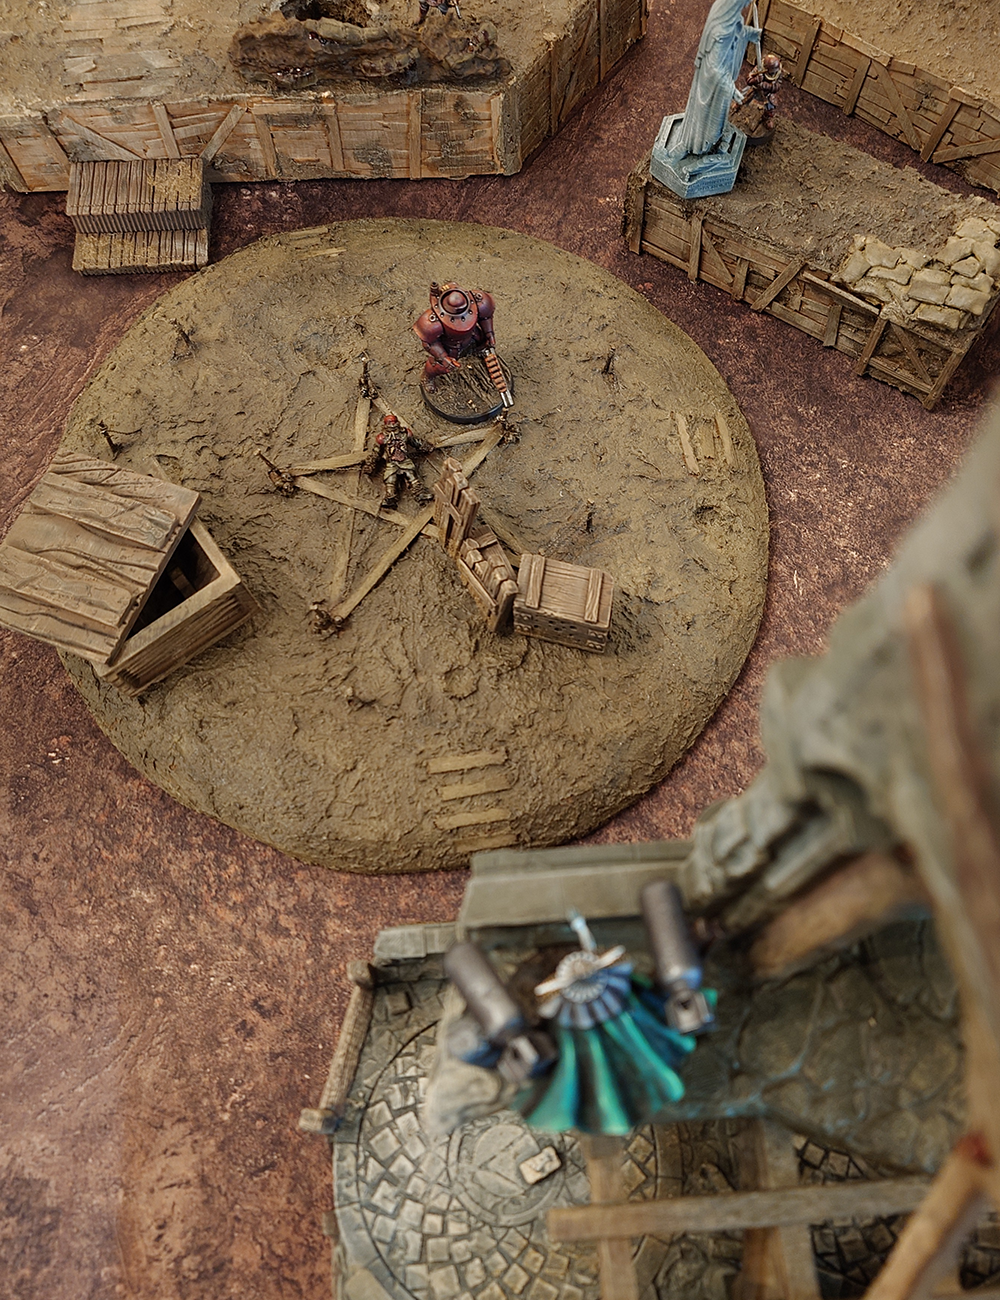
Let’s say you have an Artillery Witch, famous for her incredibly lethal bombs, sitting in a tower looking down at an important Objective Marker. Currently, your opponent has a few models already eligible for her to blow to smithereens, but you know your opponent is going to have to move more of their models onto the objective to win the game.
The longer you wait before activating the Witch, the more your opponent has to decide he’s willingly going to walk into the kill box for the sake of scoring the objective. If you were to activate her early in the turn for the sake of blowing up the models already on the objective, this means your opponent can move the rest of their warband onto the objective safely, knowing the Artillery Witch can’t do anything until the next turn.
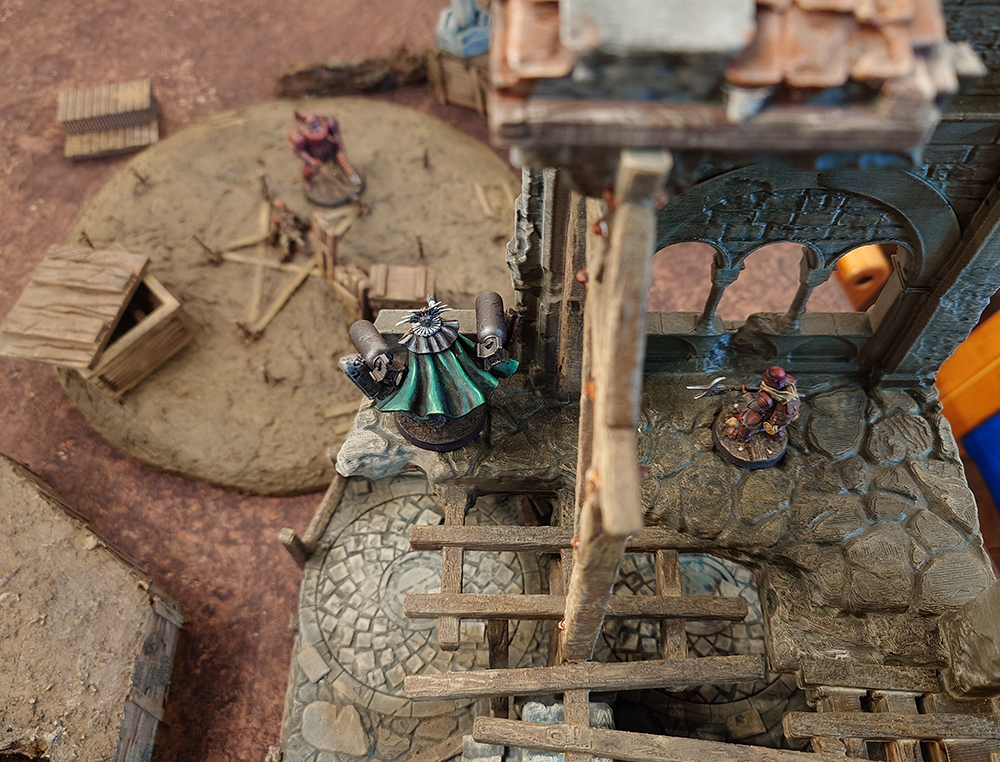
If you can catch a powerful model out of position with something that shouldn’t be good at fighting them, activate that flanking model as soon as possible:
Following on from the previous example, let’s say you have a Shocktrooper ready to charge that pesky Artillery Witch. If you can charge her before she activates, then you’ve locked her up in melee, where she’s incredibly weak. Even if you fail to kill her AND she successfully Retreats when she eventually activates to shoot all your models on the objective, you’ve had a chance to put some Blood Markers on her which might cause her to miss her all-important shot.
Exploration and Reinforcement
If this is your first time playing a campaign-based game where your armies accrue injuries, experience, and of course longstanding grudges, it may be a little overwhelming to decide whether you want to risk rolling low during Exploration and show up with a smaller force next game, or Reinforce and miss out on potentially powerful rewards you can only get from exploring.
It’s okay to show up to a game below Ducat Threshold
In the modern wargaming world of optimisation and metas, it’s very easy to fall into the trap of thinking that if your army isn’t exactly at the Ducat Threshold for your next game, you’re going to be playing on the back foot.
The reality is that this is far less significant than you might think. Trench Crusade is a game where any old spod with a bolt action rifle and a bayonet can accidentally kill even the toughest monstrosity from Hell with a good roll. I’ve regularly won games with an army 100 ducats smaller than my opponent with a little luck, and maybe a little skill!
The upside to risking having a smaller warband than if you Reinforced is, of course, all the special results you can find on an Exploration table! Early on in the campaign, looking for things that’ll help you explore better in the future (such as Map & Document bag) can be vital to fish for the super-powerful, late-stage explorations on the Legendary table, and be sure to pick up similar skills on your models from the Wildcard table (like Friends in High Places).
On the other hand, there is no shame if you have to Reinforce once or twice, especially early in the campaign where Exploration barely produces enough ducats to cover the natural 100 ducats increase between games. The opportunity loss of not being able to explore becomes more severe later in a campaign, as the higher tier Exploration tables are unlocked.
Bolt Action Brian
Bolt Action Brian exists in every warband, whether you realise it or not. He’s the musician with a pistol, he’s the 40 Ducat Trooper with a bolt action, he’s the Wretched with a trench knife and a dream.
Never underestimate Bolt Action Brian. He will:
- Roll double 6s and kill the enemy Leader.
- Sit on an objective and score you the most VP out of your whole warband in a game because he’s never worth killing.
- Randomly survive being hit by an Anti-Tank Hammer for three turns in a row, becoming an immortal road block.
This is to say, no amount of strategising, internet guides and calculated maths will be able to stop the fact that Trench Crusade is a game with more variance to its dice rolls than you might expect. Sometimes, more often than you’d think, the ‘impossible’ rolls just happen.
Always make sure to have a backup plan for when these moments happen, they’re what makes Trench Crusade shine!
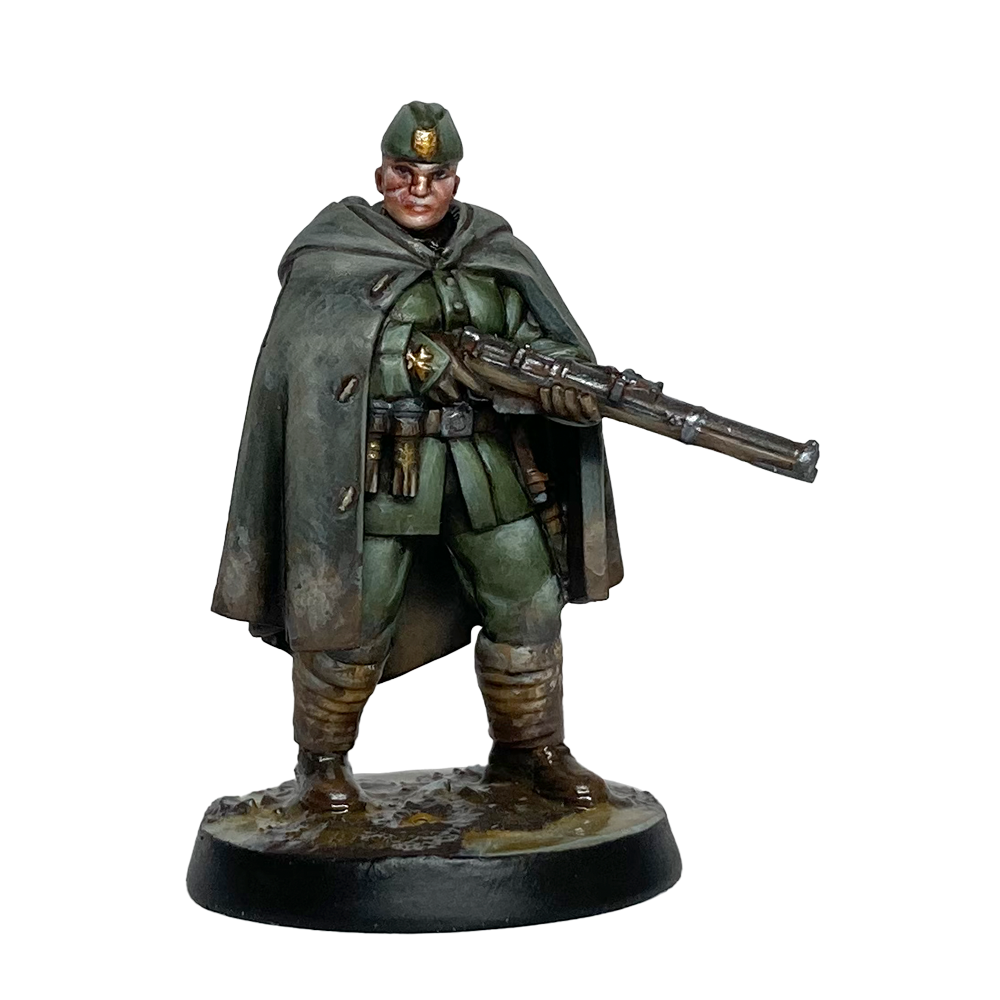

As Jon digs deeper, we’re sure he’ll return to The Trench Wire with more Strategic Overview.

Jon Wimpeney
Jon has been tinkering with games for all his life, beginning with modding videogames and moving on to writing his own RPG system in University. He moved to a career in the Games Industry, then discovered Trench Crusade, and has been busy writing custom campaigns, missions, game modes, and the variant rules for Westfalia’s homebrew factions. Apparently unable to put his fingers down, he has also worked on the Heretic Legions Community Guide, and some say he’s a member of the Trench Crusade Illuminati, whatever that mysterious and enigmatic group may be.