



Bringing a Prussian Yeoman to Life
by Rubén Torregrosa
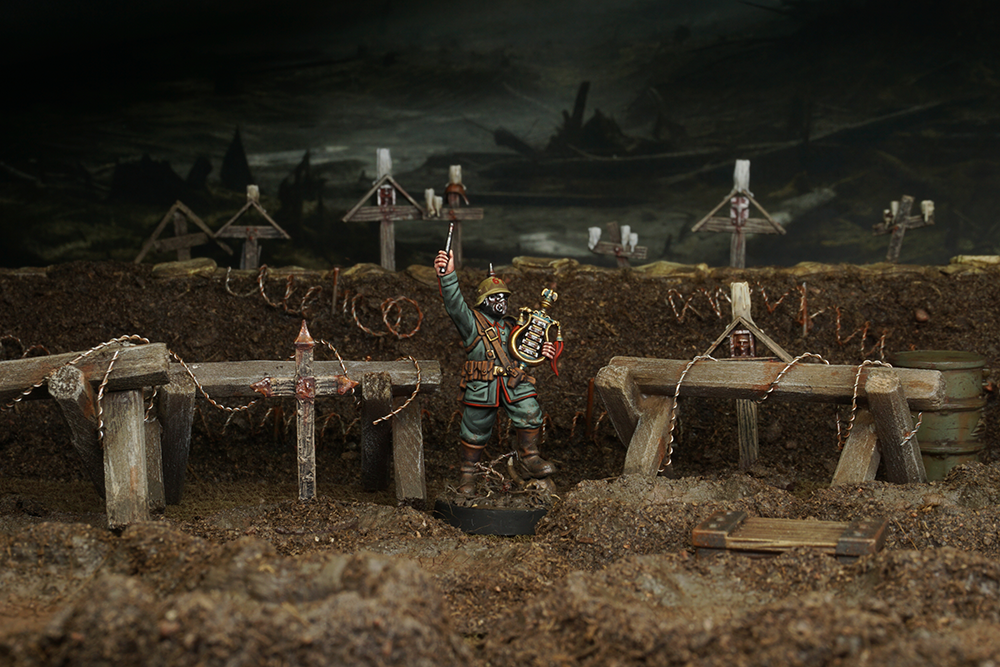
When painting miniatures for wargames, we can follow different methods depending on the time available and the quality we aim to achieve. Yet all approaches share one essential principle: we must interpret volume to bring the miniature to life. At such a small scale, applying the “correct” colour is not enough. Flat colour creates no contrast. We must also paint the shadows and highlights to enhance the sculpted details.
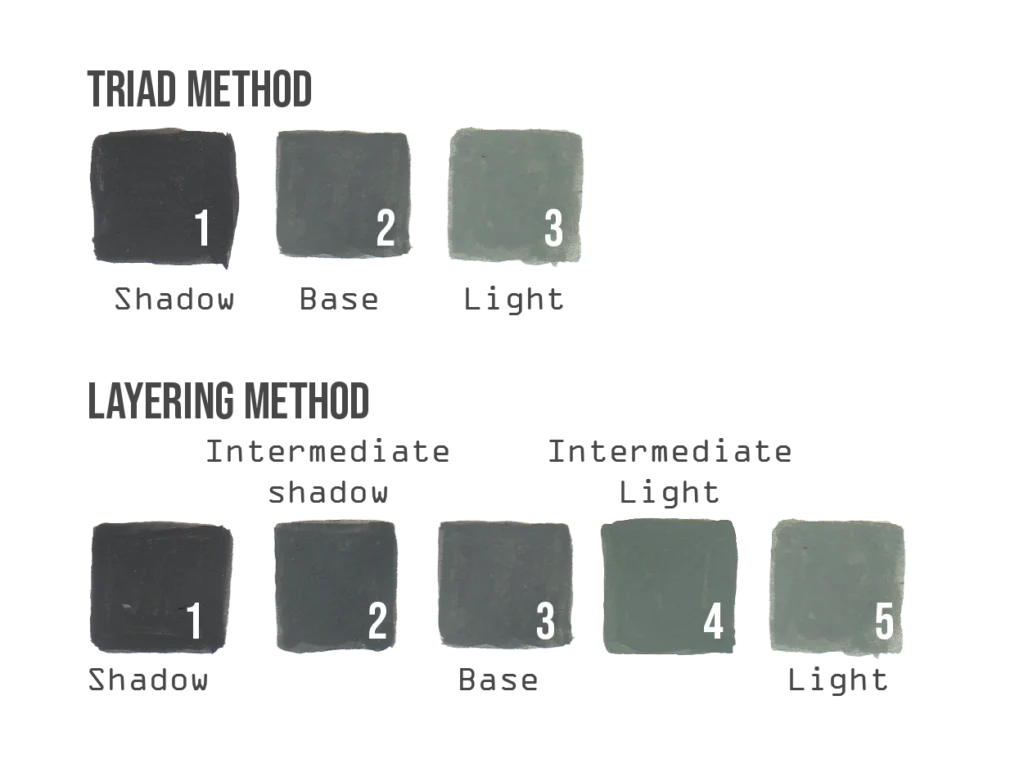
One of the most classic approaches is the triad system, in which we use three tones of the same colour: shadow, base and highlight. It is simple, structured and practical, especially for army painting. However, transitions between the three layers can sometimes appear too abrupt. A common variation is to apply a basecoat, use a dark wash to define recesses and then add highlights. Washes are popular because they are fast and effective, automatically mapping the miniature. The downside is reduced control: the wash settles into every recess, often exaggerating volumes or creating unnatural shadows.
This is where the layering method becomes valuable. It can be seen as an evolution of the triad system. Instead of three tones, we introduce intermediate mixes between shadow and base, and between base and highlight. This expands the process to five layers, creating smoother and more natural transitions. Because each layer is applied deliberately and only where needed, we gain full control over the volumes. Layering is also modular. We usually move from dark to light, but we can increase or reduce the number of steps as required. In addition, the smoother transitions allow us to push contrast further (deepening shadows and intensifying highlights) without creating harsh jumps, resulting in stronger yet harmonious lighting.
Is this the summit of miniature painting for wargames? No. We can always continue to evolve. There is always room to refine our technique and push the result further. For example, we can introduce glazes to smooth the transitions even more, softening the layers and creating subtler blends. We can also add additional layers to push the highlights further and increase the overall contrast. We can add heavier texture in selected areas to achieve a more realistic, tactile finish. Or we can use inks to deepen and intensify the shadows, increasing contrast without losing richness in the colour. The layering method gives us a strong foundation, but it is only the beginning.
Let’s put this into practice by painting a plastic Stosstruppen using the layering method. While I used IONIC paints to create this guide, I have supplied a conversion chart at the end of this article for using paints from The Army Painter. Use whatever paints you like, finding the closest equivalents in your preferred range.
Preparation
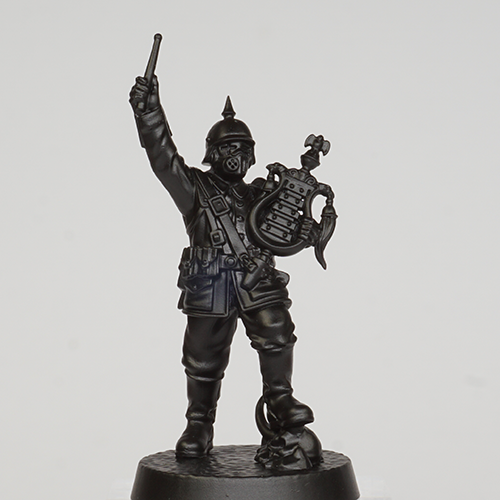
We begin by cleaning the miniature with a modelling knife and files, carefully removing any mold lines. Once the parts are prepared, we assemble all the plastic pieces using plastic cement. This type of glue slightly melts the plastic surfaces, fusing them together and creating a strong bond.
We then apply a primer, preferably using a spray can or an airbrush to achieve a thinner, more even layer. This step is essential, as it improves paint adhesion and ensures the durability of the layers applied on top. I chose black primer because we can leave the deepest recesses in this colour, saving time while naturally reinforcing the shadows.
Uniform
We normally start painting the miniature inside out (starting normally with the skin), but I personally prefer to start painting the larger surface of the miniature to quickly get the feeling of accomplishment.
Step 1
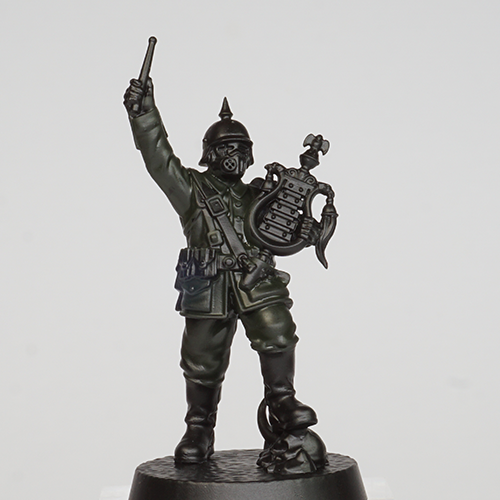
Following the layering method, we begin by blocking in the entire uniform with an even coat of Cold Black IONIC-0170, thinned with approximately 20% water (we will always thin the paint like this from now onwards).
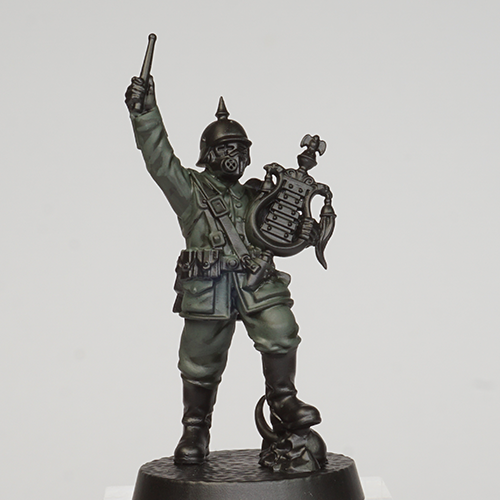
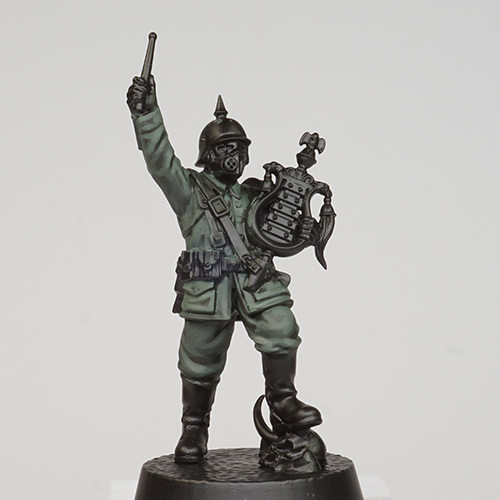
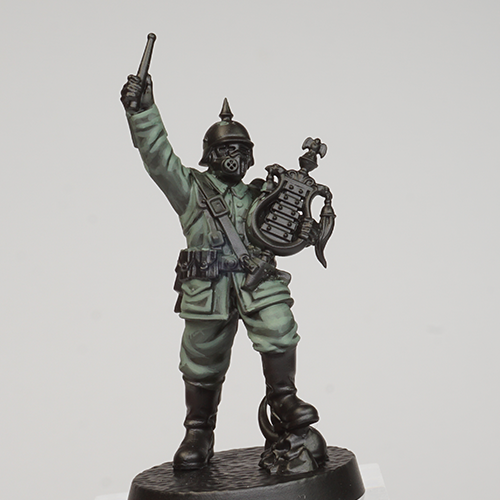
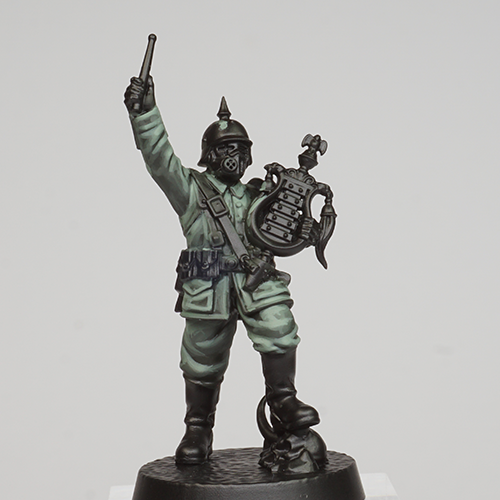
Outlining

A very interesting and important step is black outlining. We can apply this step multiple times during the painting process. We use pure Black IONIC-0172 and a thin brush to carefully outline all the details of the miniature. This step provides strong definition and sharpens the overall contrast. At the same time, it works as a visual map, helping us clearly identify and separate each element of the model before continuing with the next stages.
Leather
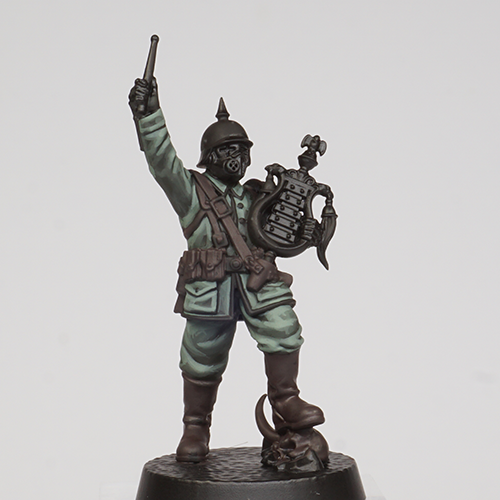
Step 1
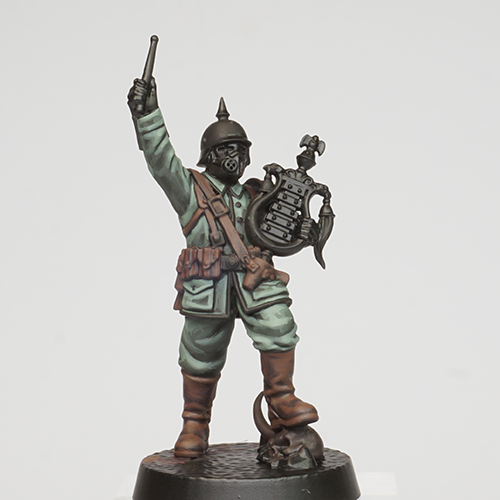
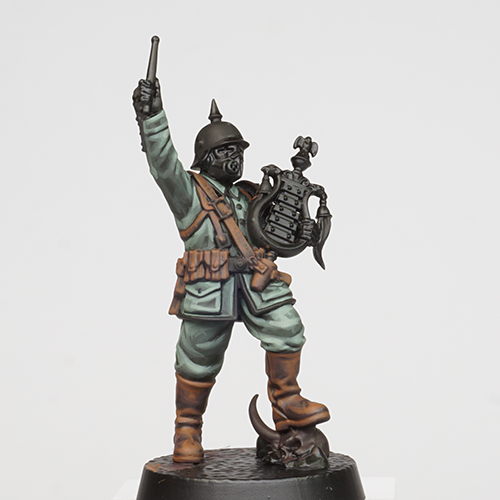
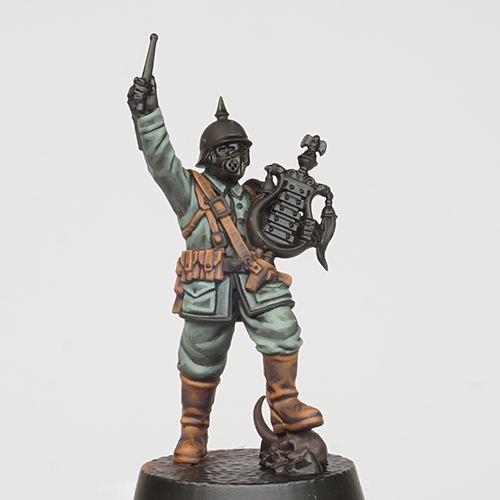
We begin by blocking all the leather areas with Black Brown IONIC-0160. This acts as our maximum shadow. For simplicity, we paint all the leather with the same colour. However, we could add variation including other leather colours for certain elements.

Armour
Step 1
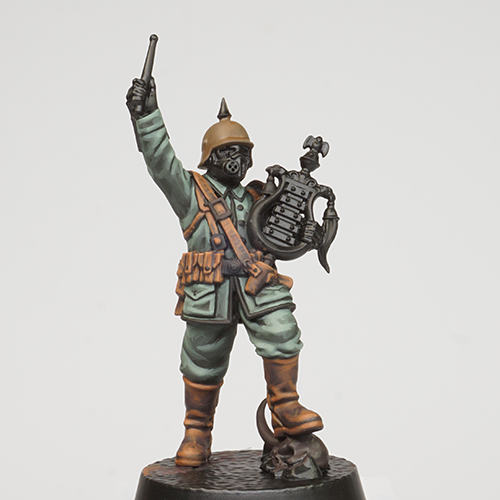
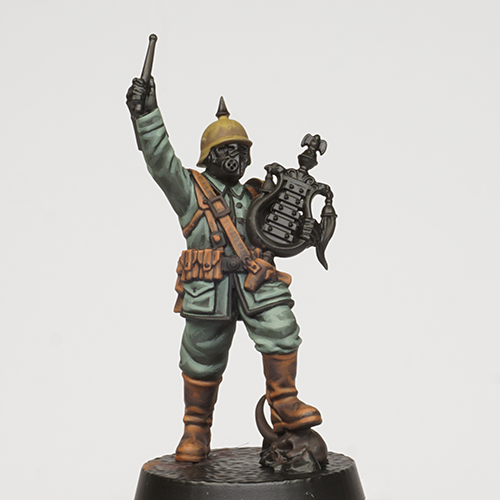
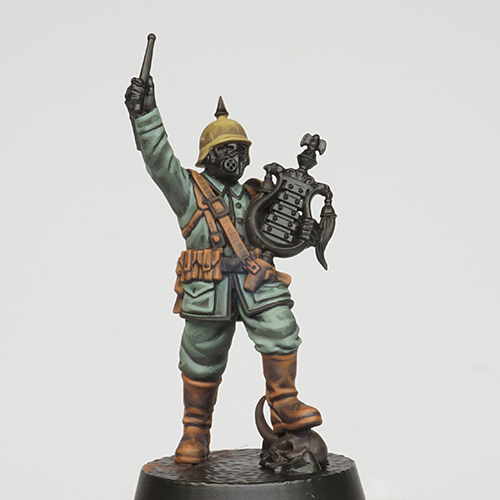
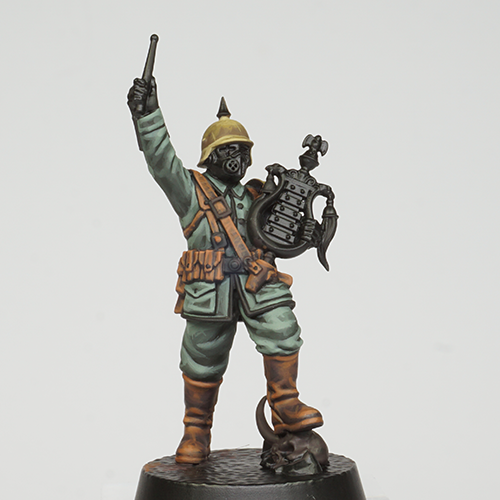
For the helmet, we can work more freely, embracing visible texture from the start. The irregular brushstrokes create natural weathering and make the process more enjoyable. We begin by blocking the entire armour piece, helmet and shoulder pad alike, with a deep, muted ochre made from Dunkelgelb Dark Base IONIC-1006 mixed with 50% Black Brown IONIC-0160.

Red details
Step 1
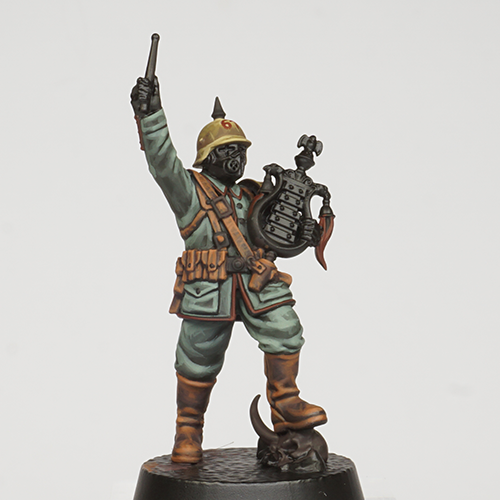
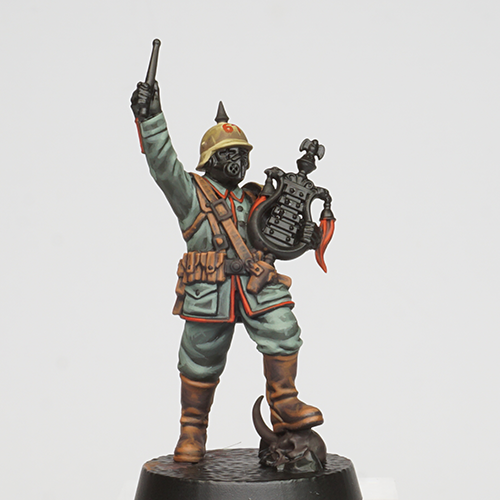
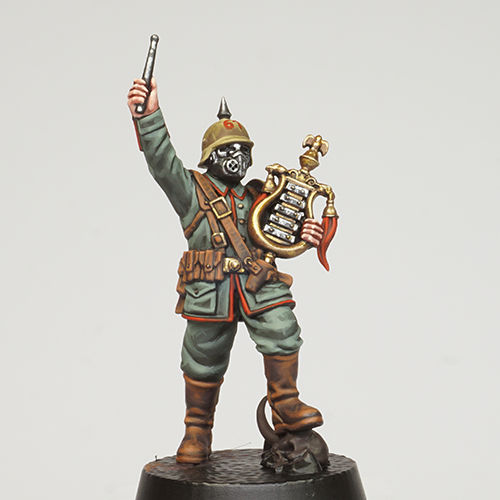
If necessary, we can clean the embroidery using Black IONIC-0172. Then, we use the body of the brush to carefully paint the uniform piping with Dark Red IONIC-0058. In tighter areas, the tip of the brush may be required for precision. We can also carefully paint the company number on the helmet at this stage. For the braided details of the instrument, we follow the sculpted texture and apply a controlled drybrush using the side of the brush. This allows the raised strands to catch the paint naturally without flooding the recesses.
Skin
Step 1
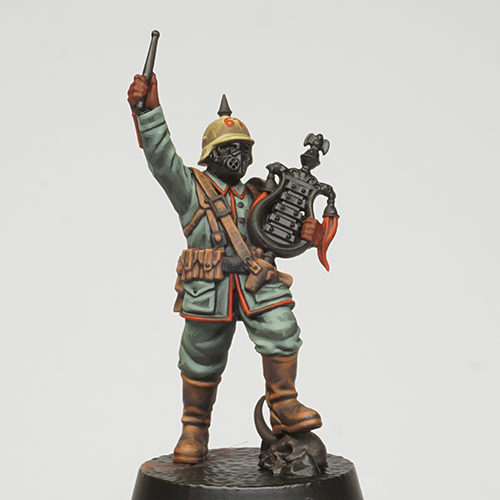
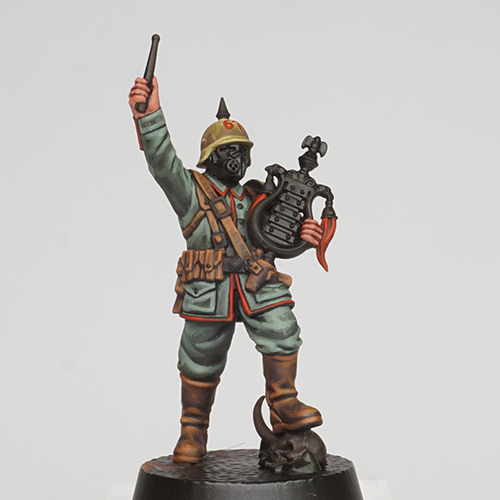
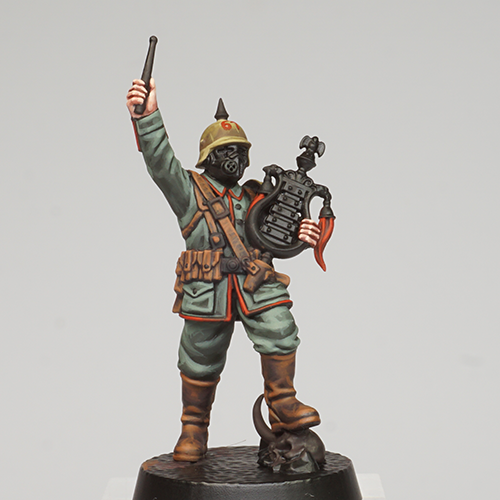
We begin with the darkest tone. We block all the skin areas using Dark Red IONIC-0058. This first layer establishes a warm shadow and will remain visible in the deepest recesses.

Metals
Step 1
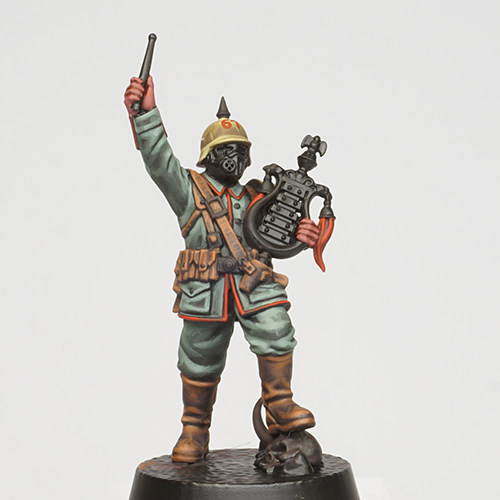
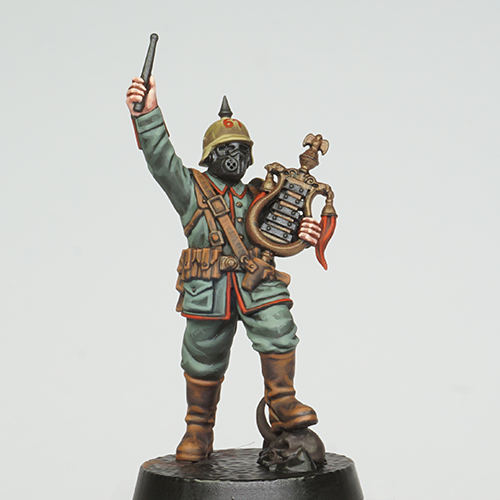
Metallic tones can also be painted following the layering method, without any need for washes. As we have done so far, we begin by establishing the darkest tone. For gold areas, we mix Hollow Crown Gold IONIC-0802 with 50% Black Brown IONIC-0160. For steel areas, we mix Burnished Metal IONIC-0819 with 50% Black IONIC-0172. The paint is thinned with 20% water and applied evenly over each metallic element. We use gold for the instrument support and webbing, and steel for the xylophone plates, gas mask and other mechanical details. The combination of two different metals on the instrument creates stronger contrast and adds visual interest.

Conclusion
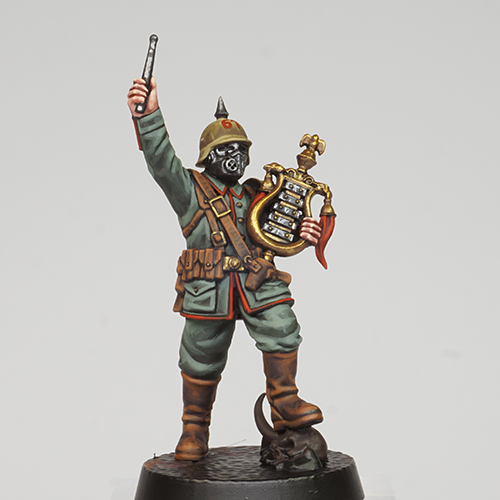
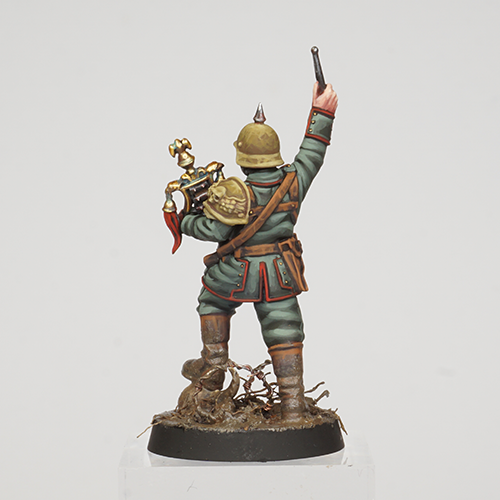
All that remains to do is to base your Yeoman as you please – I’ve chosen mud and barbed wire – and follow your painting through to the rest of your warband. I hope this has inspired you to spend some time at your painting table. preparing your troops for battle. As you can see below, my Prussians stand ready to fight the forces of the Fallen!


Acrylic paint conversion table
(These equivalences are approximate and should be used as a general guide only. Always test before committing to a final layer).
| IONIC (Mig Jimenez) | Army Painter |
| Admiral Grey IONIC-0166 | Mid Field Grau |
| Black Brown IONIC-0160 | Oak Brown |
| Black IONIC-0172 | Matt Black |
| Brown IONIC-0153 | Leather Brown |
| Cold Black IONIC-0170 | Dark Field Grau |
| Dark Red IONIC-0058 | Dragon Red |
| Dunkelgelb Dark Base IONIC-1006 | Monster Brown |
| Dunkelgelb IONIC-1007 | Desert Yellow |
| Dwarf Skin IONIC-0032 | Barbarian Flesh |
| Hollow Crown Gold IONIC-0802 | Greedy Gold |
| Red IONIC-0054 | Pure Red |
| Rust IONIC-0156 | Dry Rust |
| Bright Silver IONIC-0800 | Shining Silver |
| Burnished Metal IONIC-0819 | Gun Metal |
| Tanned Flesh IONIC-0034 | Tanned Flesh |
| Turquoise IONIC-0104 | Hydra Turquoise |
| Vanilla IONIC-0012 | Arid Earth |

Rubén Torregrosa
Rubén Torregrosa is a Spanish expat based in Finland, near the Hellmouth of the North. He works in human stem cell biology while dedicating his free time to miniature painting. His main passion is historical miniatures, though he also paints fantasy and sci-fi miniatures, finding a perfect balance in the Trench Crusade lore. He enjoys creating painting tutorials for magazines, books and other platforms, and sharing his enthusiasm with the community. He was honoured with the first New Antioch Cross for Cultural Merit.